Community
Best Astrophotographers
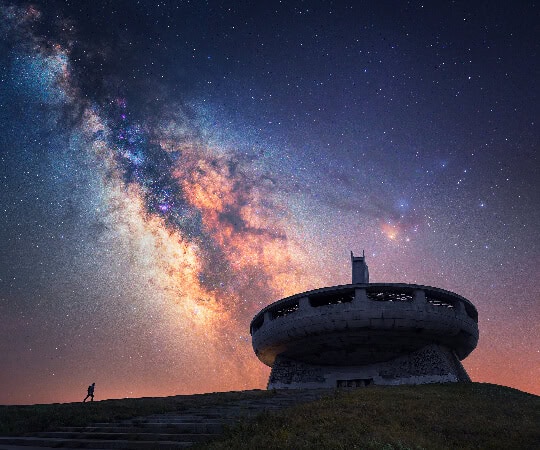
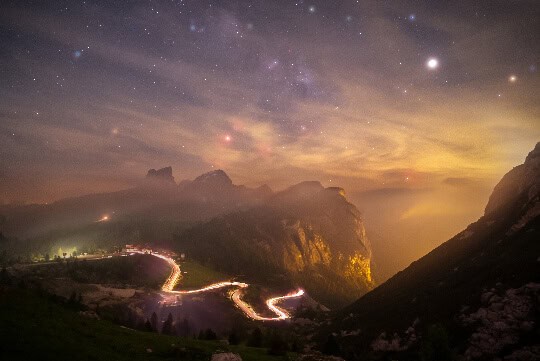
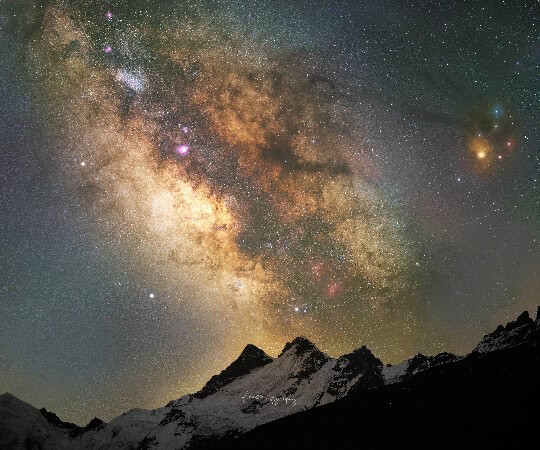
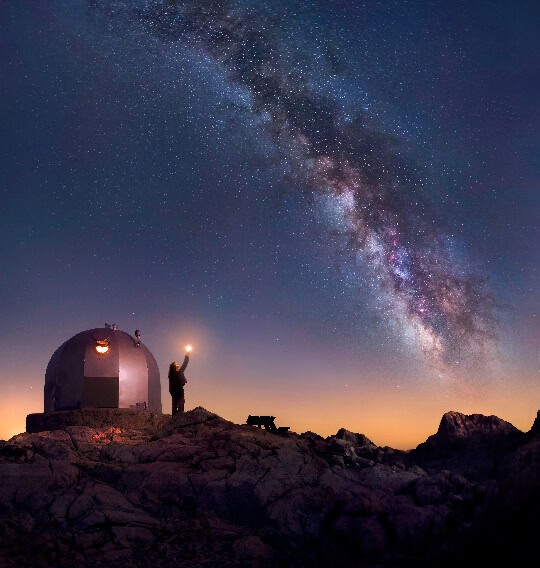
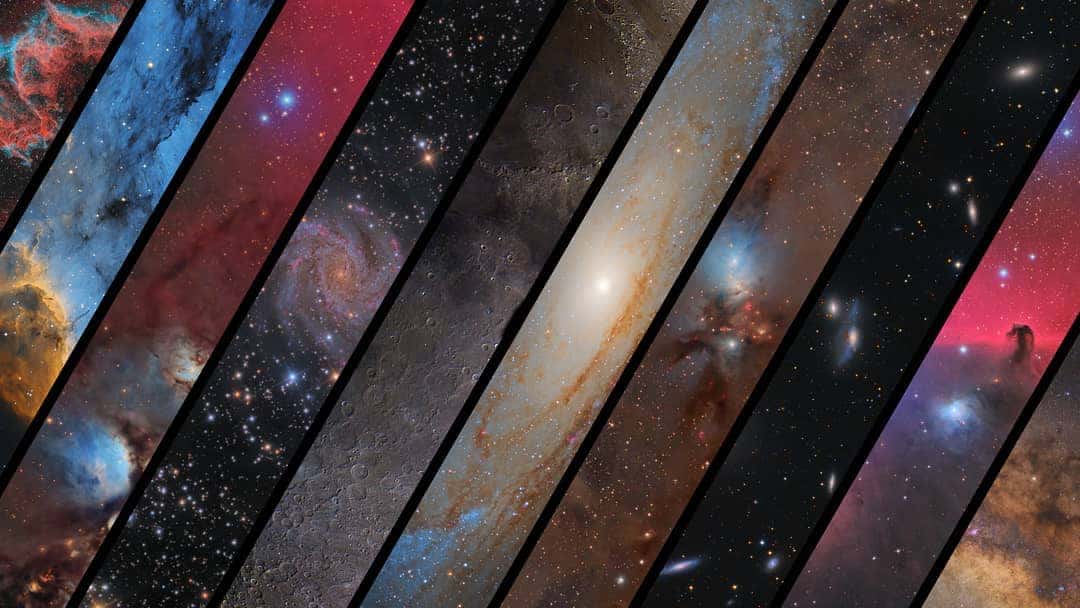
Interviews and case studies from some of the best astrophotographers in the world. Check out any of the features below to see how your favourite astrophotographer goes about their art.
Astrophotographers: Interviews & Case Studies
-
Evgeni Tcherkasski
-
Mario Oberlaber #2
-

Luca Gallucci
-
Charlie Marzolla
-
Simone Curzi
-
Andrés Felipe Molina
-
Andrea Curzi
-
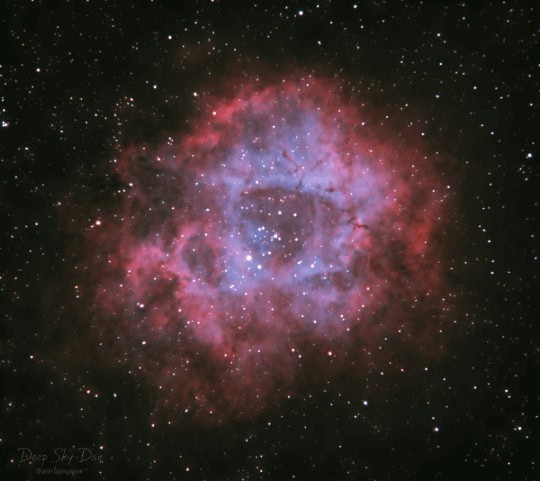
Deep Sky Dan
-
Rod Prazeres
-
Mario Oberlaber
-
Ladi Svoboda
-

Imran Badr
-
Alessandro Ravagnin
-

ShaRA
-
Alexis Trigo
-
Mihail Minkov
-
Felix Heisig
-
Anushtup Roy Choudhury
-
Cayetana Saiz
-
Cayetana Saiz (en español)
-
Paul Kerr
-
Harshwardhan Pathak
-
Rafael Schmall
-
Jakob Sahner
-
Rositsa Dimitrova
-
Petr Horálek
-
Robert Price
-
Camille Niel
-

Joao Yordanov Serralheiro
-
Andy Campbell
-
Marco Meniero
-
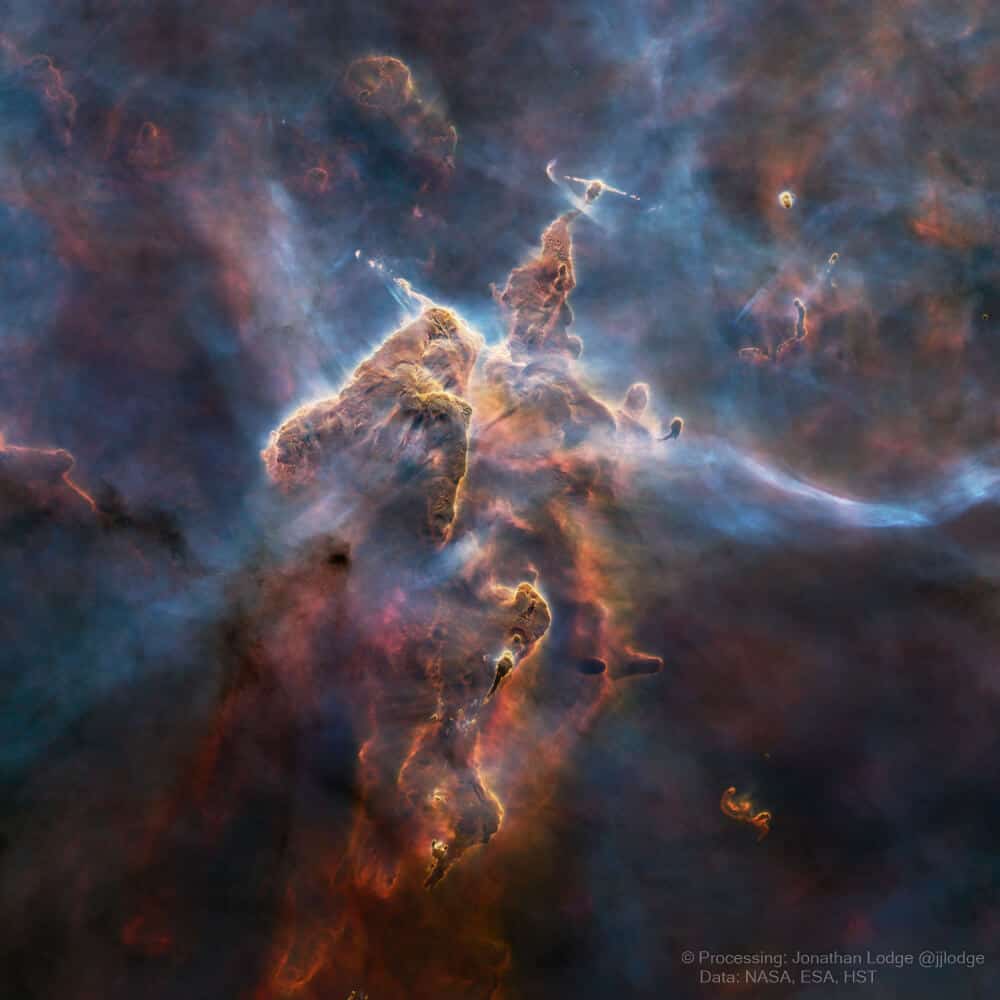
Jonathan Lodge
-
Steeve Body
-
Jeff Graphy
-
Daniel Viñé Garcia
-
Mehmet Ergün
-
Vikas Chander
-
Sergio Díaz Ruiz
-
Burak Esenbey
-
Andrea Vanoni
-
Andre Vilhena
-
Damian Peach
-
Derek Horlock
-
Michael Ver Sprill
-
Ken Crawford
-
Connor Matherne
-
Talman Madsen
-
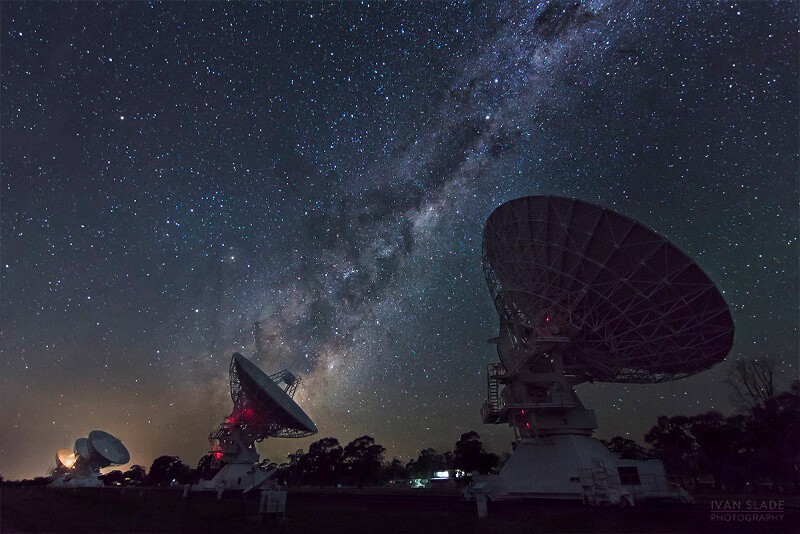
Ivan Slade
-
Laura Krause
-
Abdul Dremali
-
Leonardo Orazi
-
Marcus Cote
-
Josh Sweet
-
Daniel Stein
-
Tolga Gumusayak (Tolga Astro)
-
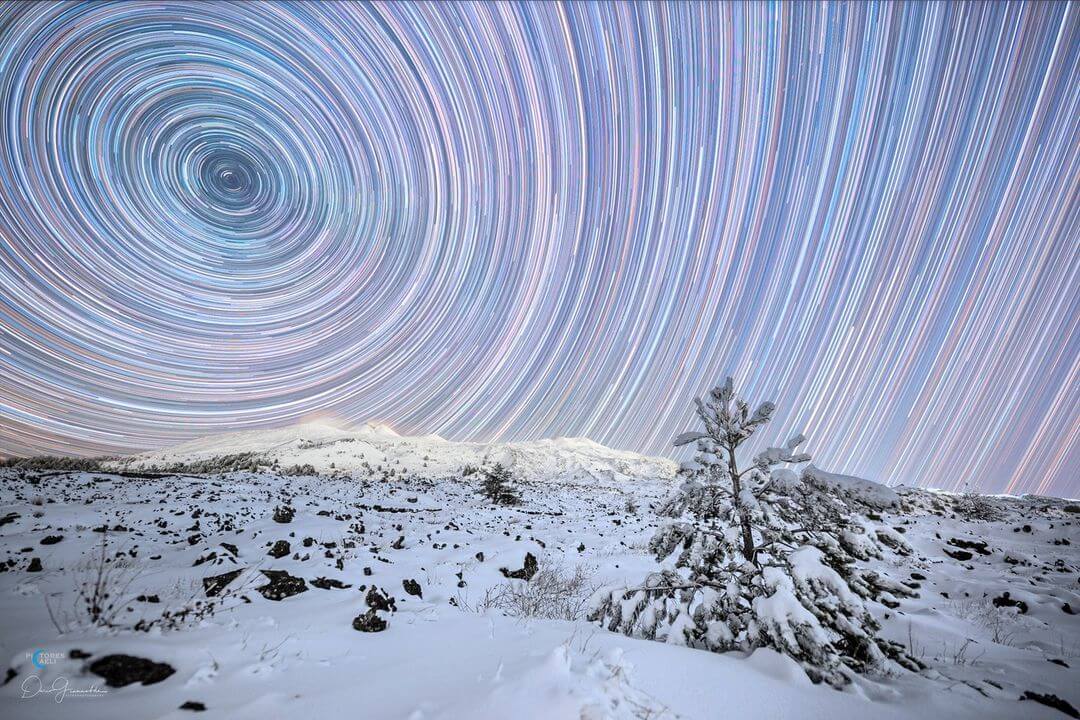
Dario Giannobile
-
Roi Levi
-
Deep Sky West
Think there is someone we should add? Contact us if you would like to be featured.
