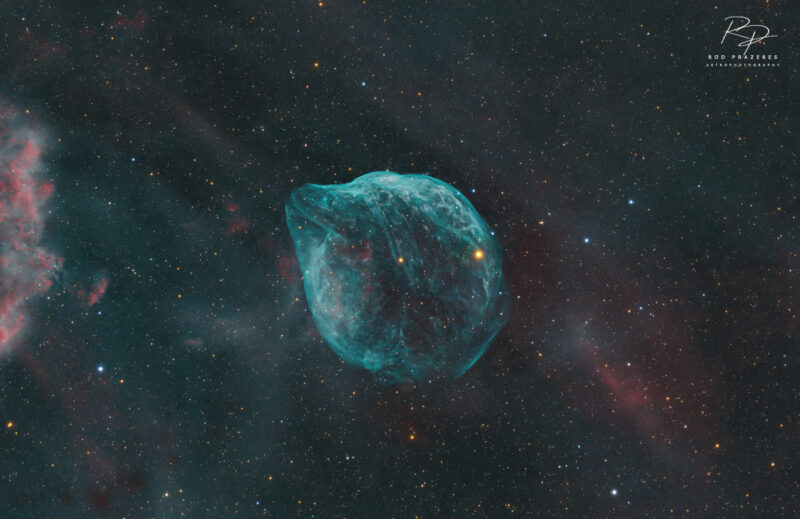
Rod Prazeres is a deep sky astrophotographer from Australia who has gone from complete beginner to award-winner in just two years producing images like this:
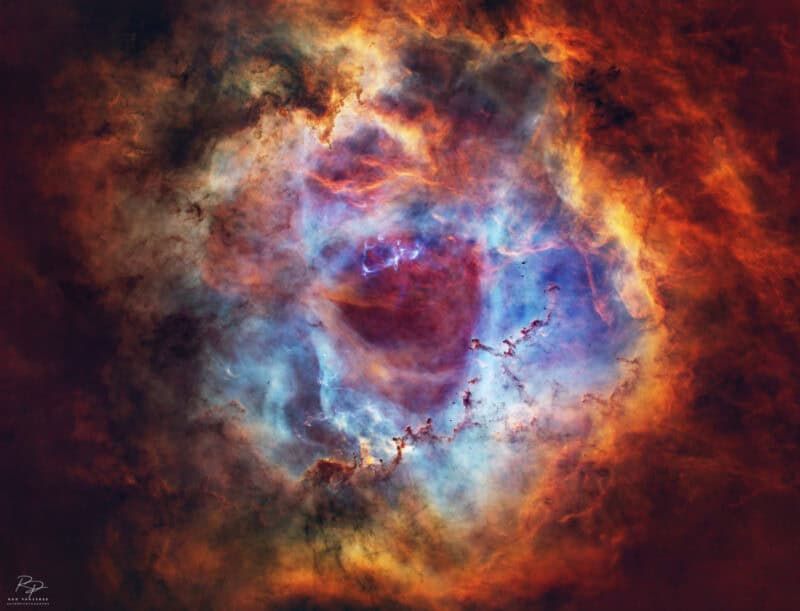
Here he shares how he captures his amazing images.
“My journey started less than 2 years ago, moving from basic night-sky observation to producing award-winning images has been both challenging and incredibly rewarding. It’s become an obsession that blends scientific precision with artistic expression, and every new project teaches me something.”
Who are you and what’s your focus in astrophotography?
I’m Rod Prazeres, an astrophotographer based in Brisbane, Australia.
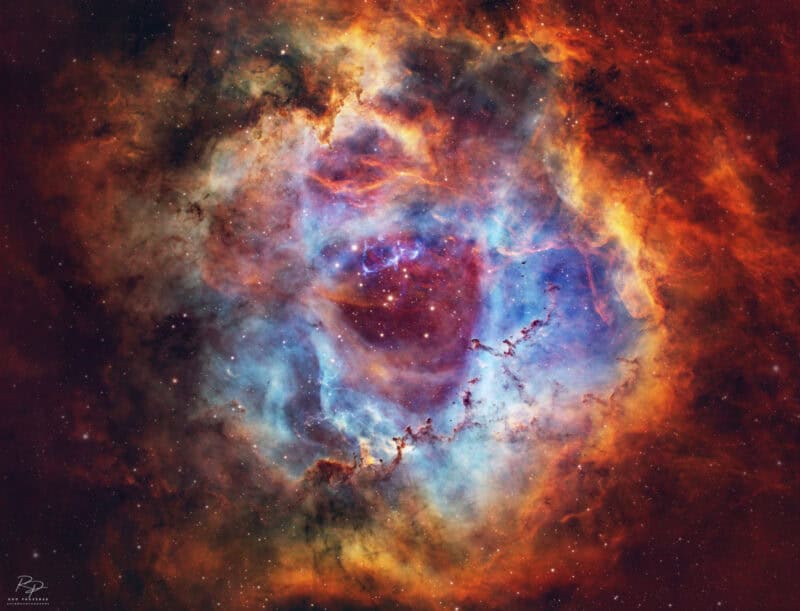
My focus is deep-sky astrophotography, with a particular passion for revealing the sculpted beauty of nebulae and supernova remnants.
Narrowband imaging, especially using H-alpha, OIII, and SII filters, allows me to bring out faint structures and colour palettes that are otherwise invisible to the eye.
My journey started less than 2 years ago, moving from basic night-sky observation to producing award-winning images has been both challenging and incredibly rewarding.
It’s become an obsession that blends scientific precision with artistic expression, and every new project teaches me something.
What’s your planning process?
Planning begins with the moon phase and target visibility.
I regularly browse AstroBin to gather inspiration and explore potential framing ideas.
My imaging is primarily narrowband, and I capture RGB specifically for star colour.
On rare occasions when I’m under darker skies with no moon, I’ll go for full LRGB targets, but the majority of my work focuses on narrowband data.
To prepare for each session, I use tools like Stellarium, Telescopius, and astronomy.tools for target scouting and framing.
When planning imaging trips or camping sessions, Light Pollution Map helps me locate remote sites with lower Bortle values.
I automate imaging using ASIAIR, which manages tasks like polar alignment, autofocus, filter sequencing, and dithering, but I always keep a close eye on my sessions and intervene when necessary.
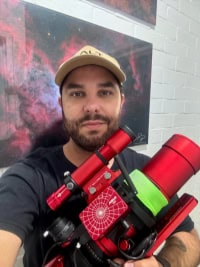
What gear do you use?
My imaging toolkit has evolved over time, but each setup I’ve used has played a part in my development.
I began with a classic Celestron Ultima 9¼” SCT from the 1990s I acquired locally – my first deep dive into longer focal length work.
While that scope has since been passed along, it taught me a lot, and a few of the images I’m sharing here were captured using it.

These days, I work with two specialised rigs tailored to different types of targets:
- The Askar 130PHQ for high-resolution imaging of intricate nebulae and faint supernova remnants
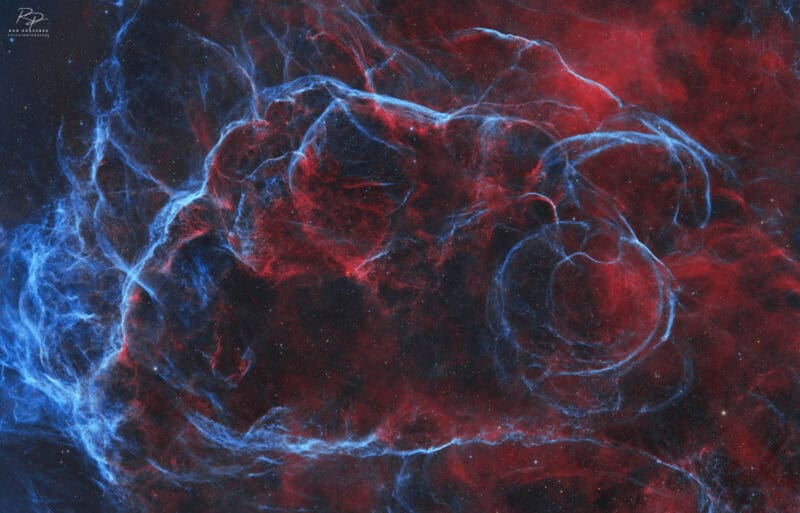
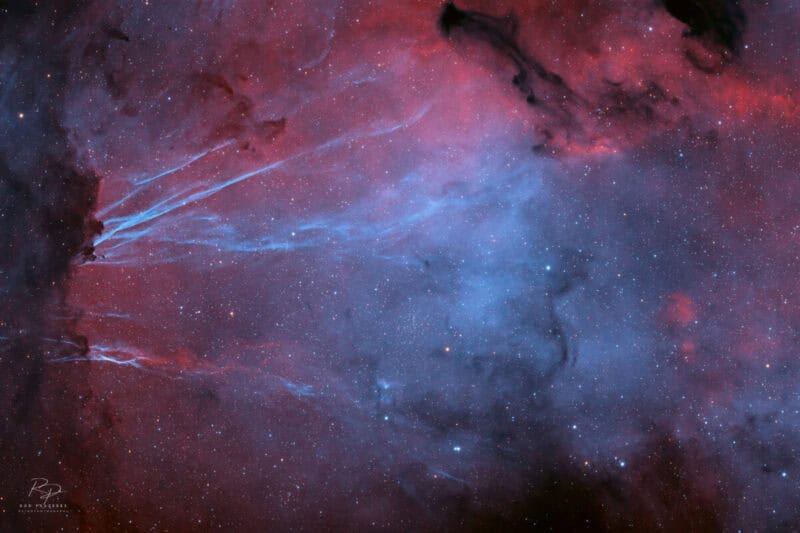
- The William Optics RedCat 51 II for widefield captures, perfect for expansive regions like the Rho Ophiuchi complex or the Vela Supernova Remnant
Both setups use the ZWO ASI2600MM Pro monochrome camera, paired with Antlia 3nm narrowband and Baader RGB filters for star colour.
I guide the RedCat with a ZWO Mini Guide Scope, and use a ZWO OAG-L with the Askar for off-axis guiding.
At home in my Bortle 6 backyard, I mount everything on a Sky-Watcher NEQ6-Pro, while for remote dark sites I rely on the compact but powerful Sky-Watcher Wave 150i.
Both systems are integrated via ASIAIR, giving me full remote control and sequencing.
What do you use for post-processing?
My post-processing is mostly done in PixInsight, with a structured and flexible workflow designed to maximise data quality and visual impact.
It typically looks like this (not necessarily in this exact order):
- Manual inspection of each subframe to discard poor-quality frames before calibration
- WBPP (Weighted Batch Preprocessing) for calibration and stacking
- ImageSolver for plate solving
- SPCC (Spectrophotometric Colour Calibration)
- SCNR for green noise removal (if needed)
- GraXpert for background neutralisation and gradient removal
- BlurXTerminator for deconvolution and detail enhancement
- DeepSNR for noise reduction
- StarXTerminator to separate stars from the nebula
- GHS stretching for precise histogram control
- Channel combination
- Continuum subtraction or nebula enhancement scripts, if applicable
- Curves transformation and local contrast adjustments
- Mask-based enhancements, such as star reduction, nebula sharpening, or background smoothing
- Optional use of morphological transformation, pixel math expressions, and multi-scale linear techniques
Once the structure and colour balance are finalised, I finish the image in Photoshop using Camera Raw – mainly for fine-tuning colours, soft contrast tweaks, and making sure the visual tone is consistent across platforms.
I also use Photoshop’s layer functionality to apply luminosity and/or blend different processing techniques (e.g.: I may process the image in two different ways then blend them together using layers).
How do you create those cosmic animations that you’ve been sharing recently?
The animations are built in Adobe After Effects, using layered high-resolution stills.
The process involves subtle zooms, pans, and rotational movements to simulate drifting through space.
Parallax effects are applied by separating star layers from nebulae to create a sense of depth, without introducing artificial elements.
The end goal is to transform a still image into a cinematic experience, something that invites the viewer to fly through the cosmos rather than just look at it.
Here’s one good example, and here’s a time-lapse video of the process of creating it.
Any astrophotography learning resources that you can recommend?
- My foundation was built through direct mentorship, starting with Adam Cohen, who taught me the fundamentals of PixInsight and data processing.
- I later expanded my knowledge through advanced workshops with Steeve Body, whose guidance really pushed me to elevate my work.
- I also recommend Masters of PixInsight and Adam Block’s courses for anyone looking to go deeper into technical refinement. These are structured, hands-on resources that teach you not just how to process, but why each step matters.
What are your proudest achievements in astrophotography?
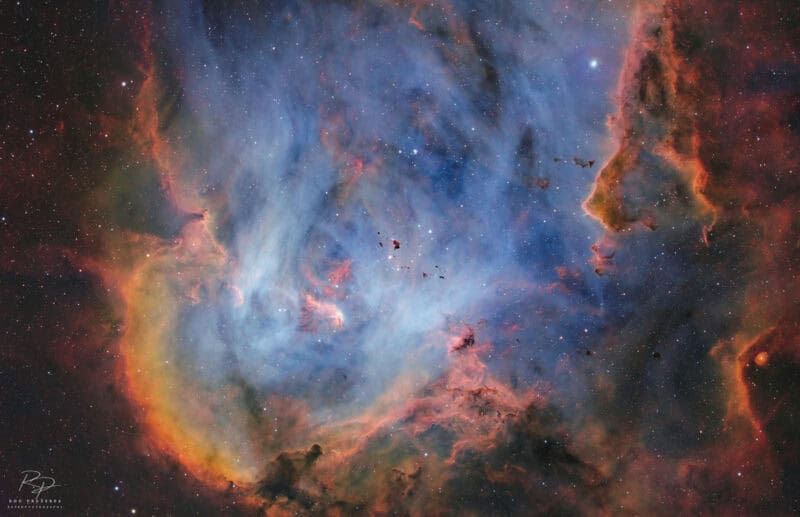
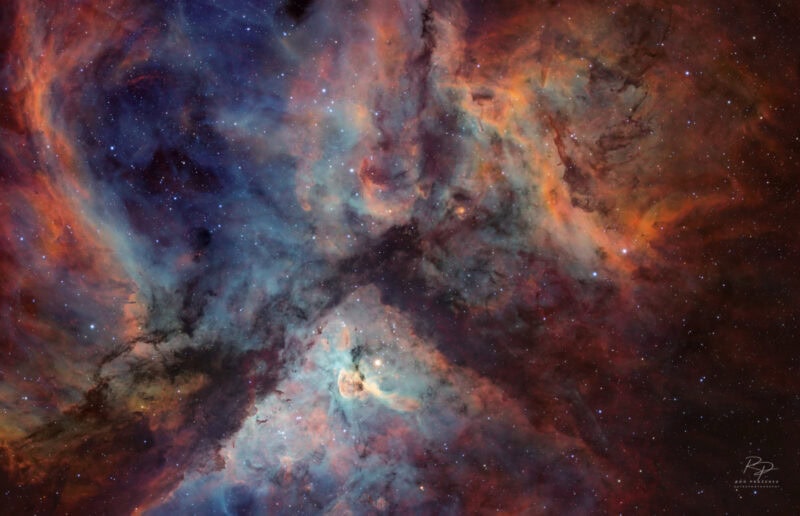
My proudest achievement so far has been being shortlisted for the Astronomy Photographer of the Year (APY16) competition.
My image of the Carina Nebula was selected for exhibition and is currently being displayed in a backlit light panel at the Royal Observatory Greenwich in London until August 2025, an honour I’ll never forget.
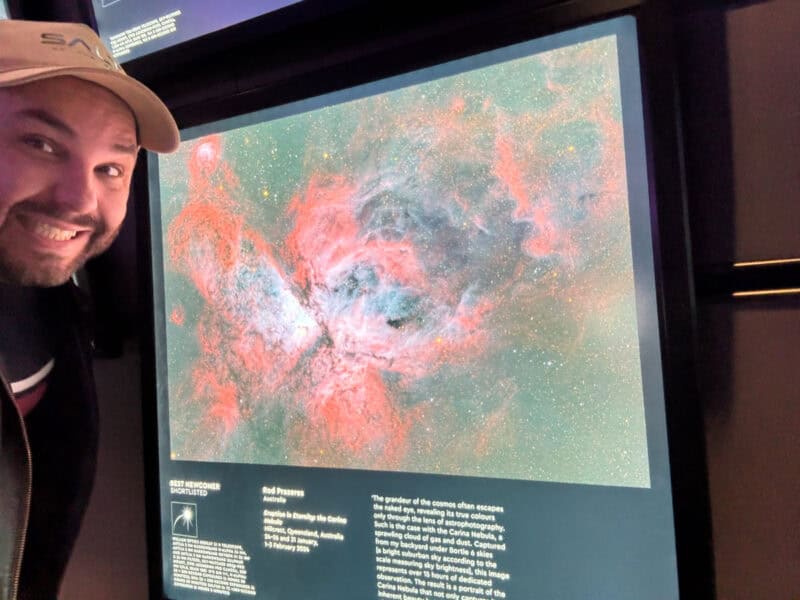
I had the opportunity to attend the exhibition in person, and seeing my work illuminated and featured among some of the best astrophotographers in the world was surreal.
Standing there, in front of a panel glowing with something I captured from my backyard, was a powerful reminder of how far I’ve come in such a short time.
In addition to APY, my work has been published in BBC Sky at Night and Astronomy Now magazines.
I’ve also won the William Optics International Astrophotography Competition and the nPAE Northern Hemisphere Astrophotography Competition, which have helped build momentum and confidence in my journey.
I’m both humbled and proud of these achievements.
Where can people follow or contact you?
- Follow my latest projects, animations, and behind-the-scenes insights on Instagram
- You can explore my work and purchase fine art prints of my work here
- To access all other social links and galleries (e.g.: Facebook, Flickr, Youtube, TikTok, etc.) click here
- For direct enquiries or collaborations: [email protected]
