In this interview, Burak Esenbey outlines how he took the above photo, Dune.
How Did You Plan the Shot?
Actually, I didn’t plan it … :)
Normally I would spend a significant amount of time preparing for such an image, but this location – White Desert National Park in Egypt – doesn’t have any specifically well-known spots for astrophotography.
Therefore, we drove through various different areas looking for suitable foreground compositions.
In the White Desert, a guide is essential. You are not actually allowed to go out without one and also because it would be impossible to keep track of your location in this huge area.
With our group and two guides, we spent one night camping out. We had a really exciting time in addition to the photography.
This spot for the photo caught my eye right away because I was specifically looking for such sand dunes. I love this kind of structure in the sand, especially in combination with the night sky, you almost can’t go wrong.
Just behind me, there was an arch in the same direction which was the actual reason to stop there, but at that moment I immediately knew that this is my composition.
I checked the alignment of the Milky Way with apps like Photopills and was sure I could go for the image.
What Equipment Did You Use?
Let’s get to the equipment.
For this trip I had two Sony cameras in my backpack:
- a Sony A7S, and
- a Sony A7 IV
My Sony A7S is astro-modified. This allows me to capture the red nebulae in the Milky Way much better.
Since then I have updated my setup a bit and I mainly work with a modified Sony A7 III instead of the Sony A7S.
I now also own a modified Canon EOS R that I picked up a couple of weeks ago.
When it comes to lenses, on this trip I mainly used the:
- Sony 14mm f/1.8, and the
- Sony 16-35mm f/2.8 GM
Recently I fell in love with the Sony 24mm f/1.4 GM lens, which is a superb lens for the night sky.
I also had with me:
- A sturdy Sunwayfoto tripod
- An intervalometer (to set the exposure time longer than 30 seconds)
- A MoveShootMove star tracker – this allows me to work against the earth’s rotation when shooting amd means I can take significantly longer shots of the night sky without star trailing.
“The Sony A7S is a beast in the night”
How Did You Compose the Shot?
Once I checked the alignment of the Milky Way, I set up my tripod and levelled it.
A levelled tripod is the basic requirement for panorama shots.
Then we waited until darkness set in, but since we got there relatively late we didn’t have to wait long.
For this shot, I captured the foreground shots in the late blue hour. I used so-called “time blending” to combine with the night sky images.
Of course, it would also have been possible to take these pictures during the night, but I made a different decision here as I thought it would improve the overall quality.
I used my Sony A7 IV for the foreground shots. Because of this there was a difference in the size of the images later when combining foreground and sky, therefore I decreased the foreground image and left the sky as it was.
This may not have been absolutely necessary, but I feel the quality with the Sony A7 IV is much better when photographing the foreground.
Exifs for the foreground are:
- 3×13 sec
- 16mm
- ISO 640
- F/8
Later, when the Milky Way rose, I set up my star tracker. The most important thing with this is that it is correctly aligned with the Earth’s axis.
Panorama shots on a tracker are a challenge because you have to constantly make sure that the camera remains level.
By rotating the tracker, this is lost and readjustment is necessary.
With long exposures like mine of 181 seconds, a readjustment is necessary after each shot.
Tracking allows me to decrease the ISO significantly and therefore each frame is without noticeable noise.
Also a benefit of tracking is that the f-stop doesn’t have to be wide open, it is absolutely fine to close it a bit to get a sharper image.
The Sony A7S (and the entire “S“ Series) is a beast in the night and I took 5 great vertical frames for the Panorama.
Exifs for the night sky:
- 5 x 181sec tracked
- f/2.8
- ISO 1000
- 18mm
“Editing the sky is more complex. I always start with the reduction of the stars.”
What Post-Processing Did You Do?
When editing the image, the two panorama lines are first put together.
In this case, I did the whole thing in Lightroom and Photoshop (today I would probably work more with PTGui).
After the rows of images have been assembled, the individual rows are processed and prepared.
I always do the first basic adjustments in Lightroom before I do further steps in Photoshop.
There is not much to say about the foreground, after the first adjustments I fine-tuned in Photoshop and prepared the picture so that it can be merged with the sky.
Tracked images must always be merged in two steps because tracking would inevitably blur the foreground.
Editing the sky is more complex. I always start with the reduction of the stars. This is a technique to visibly reduce the multitude of stars. It doesn’t remove them, just makes them less visible.
This later has the advantage that the details of the Milky Way can be seen better and are not covered by the glow of the stars.
In the second step, the image is stretched. Here the details and colors of the Milky Way are worked out from the available data of the image.
A big challenge in this was the bright Venus in the center of the frame. I really needed to be very careful while editing because this section was always on the edge to completely blow out.
Last but not least comes the fine-tuning with color and contrast.
The final step then involves merging the sky and the foreground.
“I always like to recommend that you plan something special for the next two days and concentrate on it.”
Can You Recommend Any Learning Resources For Other Astrophotographers?
I think the most important thing is to go out and take pictures. Only practice makes perfect.
It is also important that you do a good analysis of your pictures and see what you can do better next time.
At my workshops, I always like to recommend that you plan something special for the next two days and concentrate on it.
For example, “Today I’ll pay special attention to foreground objects”. You do it today and tomorrow, after that you do it automatically, then next time you add a new thing.
There are of course a lot of free tips from good astrophotography channels on YouTube.
Of course, I also invite you to follow my Instagram page. I actually share the EXIF data for all my pictures and am always happy to answer any questions. There you can also see where the next trip is that you can take part in.
In addition, I am one of the admins of the Milky Way Chasers pages on Facebook and Instagram (>900k followers).
On Facebook you can see all submissions and there the rule is that the EXIF data as well as a story to the picture must be shared.
I think you can find useful information here as well.

About You – Burak Esenbey
My name is Burak Esenbey (41) and I am a professional landscape and astrophotographer from Osnabrück / Germany.
My parents are from Turkey but I was actually born in Germany. So I speak German, English and Turkish fluently.
You can follow and/or contact me via these channels:
My first job was a sales manager in the healthcare sector, but I have built up a second profession with photography and with this have traveled to places like Chile, Argentina, Jordan, Egypt, Namibia, and Iceland.
As of this year, I also offer photo trips.
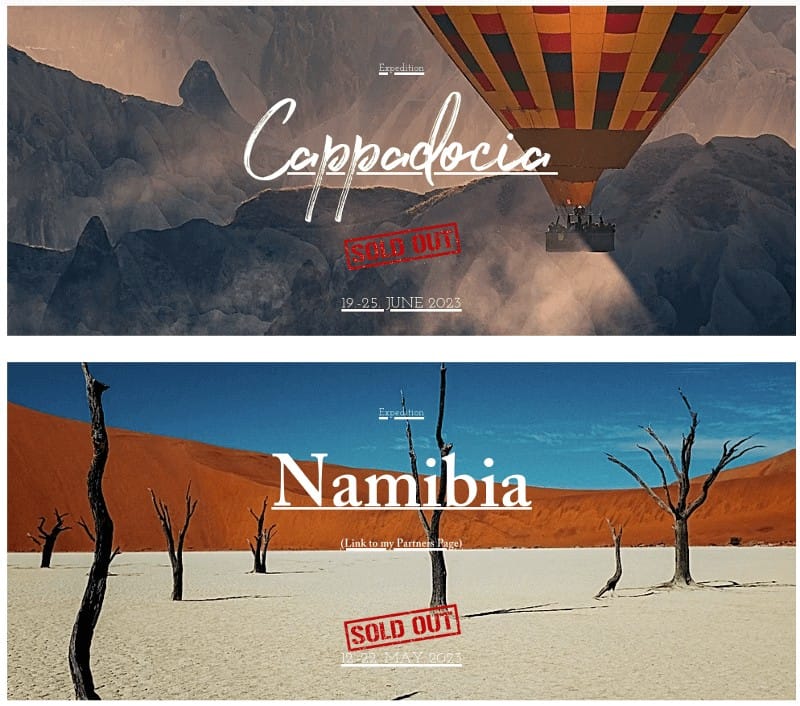
We have already done Namibia and Cappadocia in Turkey.
In the recent past I received some awards:
- Capture The Atlas Milky Way Photographer of the Year 2022 + 2023
- Top 101 at the International Landscape Photographer of the Year
- 2nd place in Night Photography at the 35Awards
The image in question today has been shortlisted in the highly esteemed Royal Museums Greenwich Astronomy Photographer of the Year 2023 competition.
Related Content from Skies & Scopes
- Astronomy Photographer of the Year: Gear Analysis
- Best Astrophotographers Interviews & Case Studies
- Best Cameras for Astrophotography
- Best Mirrorless Cameras for Astrophotography
- What is an Astro Modified Camera?
- Best Lenses for Astrophotography
- Best Star Tracker for Astrophotography
- Best Astrophotography Apps
