

This astrophotography for beginners guide takes you through all you need to know.
Follow this, and you’ll soon be taking amazing pictures of the stars, planets, and galaxies.
You can impress your friends and family and you can do this with minimal gear (even a smartphone camera). It may be easier than you think. Read on to get started.
What is Astrophotography?
Astrophotography is the practice of photographing:
- the stars in the night sky
- astronomical objects like stars, planets, and galaxies
- celestial events like meteor showers
The word astrophotography is a combination of the words astronomy and photography. The dictionary definition is “the use of photography in astronomy”.
It can also be referred to as:
- astronomy photography
- astronomical imaging
- astro-photography
This encompasses quite a lot. From an amateur shooting the night sky, to an observatory, to even a space telescope like Hubble or the James Webb Space Telescope (JWST).
We are focussing here on amateur astrophotography and what you can do with regular gear.
There are different types of astrophotography. Each uses different equipment and techniques, and each has its pros and cons. We’ll explore these now.
Types of Astrophotography
There are three main types of astrophotography:
- Landscape astrophotography
- Planetary astrophotography
- Deep sky astrophotography
Landscape astrophotography
Landscape astrophotography is the combination of traditional landscape photography and astrophotography.
It is the practice of photographing the night sky and the Earth’s landscape together.
You can see an example here:
Landscape astrophotography has grown in popularity in recent years for a number of reasons:
- The growth in image-sharing platforms like Instagram and other social media platforms
- The pervasiveness of smartphones and the improving quality of cameras that we all have in our pockets
- The decreasing cost of, and easier access to, high-level DSLR and mirrorless cameras
Landscape astrophotography is the most popular type of astrophotography. This is because you need little specialist equipment to do it. A regular camera, lens and tripod are all you need to get going.
You can even do it with a good smartphone camera, but most commonly (and most effectively) you will do it with a:
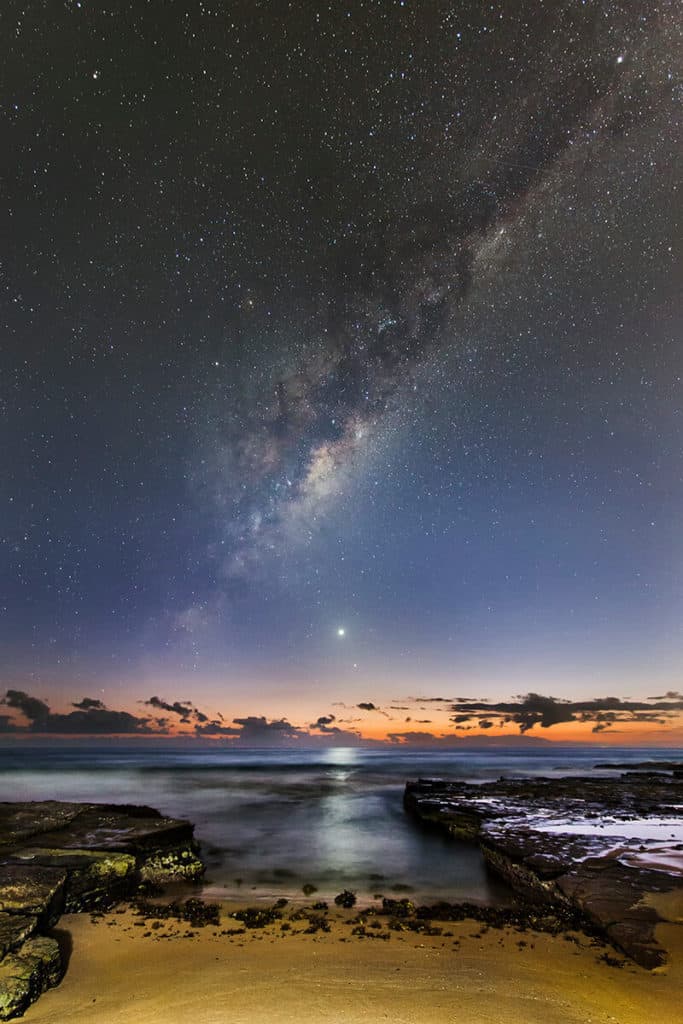
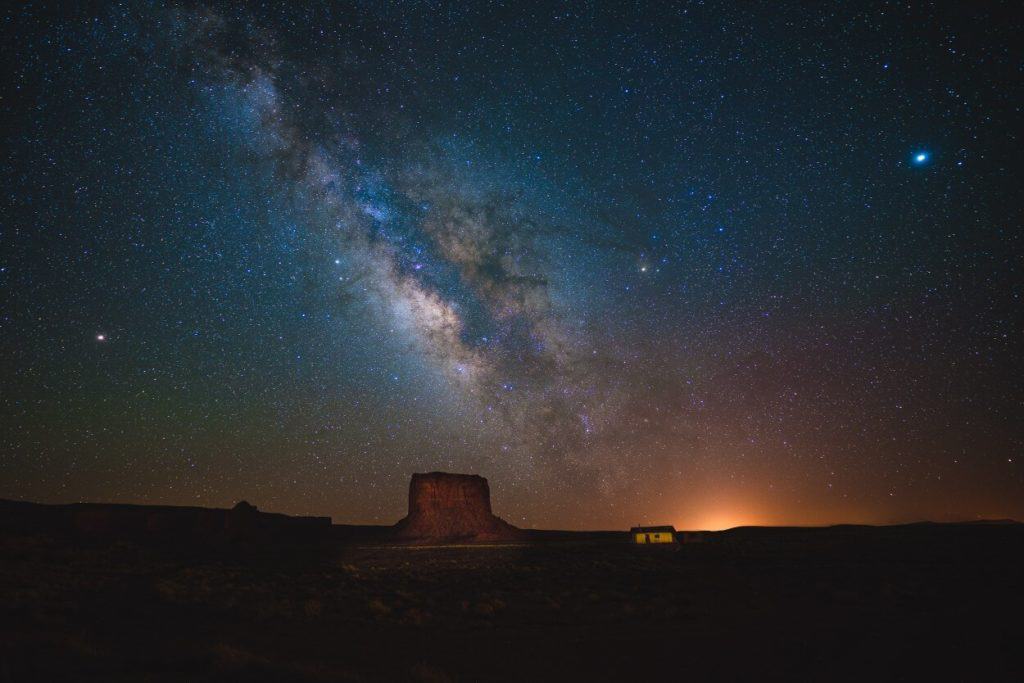
Landscape astrophotography can involve capturing our galaxy, the Milky Way, above the Earth.
The process of capturing the Milky Way adds a fair bit of planning but the results can be astounding.
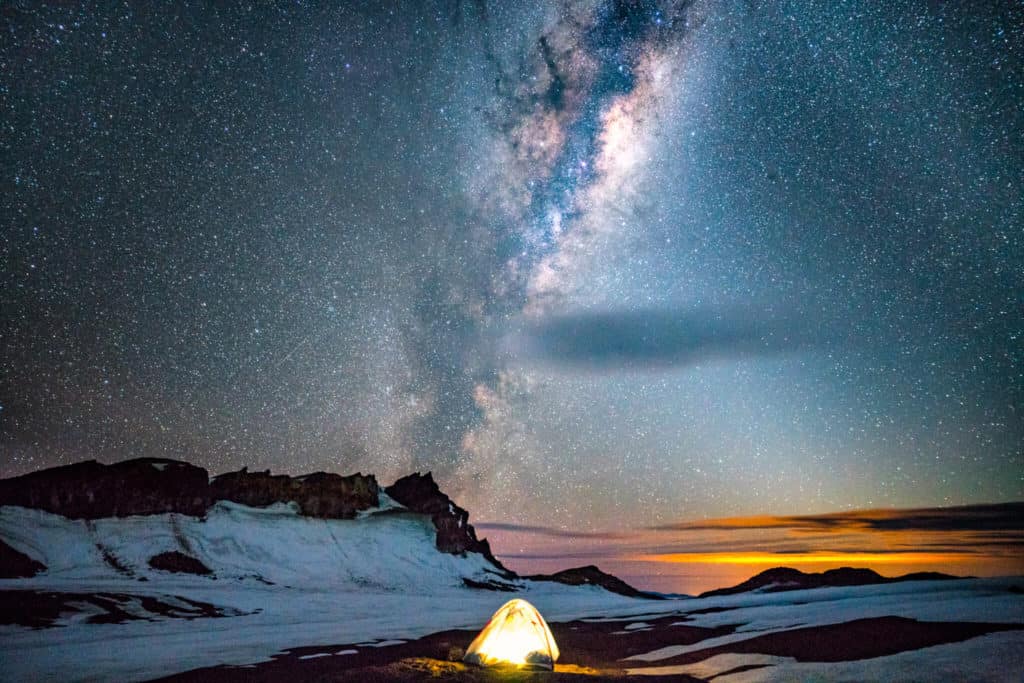
This image is a good example of landscape astrophotography. The photographer captured the Milky Way above a stunning landscape:
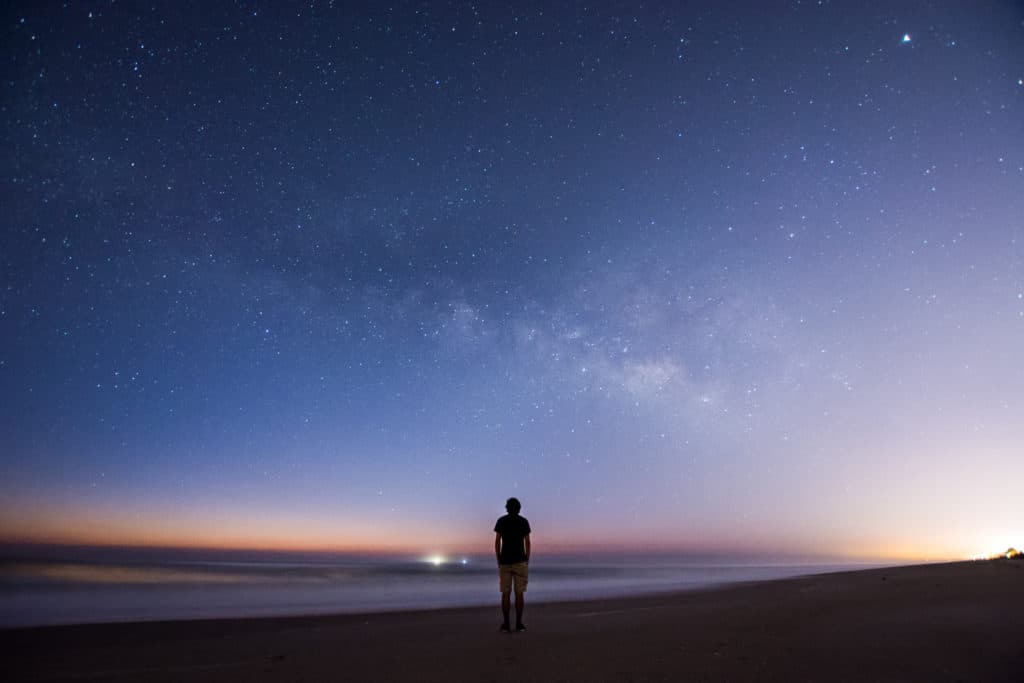
A variation on this is to include people in the image – see for example this ‘Milky Way selfie’:
Another great thing to photograph is star trails:
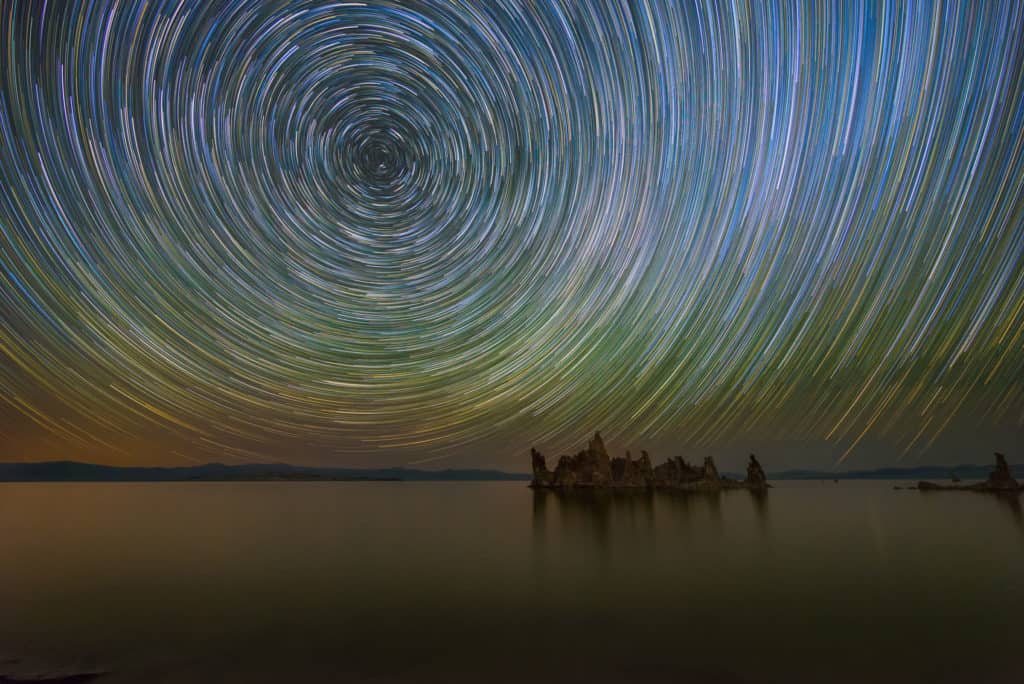
You create a star trail effect by taking a long exposure focused on the North Star, Polaris, whilst the Earth rotates.
Capturing shooting stars and meteor storms are also a variant of landscape astrophotography. As long as you include part of the Earth’s landscape.
Landscape Astrophotography Pros and Cons
The main advantages of landscape astrophotography are:
- It is the easiest to get started with as a beginner and you can do it with the least gear. You can start with a basic camera or smartphone and get results.
- It is the cheapest type of astrophotography. You don’t need a telescope or other advanced gear.
- There are endless ways to be creative and find new places to take photos. In comparison, it is hard to be creative when taking a picture of, for example, the Andromeda galaxy. This is because you cannot get a unique perspective unless you move to a different planet.
The disadvantages of landscape astrophotography are:
- You need to go outside and travel to your shooting location at night. You cannot do it from your backyard like you can with planetary or deep sky imaging. If capturing the Milky Way you will also need to time it for the right time in the sky and this could be 3am. Some people will be ok with this but for many it might not be desirable or possible.
- Whilst you can get started for cheap it can get expensive. You will want to upgrade to a better camera at some point. Add to this a new lens, a sturdy tripod, and maybe a star tracker, and it can add up to thousands of dollars.
- There is more competition for views online. Since it is easier, there are more people doing it and it can be harder to stand out.
See here an expanded guide to landscape astrophotography.
Planetary Astrophotography
Planetary astrophotography is photographing the planets and objects in our Solar System.
This includes:
- Our moon, also known as lunar astrophotography
- Our sun, also known as solar astrophotography
- The planets of our solar system – Mercury, Venus, Mars, Jupiter, Saturn, Neptune and Uranus
- The moons of these planets
- Dwarf planets like Pluto
You can see examples here from a great planetary astrophotographer called Andrew McCarthy.
Lunar imaging:
Solar imaging:
Planetary imaging (Mars):
You can do planetary photography with a DSLR or mirrorless camera, and a regular camera lens with a long focal length.
At a more advanced level, you will use a:
To photograph the sun you need specialist solar filters. Remember to never look directly at the sun through a camera, telescope or other such equipment.
Planetary Astrophotography Pros and Cons
The main advantages of planetary astrophotography are:
- You can do it from your backyard. You don’t need to trek out to a national park at three in the morning to find the perfect landscape. The perspective from wherever you are will be the same as any other location on earth.
- The moon is an easy object to shoot for astrophotography beginners. It is easy to see and locate. It also goes through different phases throughout the month which offers different opportunities. Solar photography is similar in that it is easy to locate in the sky, but requires specialist equipment.
- Planetary cameras are cheaper than deep sky cameras. Deep sky cameras need a higher resolution and internal cooling, but planetary cameras can be lower resolution and uncooled.
- The best telescopes for planetary imaging are also some of the best home telescopes. Schmidt-Cassegrain telescopes (SCTs) are best for planetary imaging. They combine high aperture and long focal length. Many of the most popular and accessible telescopes are Schmidt-Cassegrains like the Celestron NexStar range.
The disadvantages of planetary astrophotography are:
- Planetary astrophotography requires a greater degree of astronomical knowledge than landscape astrophotography. You need to know what will be in the sky above you and how to locate it. With landscape astrophotography where there will always be stars in the sky.
- The best planetary telescopes are expensive. The top Schmidt-Cassegrains with 8 to 14-inch aperture cost thousands.
- The planetary imaging process is more complicated. You need to build a setup where your laptop controls your telescope, mount, and camera. You will take multiple exposures and process these into an image. This is obviously more work than pointing your DSLR at the sky and getting an image from a single 15-second exposure – which is possible with landscape astrophotography.
Deep Sky Astrophotography
The third type of astrophotography is deep-sky astrophotography.
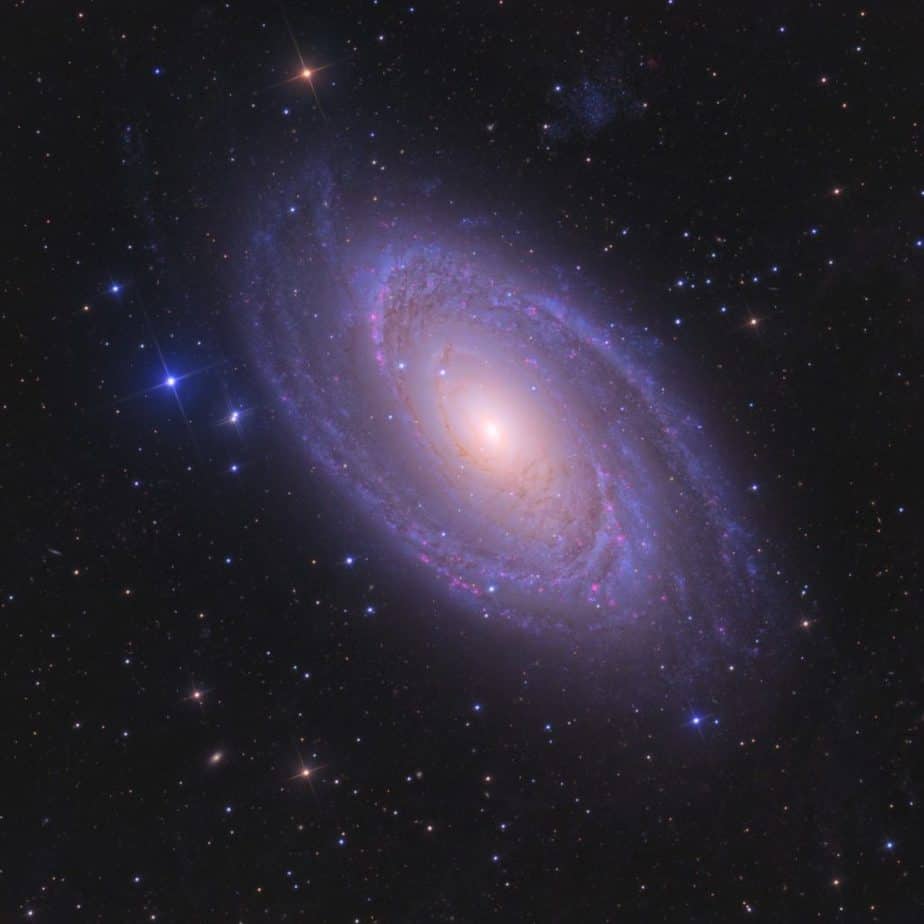
This is the practice of capturing images of deep-sky objects (DSOs).
The definition of a deep sky object (or deep space object) is any astronomical object that is outside of our Solar System and is not an individual star.
Generally, these are galaxies, nebulae (huge clouds of dust or gas), and other far-off phenomena.
There are 110 objects in the Messier Catalog, that lists and names most of the DSOs that are visible and can be photographed from Earth.
You can do deep sky photography with a DSLR and telephoto camera lens, but most often it is done with a:
Deep Sky Astrophotography Pros and Cons
The main advantages of deep sky astrophotography are:
- Like planetary imaging, you can do deep sky photography from your backyard. You don’t need to travel to another location.
- The best telescopes for deep-sky imaging are small models called apochromatic refractors. They can be cheap and, being smaller, are easier to store and travel with.
- There are endless things for you to take photos of. In comparison to planetary photography where there are only so many planets and moons in our solar system.
The disadvantages of deep sky astrophotography are:
- Deep space photography requires a greater level of skill to locate and capture objects. Most DSOs are not visible with the naked eye and require software to help you find and track them.
- The gear is expensive. Deep sky cameras cost a lot and you will need a quality telescope mount, which won’t be cheap.
- It can be hard to be creative and capture an original perspective of a DSO. You also have NASA sharing images from the Hubble and JWST space telescopes for free and they are pretty hard to compete with.
Other Types of Astrophotography
There are also other types of astrophotography that you may see banded about that refer to the technique used, rather than the object of focus.
For example:
- Afocal Astrophotography – This is attaching your camera over a telescope eyepiece to take the photo.
- Piggyback Astrophotography – This is when you attach a DSLR/mirrorless camera to the top of a telescope to use the equatorial tracking of the mount.
- Remote Astrophotography – This is when you operate equipment in a remote location to get your deep-sky imaging data to process. See our interview with Deep Sky West for an example of how remote astrophotography observatories work.
- Widefield Astrophotography – This is when you take a picture of a large (i.e. wide) section of the sky. Most often it refers to a way of doing deep sky astrophotography where a high-resolution camera and short focal length apochromatic refractor telescope are used to capture a wide expanse of space. This gives the astrophotographer the option to crop into a specific target within the image. This has become more common in recent years because the cost of high-resolution cameras has come down.
Astrophotography Tips for Beginners
Here are our 21 tips to get started and improve in astrophotography:
1. Choose what astrophotography you want to do
- Landscape?
- Planetary?
- Deep sky?
You probably want to do them all but each needs a different setup. Even if you had all the money in the world to buy all the gear you’d still need the time to master them all, which is unlikely.
I used to love going out at night to take landscape astrophotography images but then my circumstances changed – I had kids and sneaking out at 4am became harder!
I’ve since shifted to deep sky imaging as it suits my current circumstances more. I can do it in the earlier evenings and from my backyard.
Our advice is to think about what astrophotography type suits you and your life before investing in any gear. You can always diverge later and try different things.
Think about what astrophotography type suits you and your life before investing in gear.
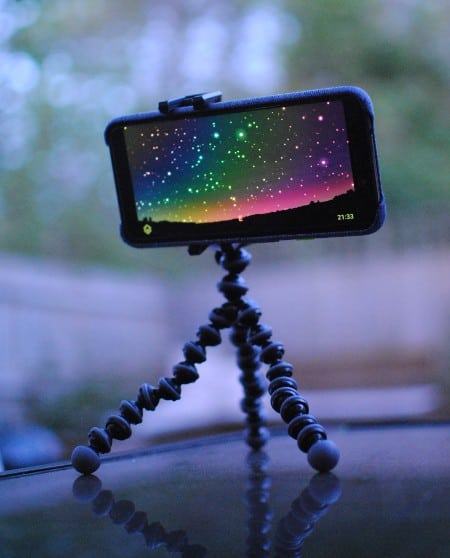
2. Start with what you have
A smartphone or an entry-level DSLR camera are great to start with.
Using what you have enables you to learn the other aspects of astrophotography. Planning your images takes a lot of work. Shooting with the right settings likewise. Not to mention processing and sharing.
Learning these other aspects without investing a lot of money is the way to go. It also gives you time to think about what gear is right for you.
Ultimately, you want your gear to be the thing holding you back before you upgrade, not your ability.
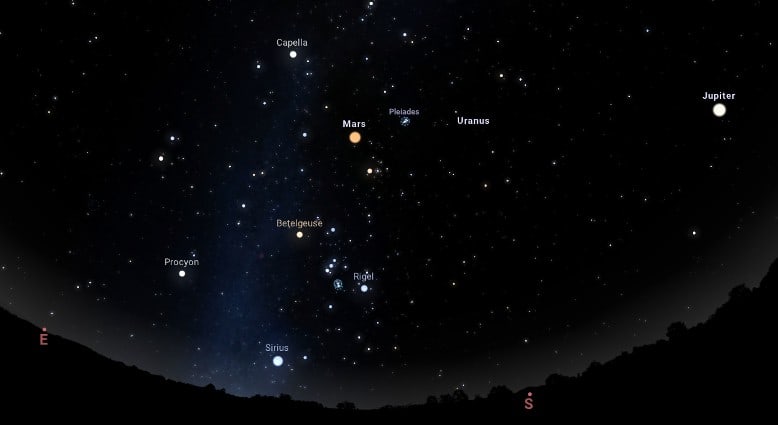
3. Learn the night sky
This may seem overwhelming at first but you can learn a little at a time quite easily.
There are good apps to use to help you scan the sky above you on any night or at a date and location in the future.
See what’s in the night sky tonight from my location?
4. Get the right camera for the job
Once you know you enjoy the hobby and want to move forward you will want to upgrade your camera.
For landscape astrophotography this will be a DSLR or mirrorless camera with a full-frame sensor (as opposed to an APS-C sensor).
These are more expensive and the cheapest new model is likely to set you back around $1000 but you could also buy used to save money.
Getting a used full-frame model is better than buying a brand new APS-C model even though buying new is often more appealing.
See our guide to the best cameras for astrophotography.
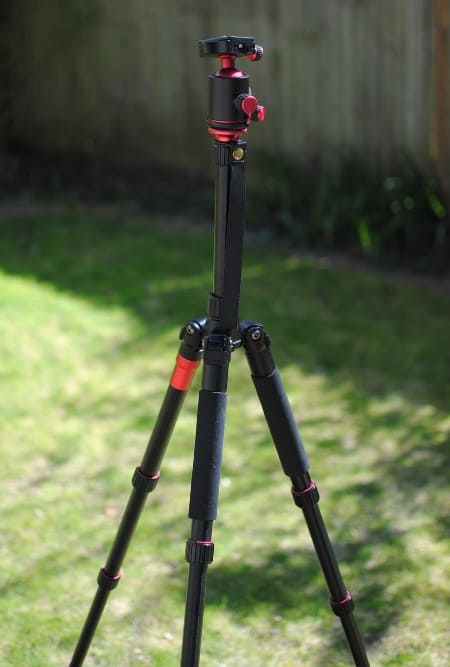
5. Invest in a good tripod
This is very important for landscape astrophotography but is an area where it is tempting to try and cheap out on.
You can get a good model for $60-100 and is a much better investment than a budget one for $20-30 that won’t be as sturdy.
See our recommendations on the best tripods for astrophotography.
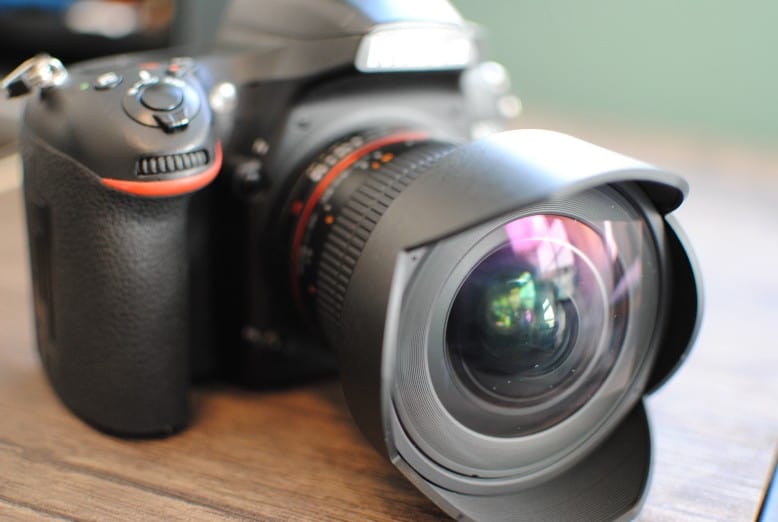
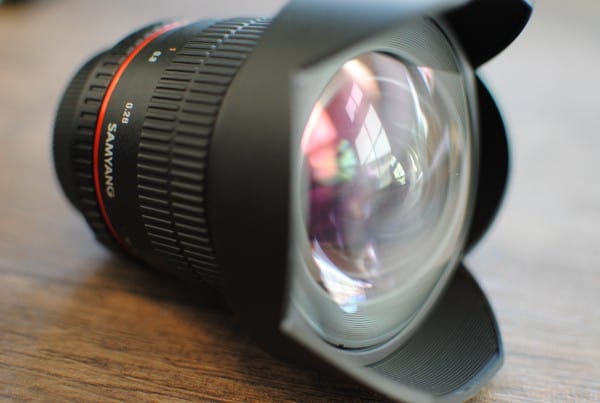
6. Get a fast, wide-angle lens
Around 14mm focal length and f/1.8 to f/2.8 aperture is the sweet spot for landscape astrophotography.
You want a low number for focal length and this means it shoots wide, rather than narrow.
The aperture dictates how well it will operate in low light. You want this to be as fast as possible as indicated by as low an f-number as possible. I.e. f/1.8 is faster and better than f/2.8.
See the best astrophotography lenses for more on this.
7. Build a planetary setup
If planetary astrophotography will be your thing, look at getting a:
- Planetary camera – low-resolution, fast frame rate, uncooled, CMOS camera
- Planetary telescope – probably a Schmidt-Cassegrain
- Astrophotography mount – GOTO, equatorial
8. Build a deep sky setup
If you want to focus on deep sky astrophotography then get:
- Deep sky camera – cooled, high-resolution, CMOS dedicated astronomy camera
- Deep sky telescope – probably an apochromatic refractor telescope
- Astrophotography mount – GOTO, equatorial
9. Learn from the best astrophotographers in the world
We analyzed 700 images from the Astronomy Photographer of the Year competition in the past five years to see what gear they used.
You can see the most popular cameras, telescopes, mounts and more that are being used by the best astrophographers today – see the findings here
10. Arm yourself with the best astrophotography tools
Having the right gear is only part of the challenge. Planning when and where to shoot your images is vitally important.
See the best apps for astrophotography to help with this.
Finding dark skies will give you a huge advantage. It’s no coincidence that New Zealand is the country with the most interest in astrophotography.
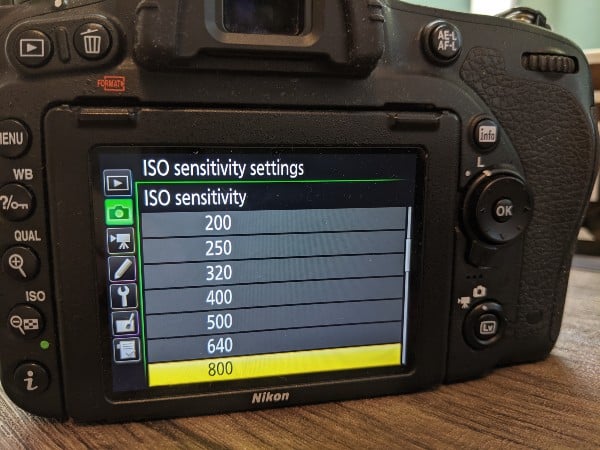
11. Learn your settings for astrophotography
Once you’ve got your camera, you’ll need to learn how to get the most from it.
For landscape astrophotography the key settings are:
- Aperture
- Exposure time
- ISO
See How to Take Pictures of Stars for more on this.
12. Learn how to find the Milky Way
There is a Milky Way season that depends on whether you are in the North or South Hemisphere.
When planning to photograph it, you will want to time it so that the core is in the right position for the image you are composing.
See How to Photograph the Milky Way for more on this.
13. Take astrophotography courses
Taking courses on astronomy and astrophotography can be a great way to learn.
These can be formal courses offered by an academic type institution, in-person workshops, or online courses led by experienced astrophotographers.
14. Watch astrophotography videos
There are some really great videos available to watch for free on YouTube.
See our list of the best YouTube astrophotography channels.
15. Join an astronomy or astrophotography club
Joining a local club is a good option for a beginner.
You can be completely honest about your level and get some good practical advice on how to advance.
“The best way to learn is to join your local astronomy club or find a mentor online whose work you admire and ask questions. Most people in this hobby are more than willing to share their experiences.”
Tolga Astro
16. Learn from astrophotography forums
There are some great websites out there to help you learn astrophotography, share your images and ask questions to people with more experience than you, all for free.
If you are on Reddit, there are two great subreddits to follow:
These are great because other photographers share their images and give details of what equipment they used and how they went about capturing the image.
The community on these forums are generally pretty good at answering questions (no matter how stupid) from beginners.
So if you’re struggling to understand something you can try dropping a comment under a recent post and you should get a response.
Other great astrophotography websites are:
- Astrobin is a great, simple website that encourages photographers to upload their astrophotography images. It’s generally made up of a pretty advanced group of astrophotographers, but that makes it a good place to learn from others.
- Cloudy Nights is a great astronomy forum, with lots of good in-depth articles. It looks a little like an old-school forum but there is a lot of good information to be gleaned from here and there are a lot of advanced contributors.
17. Follow the best astrophotographers on Instagram
See our list of the best astrophotographers to follow on Instagram
18. Set yourself a challenge
Commit to taking and publishing one photo every week or month and sharing it online.
The process of setting yourself a goal can be very motivating and sharing online helps you get feedback.
See Places To Share Astrophotography Images
19. Enter an astrophotography competition
Enter your images in competitions to see how you stack up.
See Astrophotography Competitions & Contests For You To Enter.
20. Read astrophotography books
There are a number of great books to help you learn how to shoot the night sky. My personal favorite is Astrophotography by Thierry Legault.
It is fairly advanced and mostly focused on deep-sky photography but it covers pretty much everything a beginner would need to know in detail.
See here for some more recommendations of the best astrophotography books.

21. Read astronomy books
You may also wish to learn more about astronomy and space in general.
In the long run, it’ll definitely help if you want to advance from shooting Milky Way landscapes to deep sky and more advanced astrophotography.
Turn Left at Orion is possibly the most popular astronomy book, covering how to find and spot objects in the sky.
See here for other recommended books to help you learn astronomy.
FAQs: Astrophotography for Beginners
How do I start astrophotography?
If you are looking to get into astrophotography then you can get going today:
- Grab your camera or smartphone
- Put the lens as wide as possible
- Attach it to a tripod
- Point it at the night sky
- Focus on a star
- Shoot for 15 to 30 seconds,
This is the best way to get started – mixing practical experience with learning from some of the resources listed above.
How hard is astrophotography?
Honestly, astrophotography is pretty hard, but that’s partly what makes it so rewarding.
Producing astrophotography images can be broken down into a five-step process:
- Choose what type of astrophotography is right for you
- Gather your astrophotography gear
- Plan your photo
- Take your photo
- Edit, process, and share your photo
Each of these steps is a lot of work in itself and will take years to perfect but you’ll have a lot of fun doing so!
Do you need a telescope for astrophotography?
You do not need a telescope for all types of astrophotography. Landscape astrophotography, for instance, is best done with a regular camera and lens.
You can even do deep sky imaging with a regular camera and telephoto lens.
Getting Started in Astrophotography
I hope that this covers the basics of astrophotography and that you have found this guide useful.
You can follow any of the links within this article to dig deeper into any specific aspect.
If you have any questions or want to note anything else that should go in this guide then please let us know in the comments below.
As astrophotographers like to say – clear skies!

Well done!
Thanks John!
I was googleing objectives which can be used for astro photgraphy on my a7II. I ended up here and read the whole article. Very good mixture of details and overview.
Thank you very much for that!
Thanks Mathias!
Definately ,will have a go,at this Facinating Hobby, Cheers John.