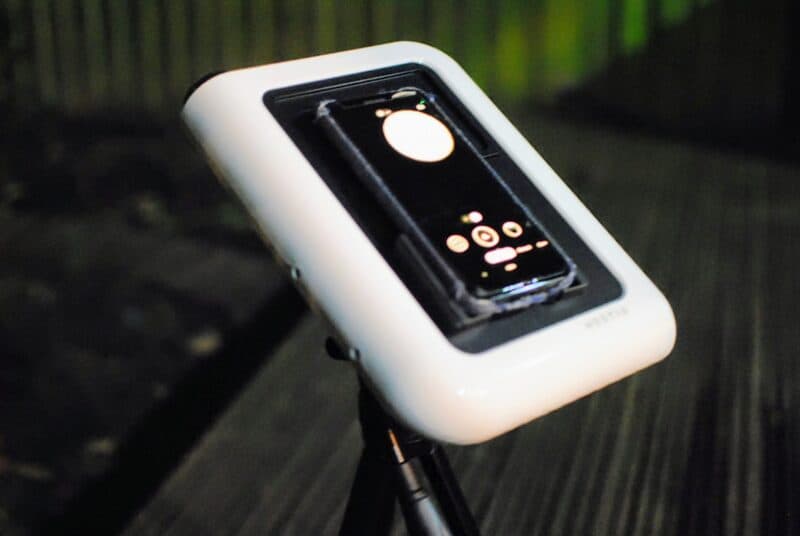
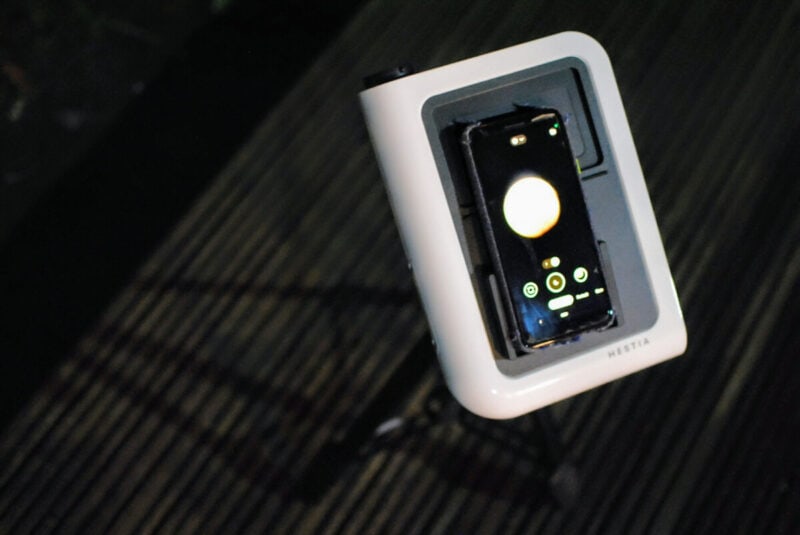
The Vaonis Hestia is a brand new smartphone device that is used to enhance your phone’s astrophotography capabilities.
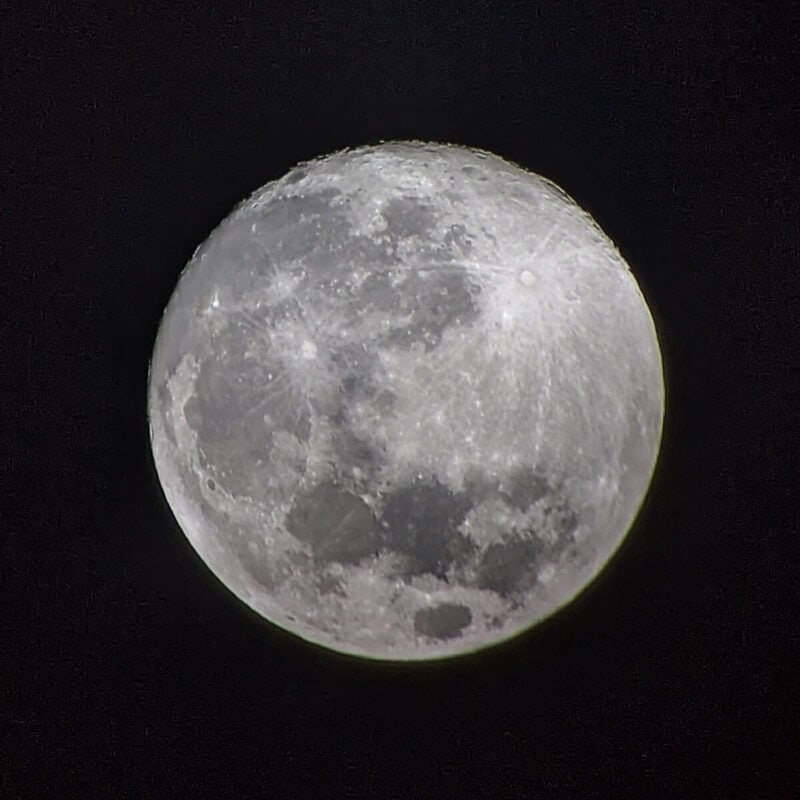
I put it through its paces for photographing the moon to see how it would perform and here’s what I got:

Read on for detail of how I captured this and my thoughts on how to get your best moon photos with the Vaonis Hestia.
Using the Hestia for Lunar Imaging
Using the Hestia to take photos of the moon is pretty simple, definitely so when compared to using it for solar imaging.
The steps are:
- Set up the Hestia with tripod and your smartphone. You can follow the tutorials in the Gravity app if you haven’t done this before.
- Point it at the moon. I found using my phone’s (Google Pixel) native camera app in night mode made it easier for me to find the moon before switching back to the Gravity app.
- Open the Gravity app, click on ‘Moon’ at the top and then ‘Observe the moon’ at the bottom.
You are now ready to start shooting.
Note though that as the moon moves in the sky you will have to keep recentering it as your Hestia is not equipped for tracking (this may be coming later from Vaonis).

Hestia Moon Photography Settings
Because the moon is a bright object you can use settings at their lowest:
- Exposure time: 1 ms
- ISO: 55
You can use the focus assistant to get the moon appearing as sharp as you can.
You can see above the best shot that I got from this session.
You can see a lot of detail and it’s certainly better than what I would get with just my phone zoomed in on the moon using my native phone app.
Post-Processing and Editing
Note that this was slightly edited using a free online tool called Pixlr Express.
This is not advanced processing at all. Here are the steps I took:
- Upload the image to Pixlr Express and open ‘Adjust’ on the left
- Decrease Shadows (to -100)
- Increase Clarity (to 100)
If you already know your way around some processing software then you should certainly be able to improve your results.
If not, the above steps will work or you could just use the editing tools in your phone’s photo storage. A little goes a long way.

Pros and Cons of Using the Vaonis Hestia for Lunar Imaging
Overall, I think that the Hestia is a good tool for shooting the moon with your phone.
It’s relatively easy to use and certainly enhances your phone’s capabilities.
In terms of any criticisms I would have:
- Firstly, the tripod is pretty wobbly with the legs fully extended. The solution is to not extend the legs but this just means leaning over or kneeling down to operate your phone.
- Secondly, without any tracking it’s hard to see how this is much better than just using your phone with say a small monocular or spotting scope with a smartphone adapter.
On the second point, Vaonis would probably say that the Hestia is much more versatile as it can do solar imaging with the sun filter attached, and when a tracking mount comes it will also be able to do deep sky imaging.
How to take better Lunar Images with the Hestia?
In terms of taking better photos of the moon with the Hestia, for me it is a matter of spending a bit more time with it and shooting the moon in different phases and really trying to get that focus as sharp as I can.
After that the next step in terms of processing will be to take multiple images and then try and stack them using software like Deep Sky Stacker or AutoStakkert.
This should be a good way of getting more detail in the images. I will update this later when I have been able to pull this off.
For more information on the Hestia, see my Vaonis Hestia Review and overview of solar imaging with the Hestia.
You can find more content like this in our Smart Telescopes hub.


