With the Solar Eclipse approaching on 8 April 2024, you are probably thinking about how you can capture and remember this momentous occasion.
You have a few options:
- Try and photograph it yourself with a camera or smartphone – You might pull it off but you might just end up missing the whole think whilst playing around with your camera or phone.
- Get yourself a solar telescope and full-on astrophotography set up – This will be expensive and will take a fair bit of learning to get to work properly and to make sure get it right on the day.
- Just watch it with your eyes (and some eclipse glasses) – You’ll have no images at the end, but at least you’ll enjoy and probably remember it.
Now, how about a fourth option that is (almost) guaranteed to capture a great image and will allow you to watch the event with your eyes?
The Best Way To Photograph the 2024 Solar Eclipse
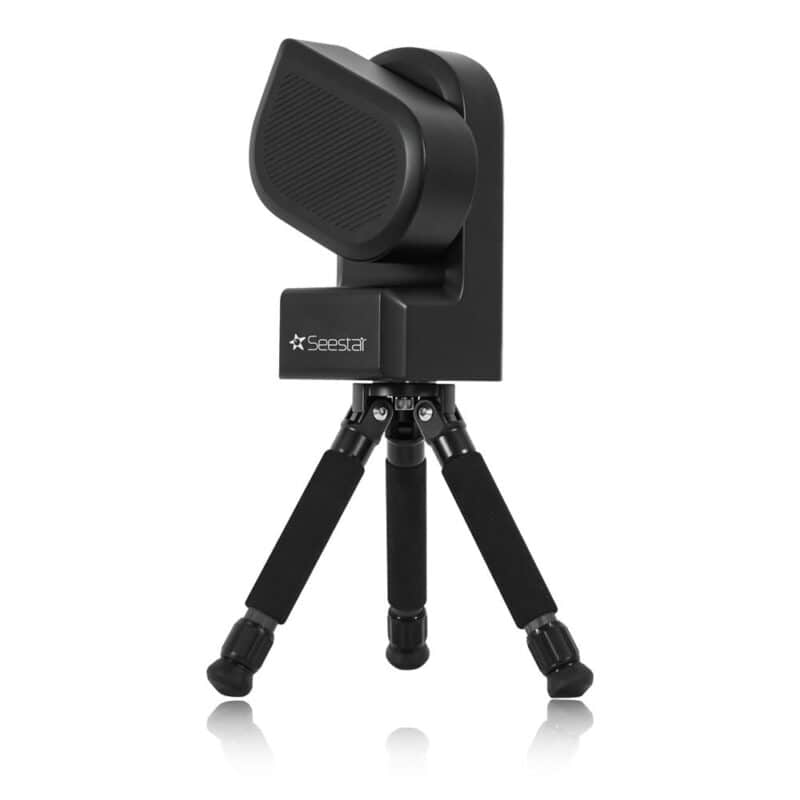
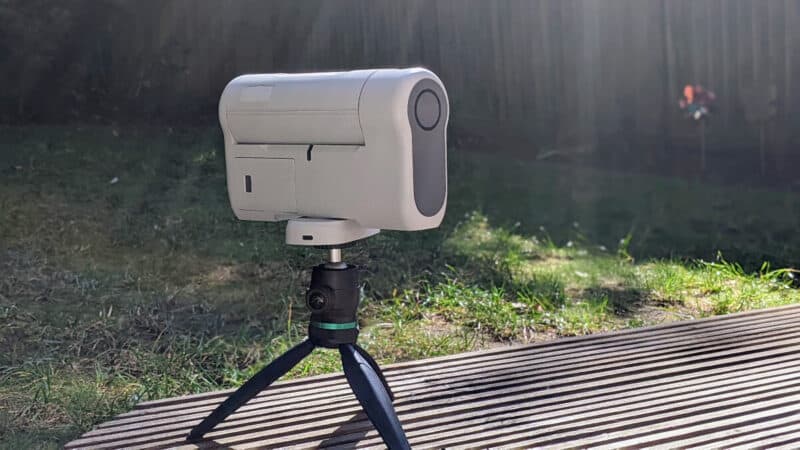
Enter the ZWO Seestar S50 smart telescope.
Smart telescopes have only been around for a little while but are perfect for capturing moments like this.
They combine telescopes and cameras in one and are controlled via app on your smartphone. In short, they are amazing, easy to use, and getting cheaper every year.
The ZWO Seestar S50 is perfect for the 2024 Solar Eclipse for three main reasons:
- It is excellent at solar imaging and the whole process is a breeze.
- You can set it up to continuously capture images of the sun while you get to watch the event with your eyes.
- It is relatively inexpensive – around $500.
Here are some example images taken of the sun with the Seestar S50:
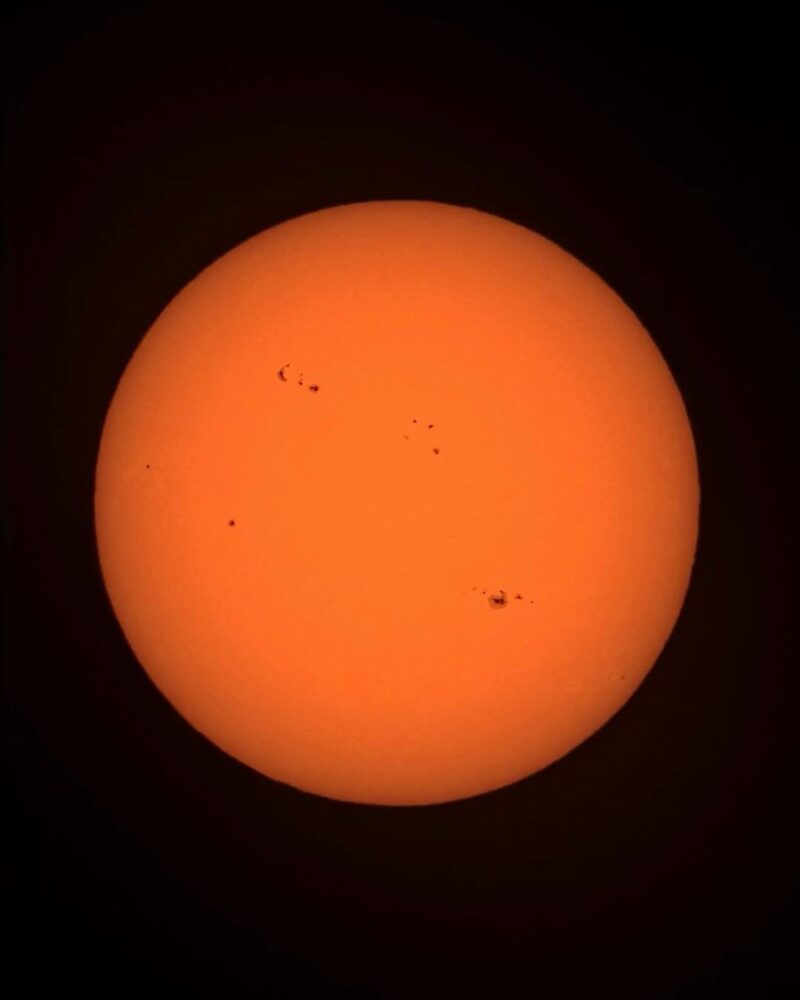
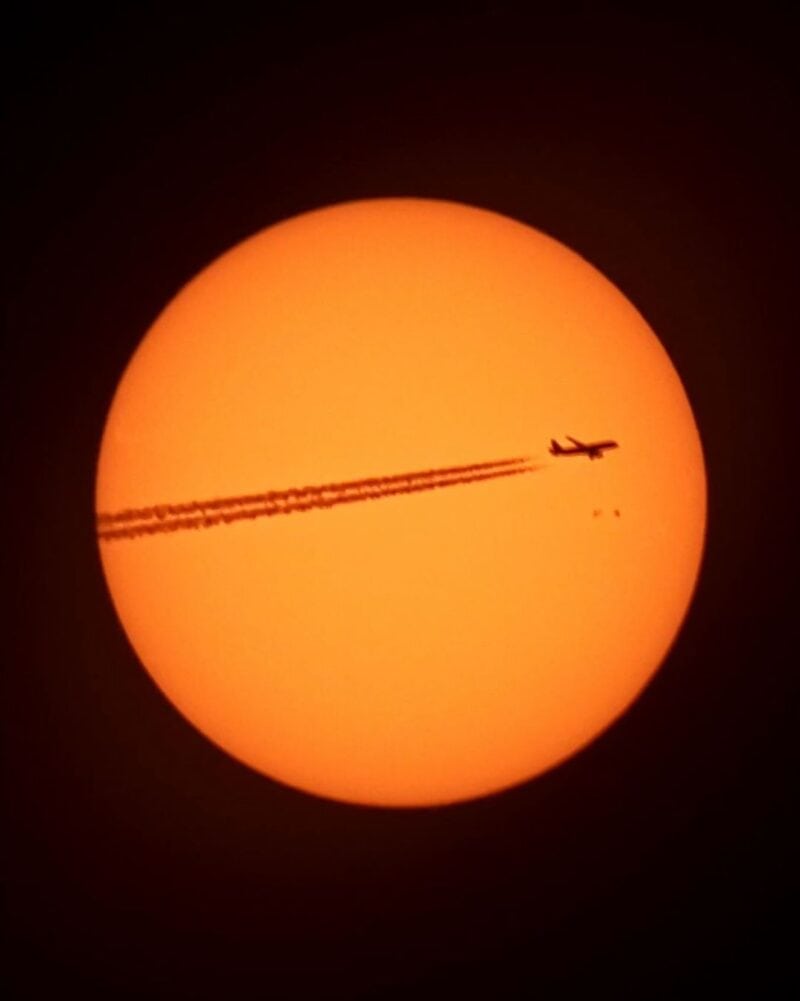
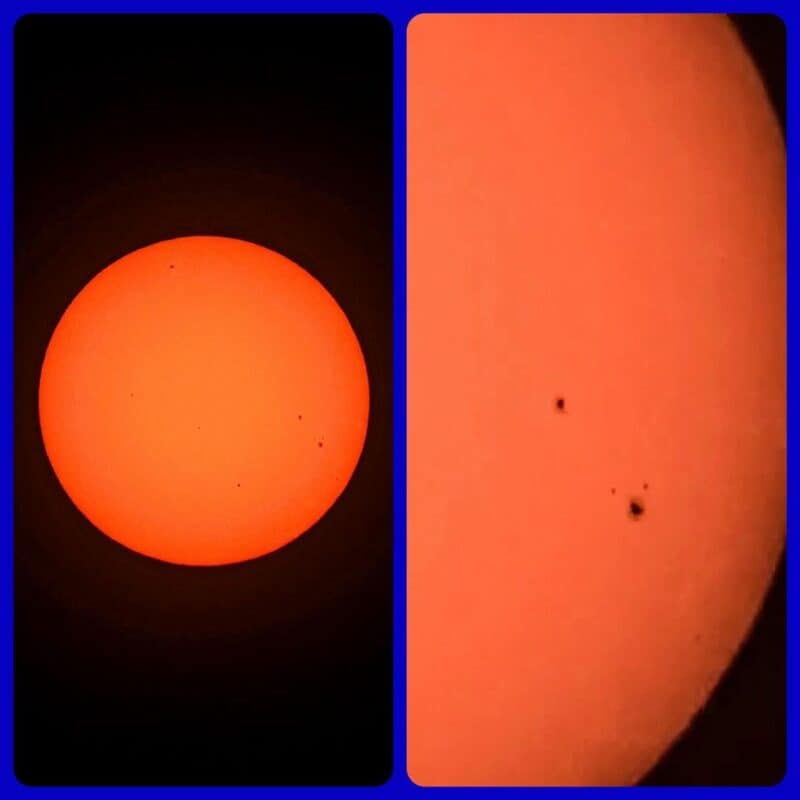
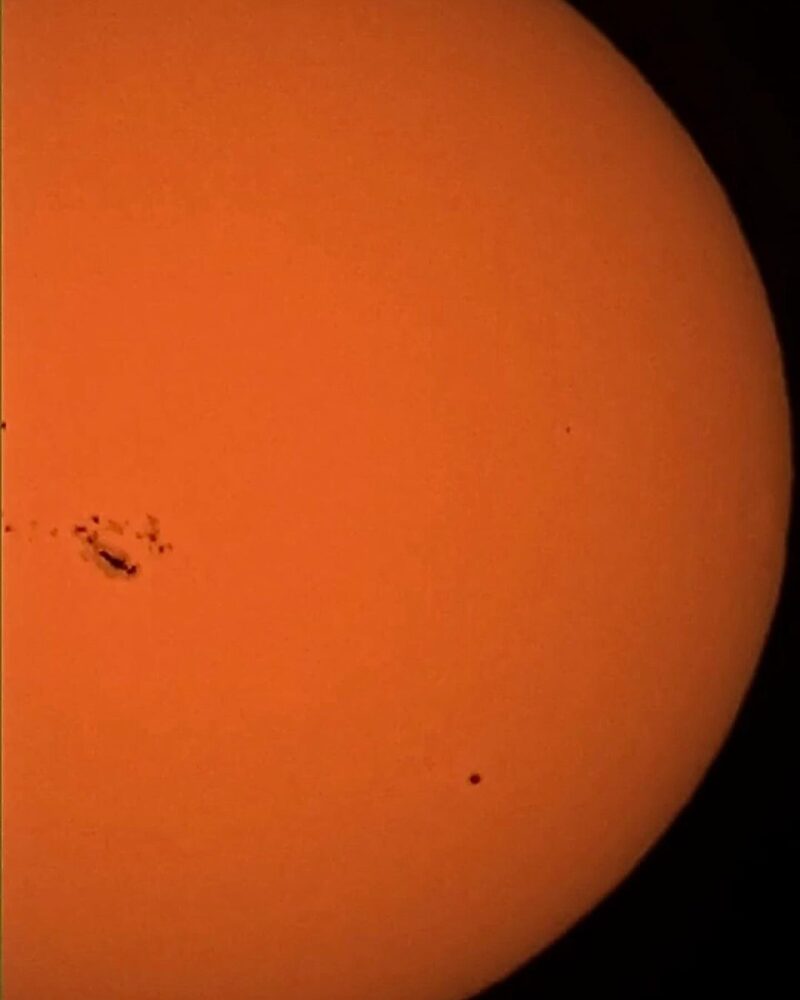
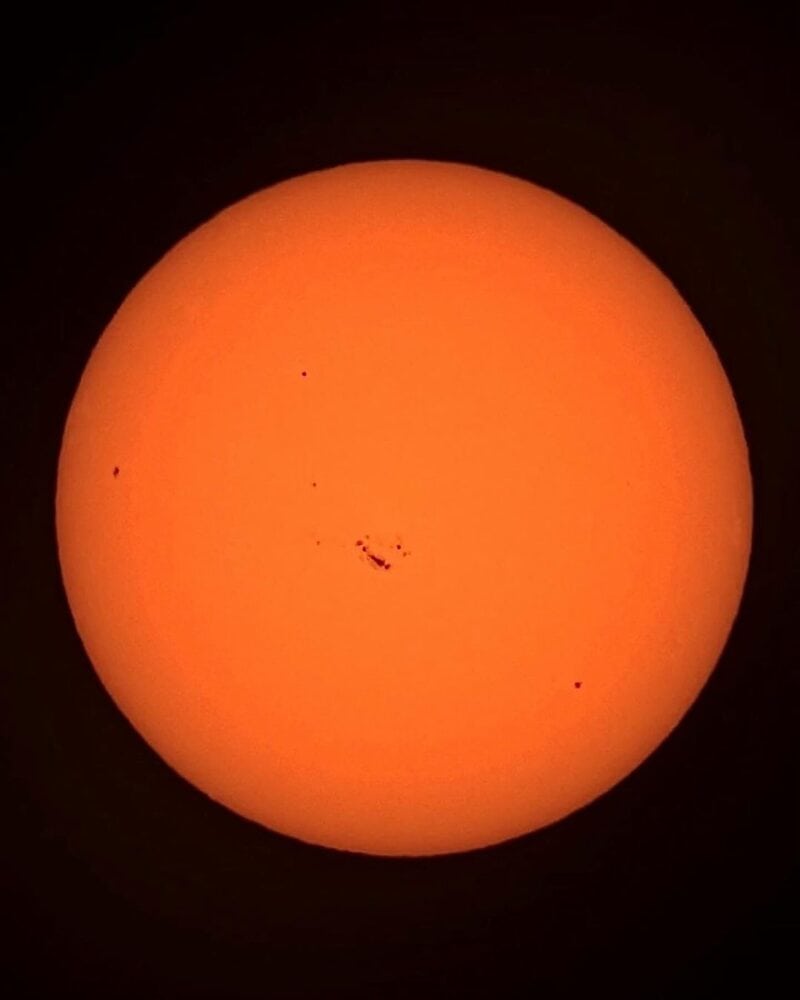
Looking at these it is not hard to imagine that it will be capable of capturing the eclipse.
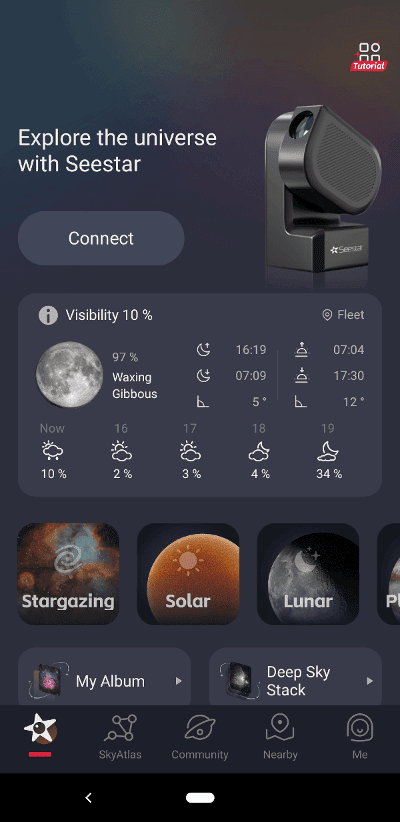
How To Use the Seestar S50 for the Eclipse
It couldn’t be more simple:
- Set it up outside where it will have clear sight of the sun
- Download the Seestar app and connect the the device
- Use the Solar mode and let it automatically find the sun for you
- Press the button to take images or video
You can watch a video here that shows how easy it is to use it to take photos of the sun (and process them to get the most from them):

Just make sure to practice capturing the sun on a normal clear day at least once before the actual eclipse.
You will want to know what you’re doing when it actually happens so that you can enjoy the event in confidence that you will have some great images after.
More Information and Alternatives
See here for our review of the ZWO Seestar S50.
It is a great device and it comes complete with a solar filter for taking photos of the sun.
You can buy the Seestar S50 direct from the manufacturer here and you can compare prices from other outlets here.
If $500 seems a lot for some solar images, remember its main purpose is to photograph galaxies and other far off astronomical objects at night, so you may find yourself with a new hobby afterwards and really get your money’s worth.
An Alternative Option
An alternative option is the Dwarflab Dwarf 2. This is another budget smart telescope that is even smaller and lighter than the Seestar S50.
You’d either need to buy the Deluxe package to have the solar filter included ($595), or go for the Classic package and separately add the ‘UHC/ND solar filter’ and ‘filter adapter’ (this should total just over $500).
You can get it direct from the manufacturer here or you can compare to other retailers here.
For more information on the 2024 solar eclipse, check out this guide from NASA here.
