Jonathan Lodge is a recipient of four NASA APODs and had two images shortlisted in the Astronomy Photographer of the Year competition in 2023.
He mostly works using remote observatory data and turning this into innovative astrophotography images and animations.
In this interview his gives and introduction to remote astrophotography and covers the pros and cons, as well as outlining his processing workflows and the software he uses. Enjoy!
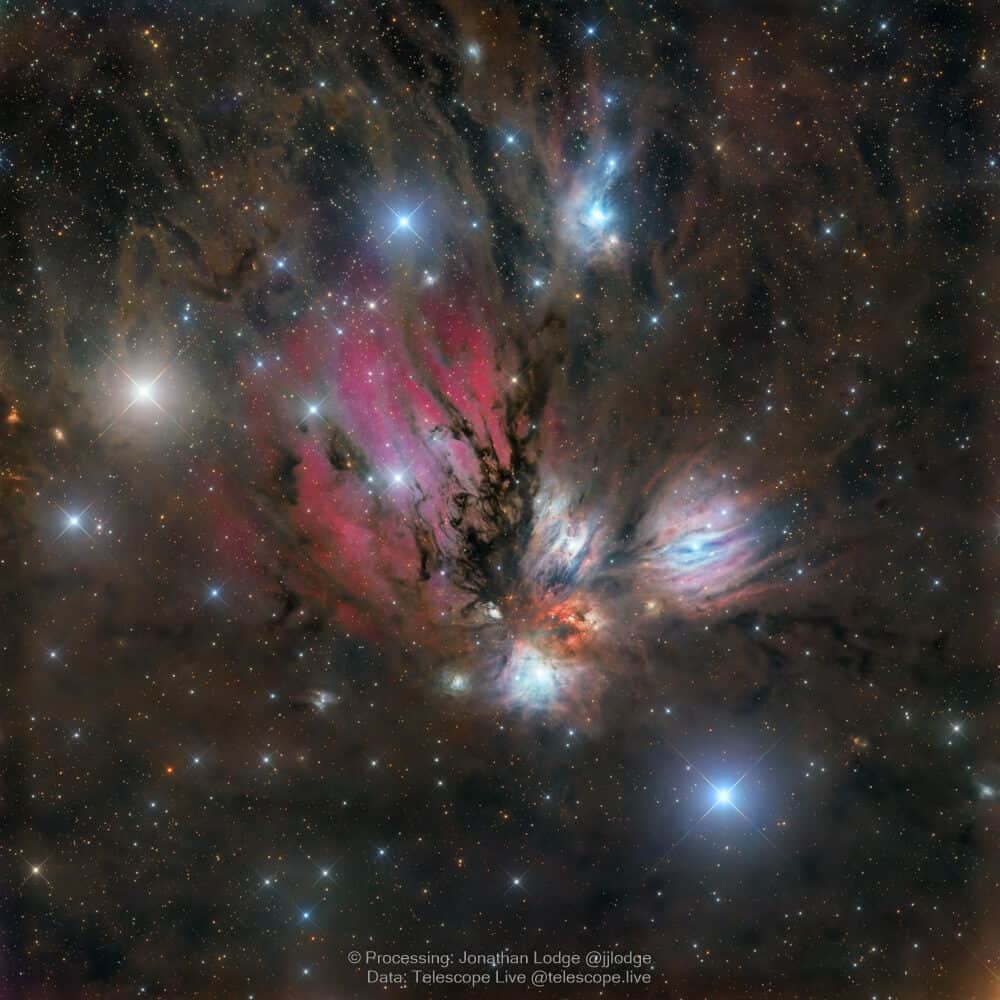
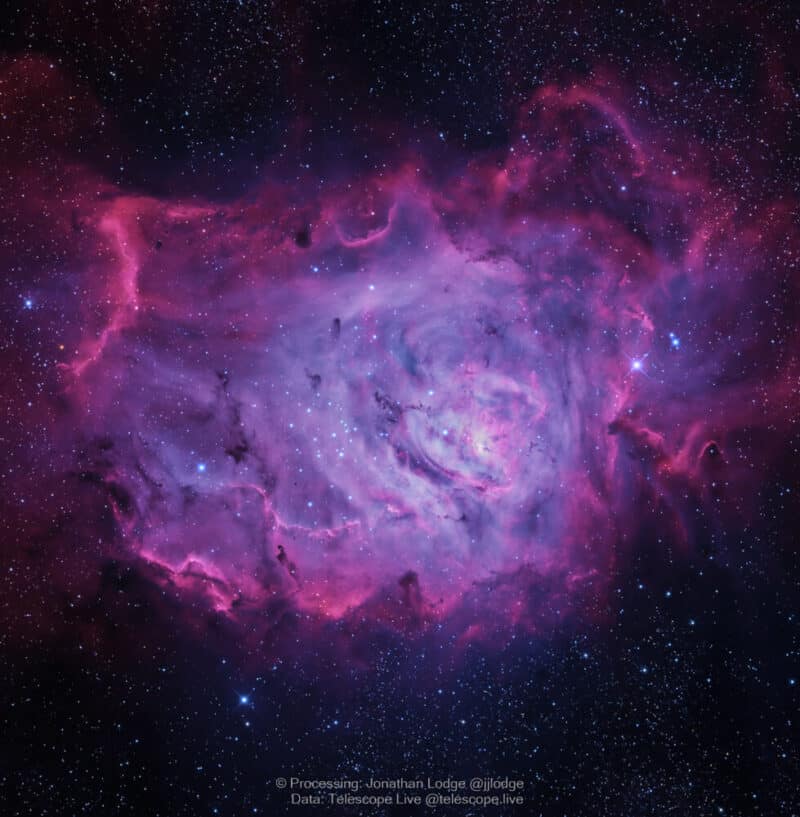
(Image above: NGC 2170 – the Angel Nebula (Data from Telescope Live; Processing by Jonathan Lodge)
How Does Remote Astrophotography Work?
I have used Telescope Live since the beginning of 2021, I had been aware of other remote astrophotography services for a few years but they were always very expensive when I looked into them.
Each has their own business models, with Telescope Live they have several telescopes across 3 observatories, in Australia, Chile and Spain, so chances are there will be decent weather at at least one of them.
Also they are at good elevations in very dark places with very little to no light pollution and the equipment is very high-end.
You pay a monthly subscription a receive an amount of credits depending on which tier you pay for.
Most days several datasets are available to purchase using your credits and over time you can purchase more sets as they become available and build up a good amount of integration time.
Throughout the year a wide selection of objects are imaged, so there is a good variety to choose from. Also all of the data ever imaged is available to purchase in the archive.
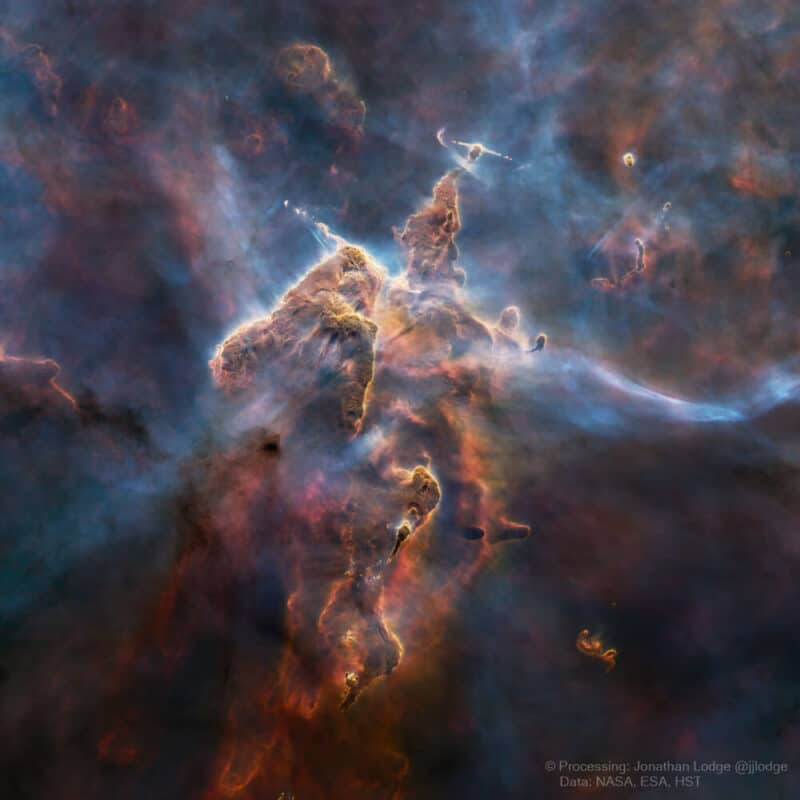
“[With remote astrophotography] you have access to very high-end equipment that is cost prohibitive to most people.”
What are the Pros and Cons of Remote Astrophotography?
The pros of remote astrophotography are:
- I live in the north of the UK, so clear, moonless nights are a rarity and from where I live, skies that are dark enough for imaging fainter nebulae in broadband are at least an hour away.
- Also, I have two young children, so getting enough sleep on a normal non-astrophotography night is rare! Yes I can automate my system, but you almost have to sleep with one eye open for the inevitable technical issues.
- Access to very high-end equipment that is cost prohibitive to most people.
- There are a range of focal lengths available for different fields of view.
- Access to the beautiful skies of the southern hemisphere. This is a big one as unless you are very wealthy how can you realistically get data on objects that are not visible from your location.
- Files come pre-calibrated for darks, bias, flats and these are available if you need them.
“When I first started with Telescope Live I didn’t get the same feeling of ownership with the final image as I did with my own data, however i no longer have that, as I have come to realise that everyone processes the data differently and has their own unique style.”
The cons are:
- You don’t get to choose what is imaged and how long for, unless you pay for the privilege and that is expensive, but understandable given the factors involved (in the higher tier plans you can submit a suggestion). With some datasets you end up with way more than you need and with others there isn’t enough, but generally there is an ample amount to make a really nice image with.
- The same data is available to the other subscribers – now this I don’t think is a full negative and over time it has become less so for me. When I first started with Telescope Live I didn’t get the same feeling of ownership with the final image as I did with my own data. However i no longer have that as I have come to realise that everyone processes the data differently and has their own unique style. Now, after I’ve spent several hours processing data, I do feel at attachment to it. Also, getting to see how other’s have processed the same data and what they get out of it has made me up my game and try to figure out how they did it, which has made me improve my skills as I can’t just say they’re using better gear than I have.
- There are still issues to deal with such as gradients, satelltie/plane/meteor trails, bad frames, so although the quailty of data is generally excellent it’s not some perfect walk in the park every time. But to put a positive spin on this, I have learnt so much from the problems, which I may not have come across in my own data.
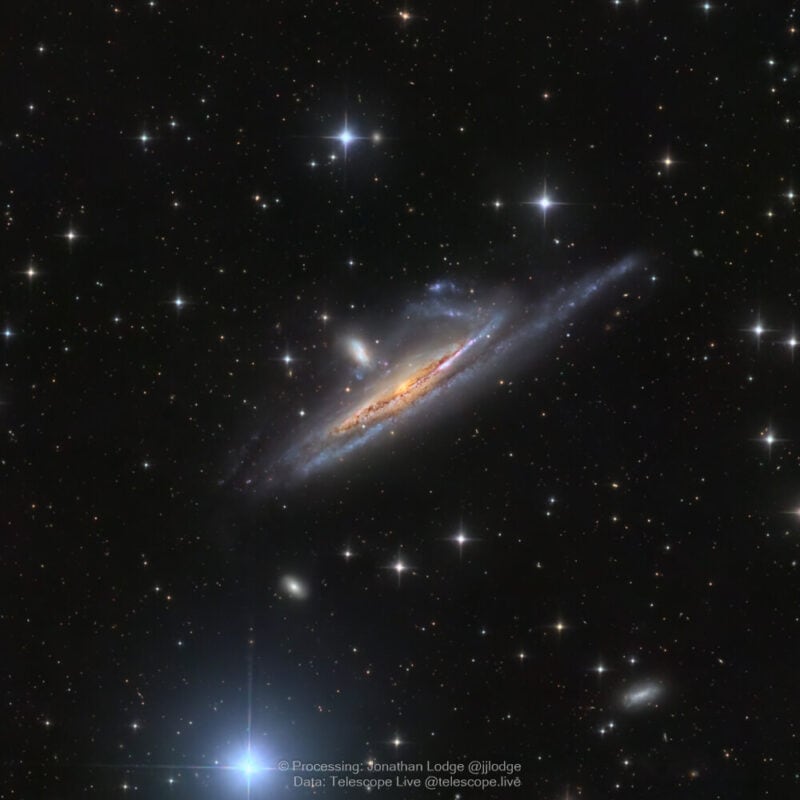
What’s Your Workflow for Turning Remote Data into Images and Animations?
For images, it is:
- Download and organise.
- Inspect every frame and discard the ones with high cloud or artefacts that are too much trouble to fix.
- I use WBPP (Weighted Batch Pre-Processing) in PixInsight to create master frames for each filter.
- Crop the frames.
- Use GraXpert to remove gradients.
- Linear Fit everything to either the Luminance or Hydrogen Alpha.
- Combine RGB, and colour calibrate with SPCC which uses Gaia data.
- Apply Russell Croman’s BlurXTerminator and NoiseXTerminator.
- Stretch L (SHO if present) with GHS and RGB with Masked stretch.
- Combine LRGB – narrowband images are left separate at this stage.
- Apply Russ Croman’s StarXTerminator and then NoiseXTerminator.
- For narrowband I’ll blend the filters in Photoshop to get colours that I am happy with, then either use Hydrogen Alpha as luminance or make a synthetic luminance and combine in PixInsight.
- In Photoshop I’ll apply selective sharpening, contrast and colour adjustments to the parts of the image that need it. Also at various points I’ll fix any lingering issues with the image that couldn’t be solved earlier.
- Add the stars back in adjust for brightness and colour, then maybe shrink them if required, but since using GHS (Generalized Hyperbolic Stretch) I don’t need to usually.
“Some people that like to point out that it’s not realistic and I agree with them, but true realism would be no motion and a very dark image where only stars and maybe a few faint smudges of nebulosity for our eyes to see.”
For animations it is:
- Depending on the image I will use a starless version or one with stars.
- Either a high quality JPG or a PNG (for transparency) will do.
- In DaVinci Resolve everything happens in Fusion.
- The astrophotograph is placed on an image plane, or multiple image planes as I have recently started to do for more depth.
- There are several particles fields in 3D space to represent stars, groups of white, yellow, blue and red/orange and I alter the proportions to look natural.
- I usually choose an end point for the camera first and work back to the start point.
- I set a particle ‘kill’ box around the path of the camera so that we’re not passing through stars.
- Then I run it several times to make sure that it all looks natural (despite travelling at several times light speed) and the parts of the object are being shown that I want to.
I get so many positive comments which is nice, however there are some people that like to point out that it’s not realistic and I agree with them, but true realism would be no motion and a very dark image where only stars and maybe a few faint smudges of nebulosity for our eyes to see and that wouldn’t make for much of a video unfortunately.
You can see examples here on my Instagram or on my Facebook page.
Recommended Learning Resources For Other Astrophotographers
The following books are great:
- Inside PixInsight by Warren Keller
- The Astrophotography Manual by Chris Woodhouse
And I recommend subscribing to these YouTube channels:
There are also many excellent tutorials included with Telescope Live membership from top astrophotographers.
About You – Jonathan Lodge
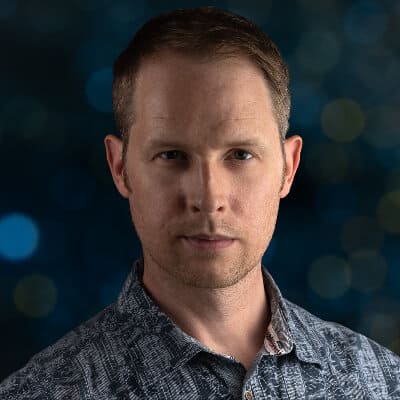
I bought my first DSLR in 2014 having travelled to some amazing places but lacked the skills and equipment to capture what I saw, also I was inspired by an image of the Milky Way that I saw in the Astronomy Photographer of Year awards around that time.
I’ve always been interested in space as long as I can remember, I graduated from the Open University in 2008 with a BSc (Hons) degree in Physical Science mostly comprised of Astronomy related subjects and subsequently gained a further BEng (Hons) degree in Engineering in 2014.
I am Treasurer and a Trustee of my local astronomical society (Doncaster Astronomical Society) and have given talks on astrophotography as well as astronomy outreach presentations to children and adults.
After visiting New Zealand in 2018 and imaging both Magellanic Clouds and the Carina nebula with my DSLR mounted on a Star Adventurer, I caught the DSO bug and luckily had access to a Takahashi FSQ-106ED at the society’s observatory. It was a steep learning curve as sadly the man that set it all up passed away whilst I was in NZ, so I spent a lot of time on the Cloudy Nights forum trying to understand how to get everything working together.
Since having children I have scaled back imaging and terrestrial photography, so still being able to process data taken remotely has been great as it has allowed my skills to develop further, as my kids get older (and sleep more consistently) I hope to start imaging again, my goal at the moment is to have my own setup at one of the remote observatories.
I have just launched a website that showcases my work and has prints available to purchase.
I also like to make 3D animations out of my images and post them to Instagram and Facebook.


