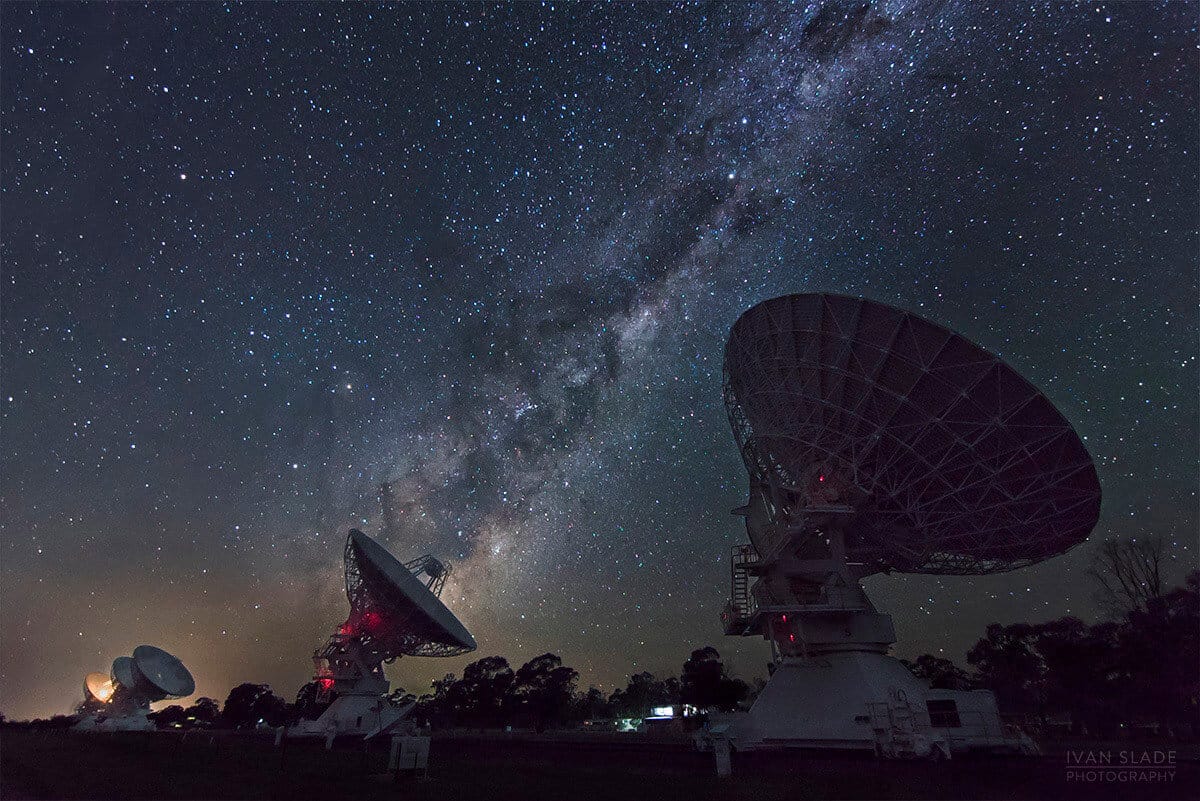
Ivan Slade is an Australian-based photographer who took this stunning image of the Milky Way (above).
This picture was taken at the site of the Australia Telescope Compact Array in Narrabri, New South Wales, Australia.
Below he takes us through his process for how he planned and took the shot, what equipment he uses, and his advice on learning how to take pictures like this. Enjoy!
How Did You Plan the Shot?
This photo was a long time in the planning.
It was a shot we had thought about and a location we had wanted to go to for quite some time. Being a 7-hour drive away meant the conditions had to be right as we were planning to do this as an overnight shoot.
We left at about 6 pm and arrived at the location at about 1 am. We shot until about 4 am then got our heads down at a local motel for a couple of hours then drove straight back home again. 1100KM in under 24 hours!
As this was a long drive away we needed to plan the shot as much as possible. The first stage of planning is normally Google Maps to assess location, access, and orientation, etc. In this instance, we had a contact at the location that helped with some information.
The next obvious thing is the weather! Keeping a close eye on the 48-hour forecasts is key to checking cloud cover, wind direction and speed, humidity, and moon phase/rise/set.
I use the WeatherZone website a lot as I find it pretty accurate, I also use the BOM site, Skippy Sky, and Cloud Free Night.
For the actual Milky Way orientation and times, I use Stellarium, which is a free app for desktop (and also a paid app for mobile) that allows you to lock in a location, date and time to view the location of the Milky Way and other sky objects. I have heard PhotoPills is also a good app.
I also use the Photographer’s Ephemeris a fair amount for calculating sunrise and sunset positioning.
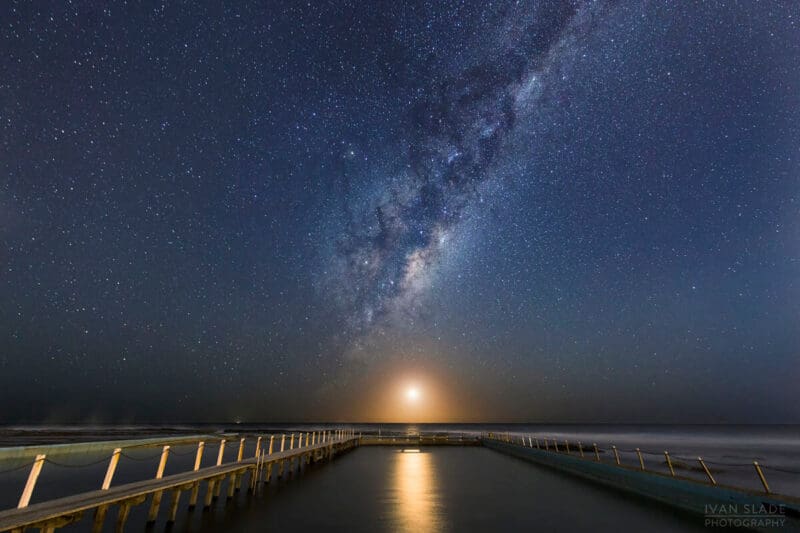
What Equipment Did You Use?
Until recently I was shooting exclusively Canon, I had used the brilliant Canon EOS 6D for quite some time which was pretty amazing for astro work given it was full-frame and pretty affordable.
On this particular shoot I also took a Sony A7S mirrorless to compare and was very impressed with the results.
I have now purchased a Sony A7R II which uses an adapter on with all my Canon glass and I have to say it is amazing, especially for astro the dynamic range is insanely good.
I can only imagine the Sony A7R III must be as good or I would hope even better.
For most astro shots I am shooting very wide, either with a Tamron SP 15-30mm F/2.8 and more recently a Samyang XP 14mm f2.4 which I have found to be an excellent fast lens.
Having that little extra aperture can really help in some instances and also allows you to shoot slightly stopped down and get the same aperture as other lenses.
I use an Induro carbon fiber tripod which has good height, is lightweight but rock solid, obviously important for astro work.
I also use a Manfrotto geared tripod head which I find really useful for landscape and astro work as it allows fine control over the axis of the camera.
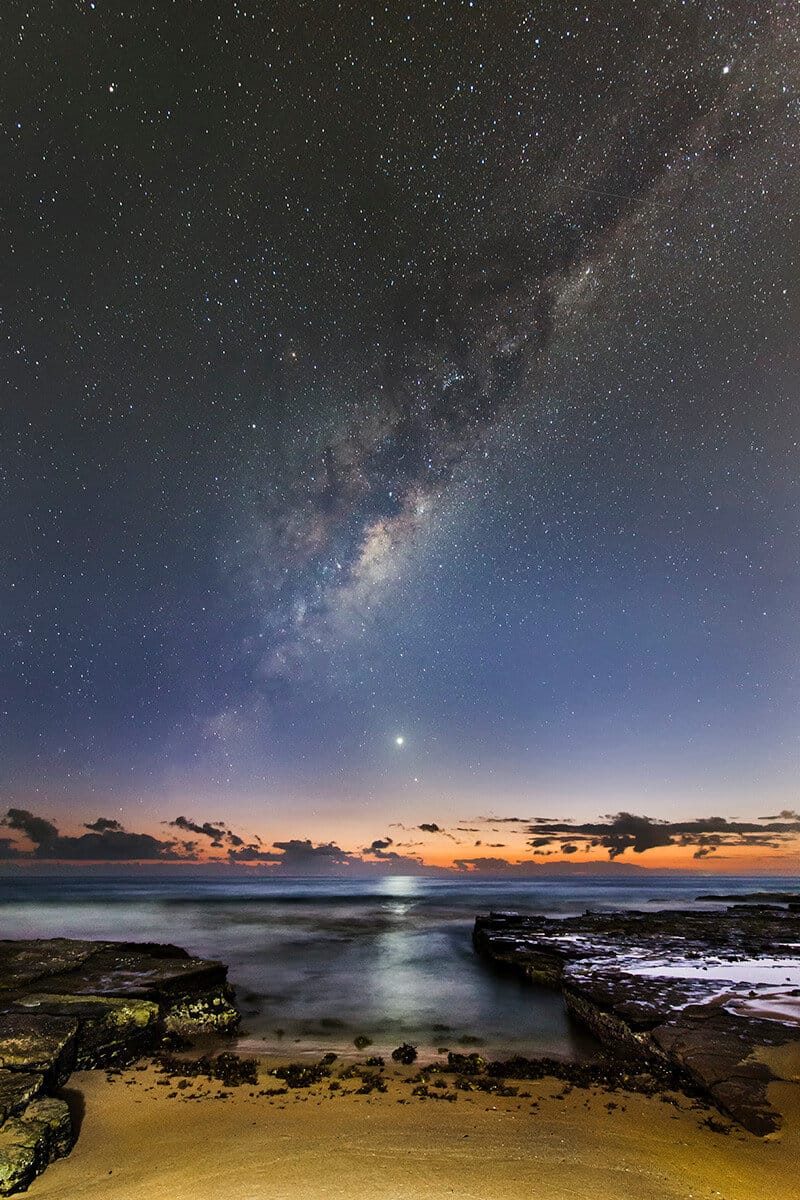
How Did You Compose the Shot?
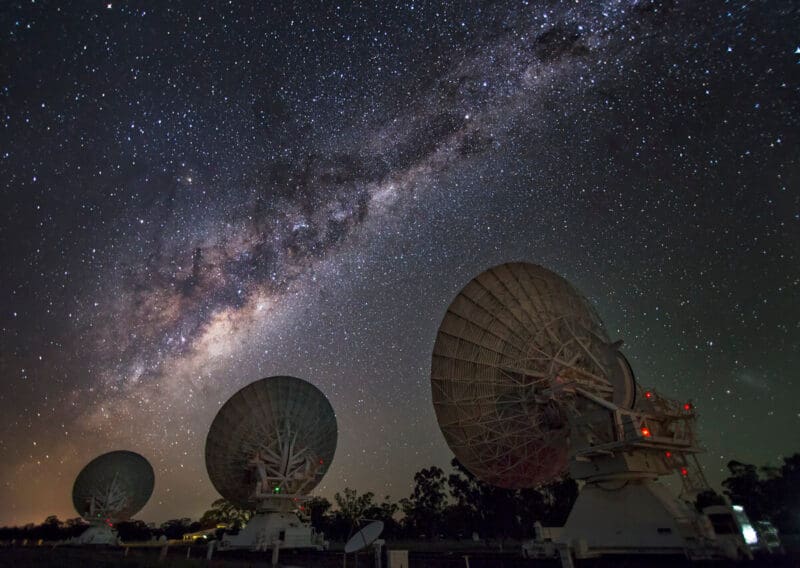
The aim of this shot was to use the Milky Way as a sky feature in relation to the telescopes so getting the line up right took some trial and error.
In terms of settings, this was shot using Bulb mode and a remote trigger to minimize camera shake:
- 20 seconds
- f/3.2
- ISO 6400
I normally shoot for slightly less than the maximum exposure time of the lens/sensor combination to make sure there is no trailing in the stars.
You can work this out using the 500 rule (divide 500 by the focal length of the lens) but I find it better to use a calculator that also factors in other aspects like the sensor size.
The next thing to consider is your aperture and ISO settings.
The aperture is often limited by the ISO and shutter speed. Normally you are going to need a fast lens so you can shoot wide open, and it’s important to know your lens well so you can factor in the corner sharpness and vignetting to use the best aperture. I often find that not shooting the lens fully wide open will give a better result (dependent on the lens).
For the ISO setting, you need to understand your camera sensor and whether it is ISO invariant or not. The Canon EOS 6D, for example, is not ISO invariant and has a “sweet’ spot around ISO 6400.
The Sony A7R II (at least in my tests) is pretty ISO invariant – meaning the noise is pretty much the same regardless of the ISO (within sensible limits). This means you can use the ISO to influence how bright you want the scene.
I also use the ‘expose to the right’ method for astro to try and get the histogram mostly over to the right to avoid clipping the shadows.
Focusing for astro is always a challenge. Again it is good to know your lens and where the infinity focus point is. On a lot of lenses it is not where infinity is marked but a little off that. It is worth spending the time to know exactly where this spot is as it can save a lot of messing around in the dark.
Live view is also a good tool, try to spot a very bright star then use the zoom feature on live view to zoom right in and use the focus ring to get the star as bright as possible.
Other things to consider are any object within the scene and how close they are and how to potentially get those in focus as well. Often it will take an additional frame focused on the foreground which can be blended into the final shot in post.
What Post-Processing Did You Do?
Post-production is key for Milky Way shots. Whilst it is amazing what comes straight out of the camera having a good workflow in post can really make the images work.
I use Camera Raw and PhotoShop for post. I have an established workflow but this evolves and changes over time as I come across new approaches or discover new techniques.
I pretty much do it manually each time and do not really have presets. I pretty much learned through online tutorials and then had lots of practice to develop a style that worked with my camera and style of shooting.
In terms of time spent on post work, each image is different depending on whether you need to blend multiple exposures and how complex the foregrounds are.
When stitching multiple shots to create panoramic shots I use PTGui as it allows you to save settings as templates that can be applied to multiple exposures to get the exact same mapping.
I also use Nik Collection tools for general photography which I find really useful.
For exposure blending, the tools from Jimmy MacIntyre (Raya Pro) are amazing as I find luminosity masks massively useful.
Can You Recommend Any Learning Resources For Other Astrophotographers?
Understanding and shooting in RAW is a must. Spending time learning this will transform all of your photography not just astro.
There are many, many tutorials online about post-processing, I would spend time watching and learning to decide which way works best (or makes the most sense) to you. As always there is no real right or wrong way to do it.
I still think this video from Kenneth Brandon is an excellent way to really get your Milky Way photos to pop, it does require practice though to develop your own personal style:
Some people like to go full-on in the processing, I like to keep it a little more understated most of the time.
Ultimately just getting out there and practising is the key. There are quite often workshops and get-togethers advertised online or on Facebook and Instagram where you can go along and get some help and practice.
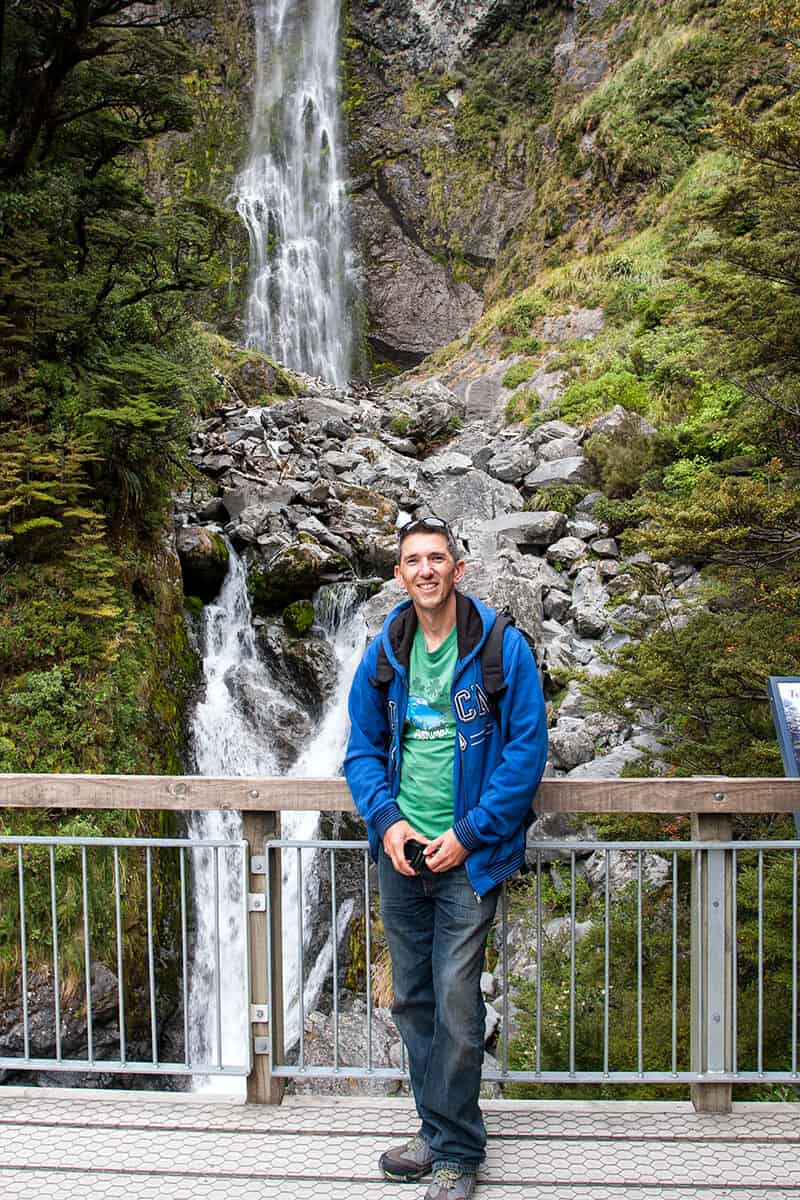
About You – Ivan Slade
I live on the Northern Beaches of Sydney in Australia. Originally from the UK, I moved out here 10 years ago.
I am just an amateur, photography is a fun hobby that takes me to beautiful places and seeing amazing things. You get to meet a load of really interesting people as well.
I am mostly into landscape and astrophotography but like experimenting with all kinds including abstract, macro, and events.
You can find my website here and you can also check me out on Instagram.
(This interview was first published on April 10, 2018)


