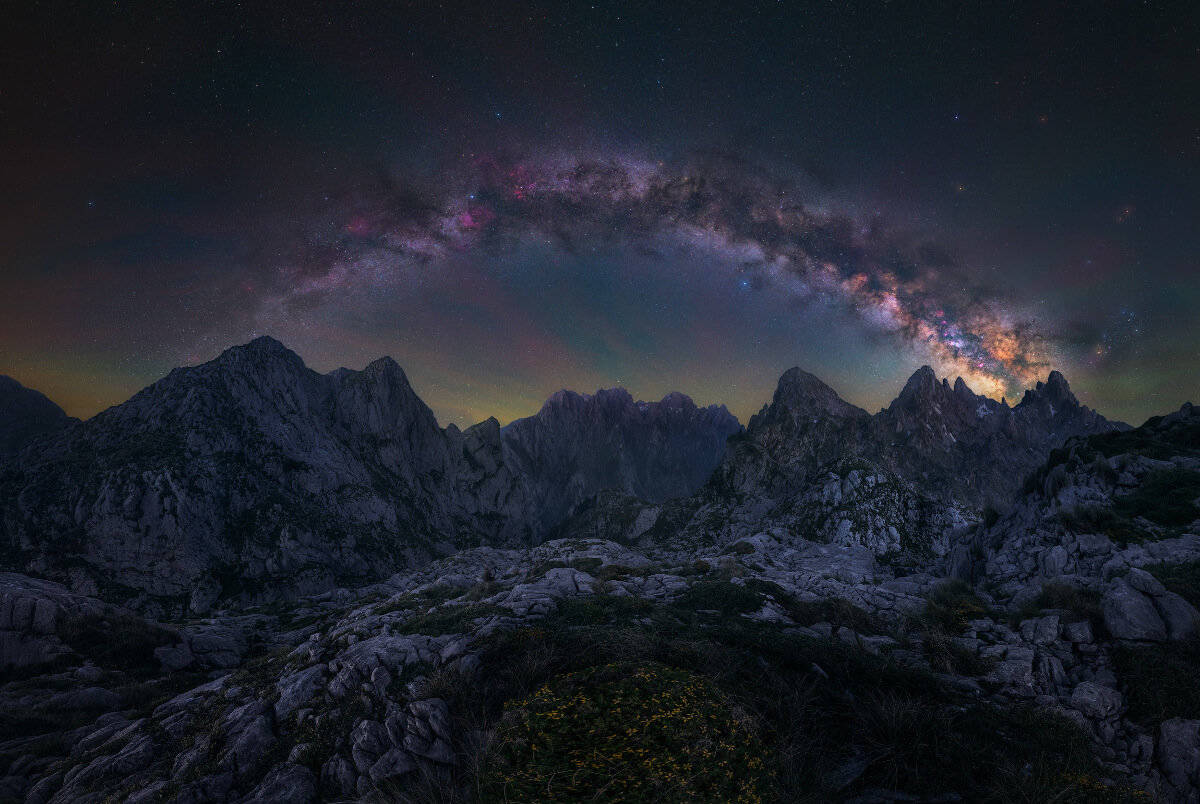
Daniel Viñé Garcia is an award-winning landscape photographer and in this interview he outlines his approach to photographing aurorae and the Milky Way.
How Do You Plan Your Shots?
Hi!! First of all thank you very much for giving me the opportunity to do this interview and show my work.
When I go on a trip, I try to learn as much as possible about the place:
- I read blogs
- Look for locations in Locationscout
- Look for photos of the place from other photographers
- Try to talk to a local photographer, etc.
So little by little I create my own map of locations on my maps and learn about the area.
Then I use Google Earth on my computer to study the area and see its orientation, and I use Photopills on my phone to see exactly what time the Milky Way is going to come out, and orientation, etc.
If I want to go further and for example photograph the Milky Way in winter or in the southern hemisphere or some other celestial object I use the Stellarium application on the computer to get an idea of what the sky is going to look like in that place at that time.
Finally when I am in the field and I see good compositions I use Photopills augmented reality to see how I can fit them into the night sky. Photopills is a must for me.
What Equipment Do You Use?
I use a Sony A7R III camera for landscape and circumpolar shots and an astro-modified Sony A7 camera for night sky, I would like to upgrade to a Sony A7 III but at the moment I have to save money!
For shooting Aurora Borealis and circumpolar I use a Laowa 12mm f2.8 lens.
For shooting the night sky I use a Sony 20mm f1.8 and a Sony 35mm f1.4. I do wide field night photography so with those two lenses I have enough.
When I want to photograph the night sky in detail I use a star tracker.
Right now I use the Benro Polaris. I have to say that now that I understand it and know how to use it without fail, I am happy with it and the job it does is very exciting. But I do think it is a device that has to improve. It takes a very long to learn how to use it and if you don’t do things a certain way it fails. I have lost quite a few nights trying to operate it or trying to get past bugs.
How Did You Compose and Execute Your Shots?
With night photography I like to explore the area during the day and work out the compositions. Then I shoot the ground at the end of blue hour or at the beginning of astronomical time, just when there is some light left.
This is so don’t have to push the camera so hard. Something like:
- f4
- 30 seconds
- ISO 1200
Although many times I want to shoot more and I have kept going through the night.
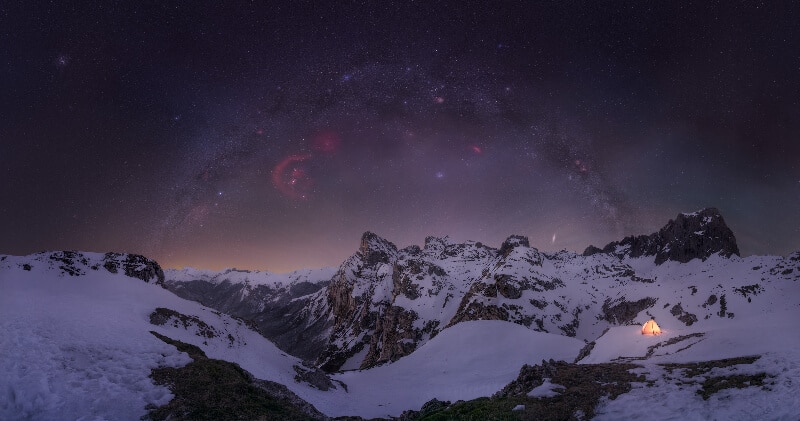
For the night sky I usually use the tracker and shoot with the aperture almost open, and stack 3-4 shots of 30 seconds.
Depending on if I have a lot of time or if I am doing a panorama I will stack more or less shots. By stacking several shots I can reduce noise and I can move on if a single shot has not turned out well.
It’s amazing what you can get with a star tracker and an astro modified camera.
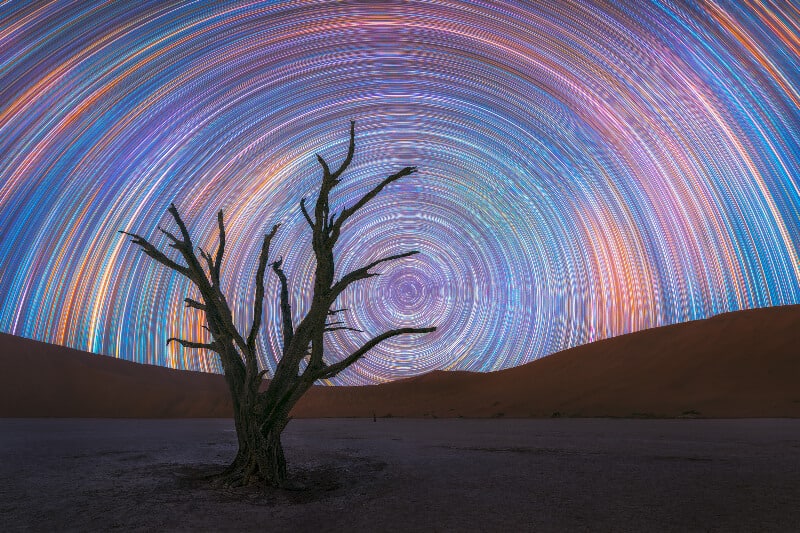
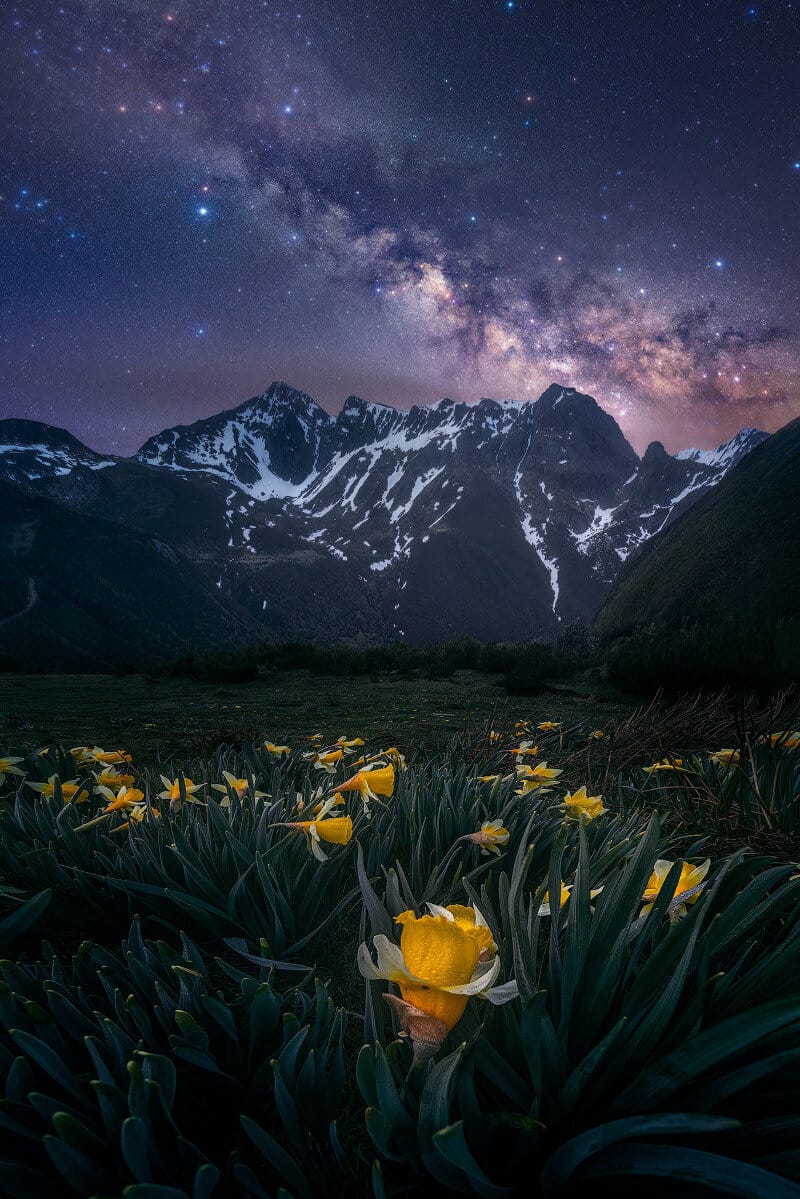
For star trails, I use:
- F4
- 30 seconds
- ISO 800
I then try to get as many shots as I can. It is important not to raise the ISO too much so as not to burn the stars.
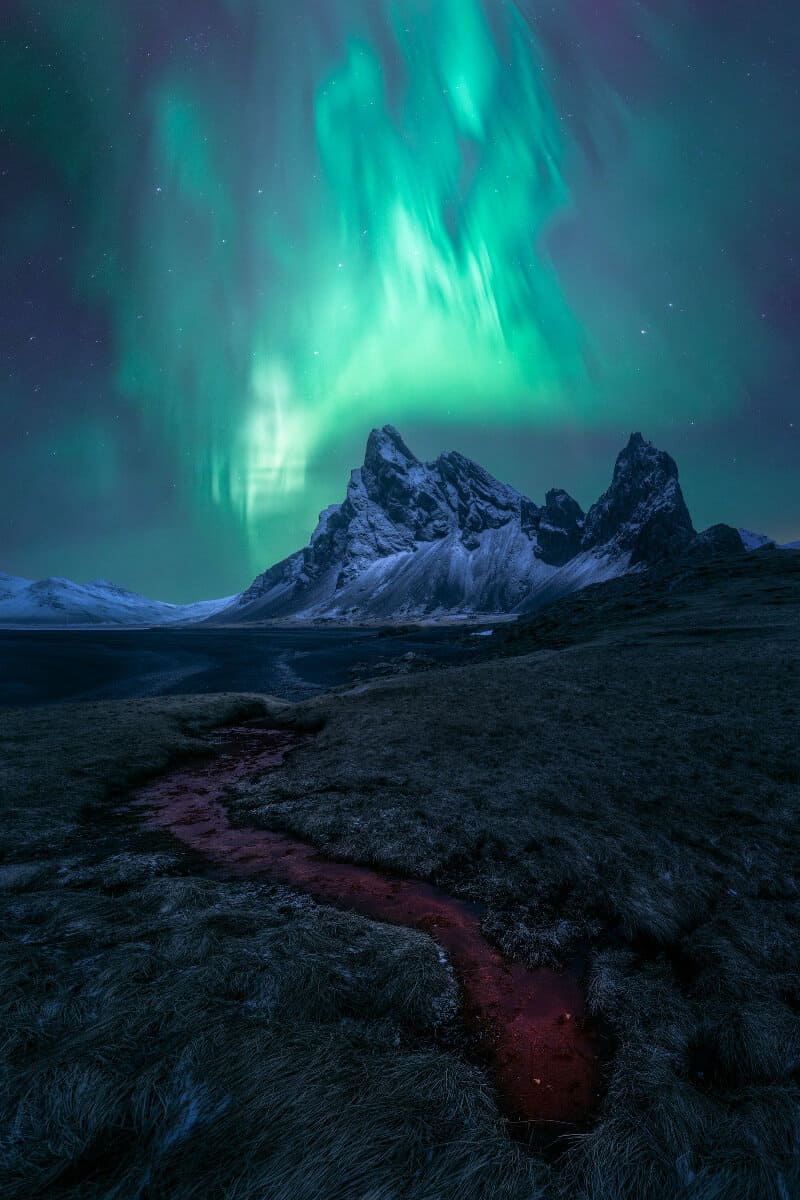
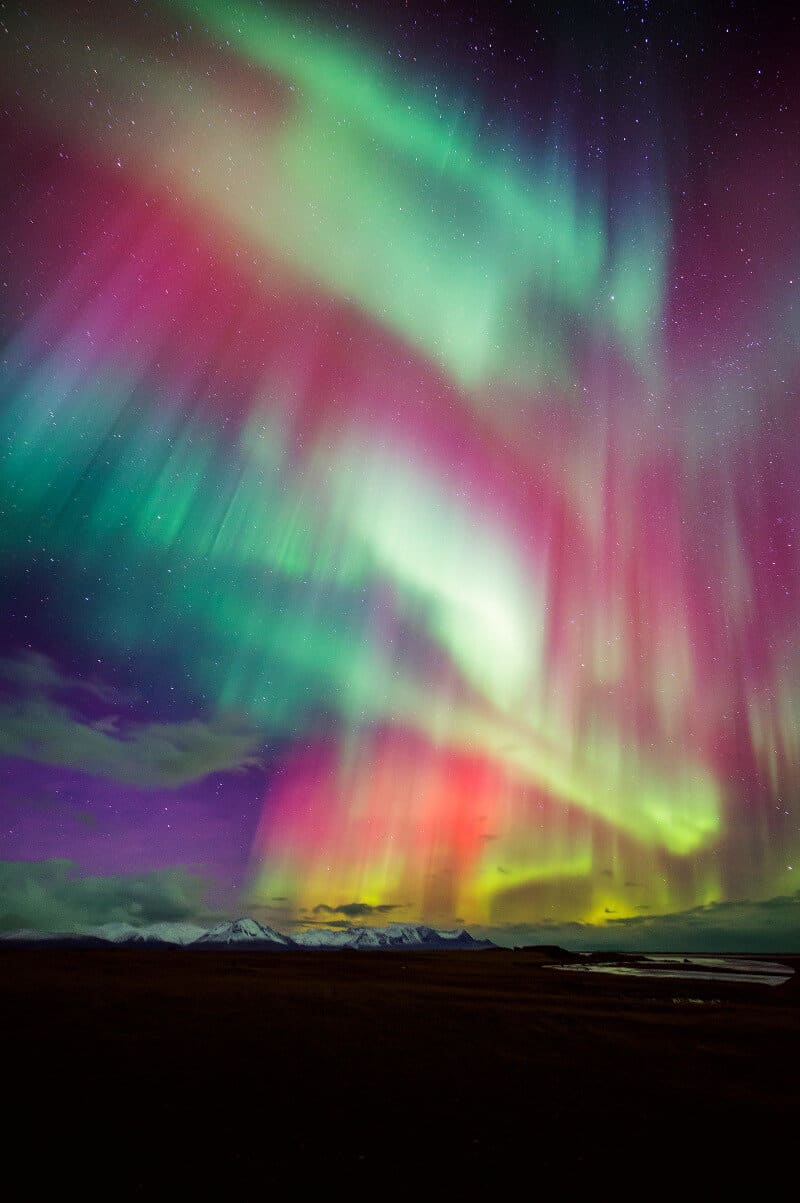
For the Aurora borealis, I use:
- f2.8
- ISO 3200
- 15-30 seconds (if it is not moving fast – If it is moving fast a few seconds is enough)
What Post-Processing Do You Do?
For night photography I use PixInsight a bit to get information although it is highly complex and I hardly know how to use it!
Then I edit in Photoshop following my usual workflow to enhance light, color and atmosphere.
In Photoshop I use the Color Efex Pro plugin and Tony Kuyper’s panel.
I also work this way with star trail and Aurora Borealis photographs.
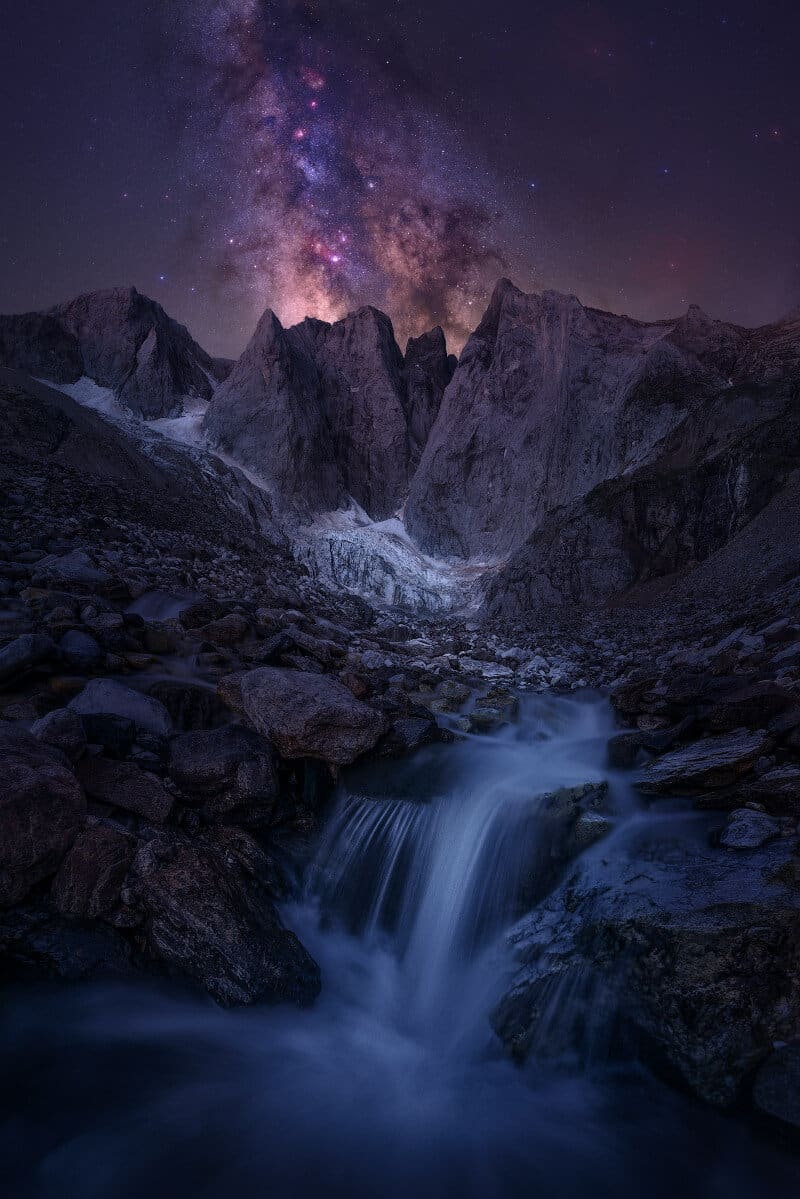
“I think it is essential to start slowly, first do simple night photography without a tracker, then with a tracker, and then with a astro modified camera.”
Can You Recommend Any Learning Resources For Other Astrophotographers?
I think it is essential to start slowly, first do simple night photography without a tracker. Then add a tracker, and then an astro modified camera.
It is important to have a good base and work little by little. Do not go fast looking for a stunning final result because it can be frustrating.
It is also important to just go out to the field and practice as much as possible. With time you will see results and be more and more happy!
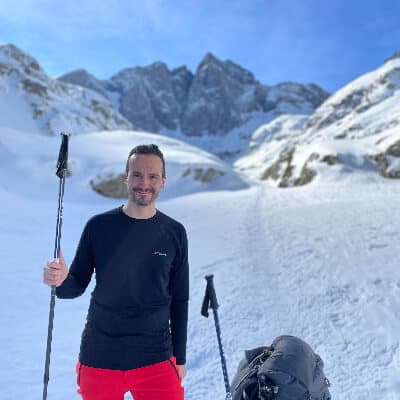
About You – Daniel Viñé Garcia
I started doing photography in 2008. At that time the learning phase was slow, there was no YouTube or many other ways of training, just books!
Little by little I was expanding my equipment, knowledge, and investing in travel until I got here.
You can find my work on social networks although in my website is where my images can be seen with higher quality and less compression:
- Website: danielvgphoto.com
- Instagram: @danielvgphoto
- Twitter/X: @danielvgphoto
I am also a member of the Spanish Confederation of Photography.


