Marcus Cote is a freelance photographer from the Space Coast of Florida.
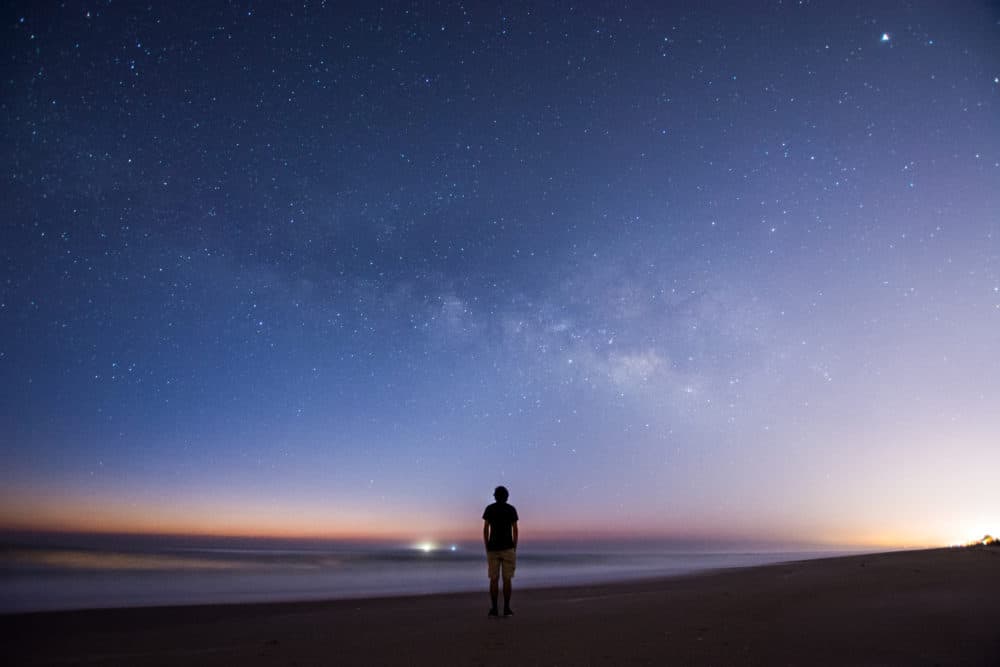
He shot this amazing ‘Milky Way selfie’ photo (above) and has been kind enough to talk through how to shoot a Milky Way self portrait like this and to share some other photography tips. Enjoy!
How Did You Plan the Shot?
My main source of planning came from prior knowledge about photographing the Milky Way galactic core and its position in the night sky.
There are several factors that must be considered when trying to photograph the Milky Way. One of these major factors is the location of the visible core.
For much of fall and winter in the northern hemisphere, the Milky Way rises too late to be visible in the night sky.
By the time the Milky Way breaches the horizon, the sun is getting ready to rise or is already shining in the sky. This, of course, burns out any possibility of seeing the stars.
However, as winter comes to an end, the Milky Way rises earlier and earlier. Around February, the Milky Way begins rising just before sunrise, allowing for a small window of opportunity for viewing and photography.
This photograph was taken at about 5:30 a.m. within that slim window. Even at over an hour before sunrise, the colors of first light could be seen creeping from the horizon.
Another factor involved in photographing the Milky Way is the location of the moon and any available sources of light pollution.
The optimal time to see and photograph the Milky Way is during a new moon or moon phase that is not in the sky at night/early morning.
Along with the moon, city lights can affect viewing and photographing of the Milky Way. I use a website called Dark Site Finder to help find dark places near my area.
The particular Milky Way image was actually taken within the lights of my city. As I was facing east over the Atlantic Ocean, the light pollution did not totally ruin my view. Much clearer results can be achieved in dark places.
The last factor is cloud cover. The clearer the sky, the better the result of viewing and photographing. Lining up all of these factors can sometimes be quite tricky.
What Equipment Do You Use?
I use Nikon DSLR cameras. This particular image was taken with a Nikon D7100 and Sigma 10-20mm f/3.5 lens.
The camera and lens was placed on top of a Zomei carbon fiber ball-head tripod.
The ultra-wide combo and fairly wide aperture lens makes for an excellent rig to photograph the stars and night sky.
I also use a Nikon D750 camera with wide and telephoto lenses for some images.
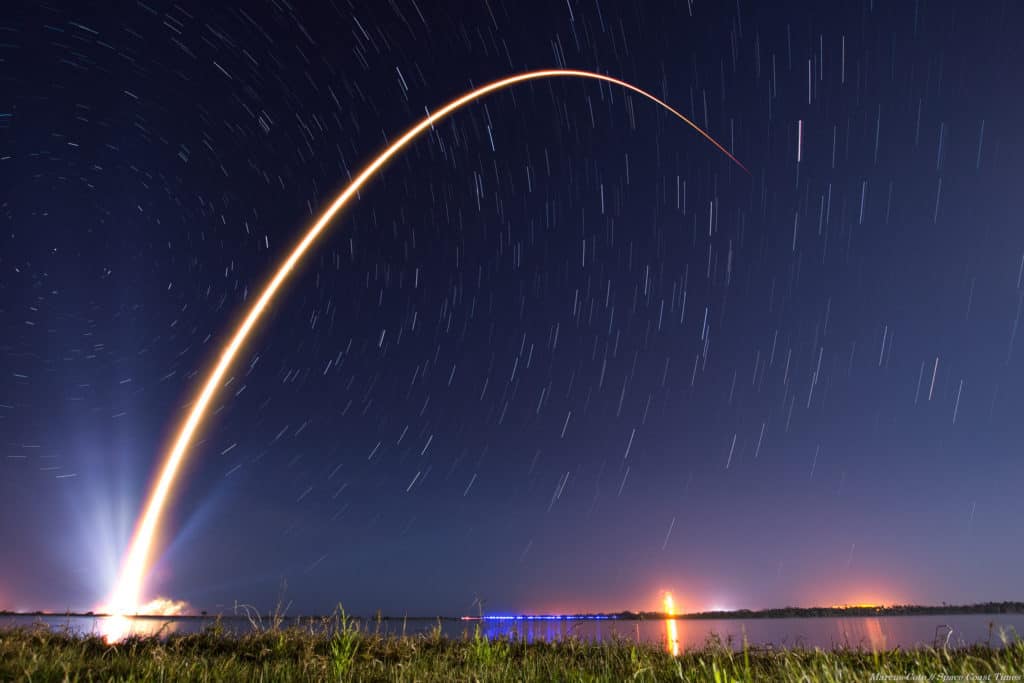
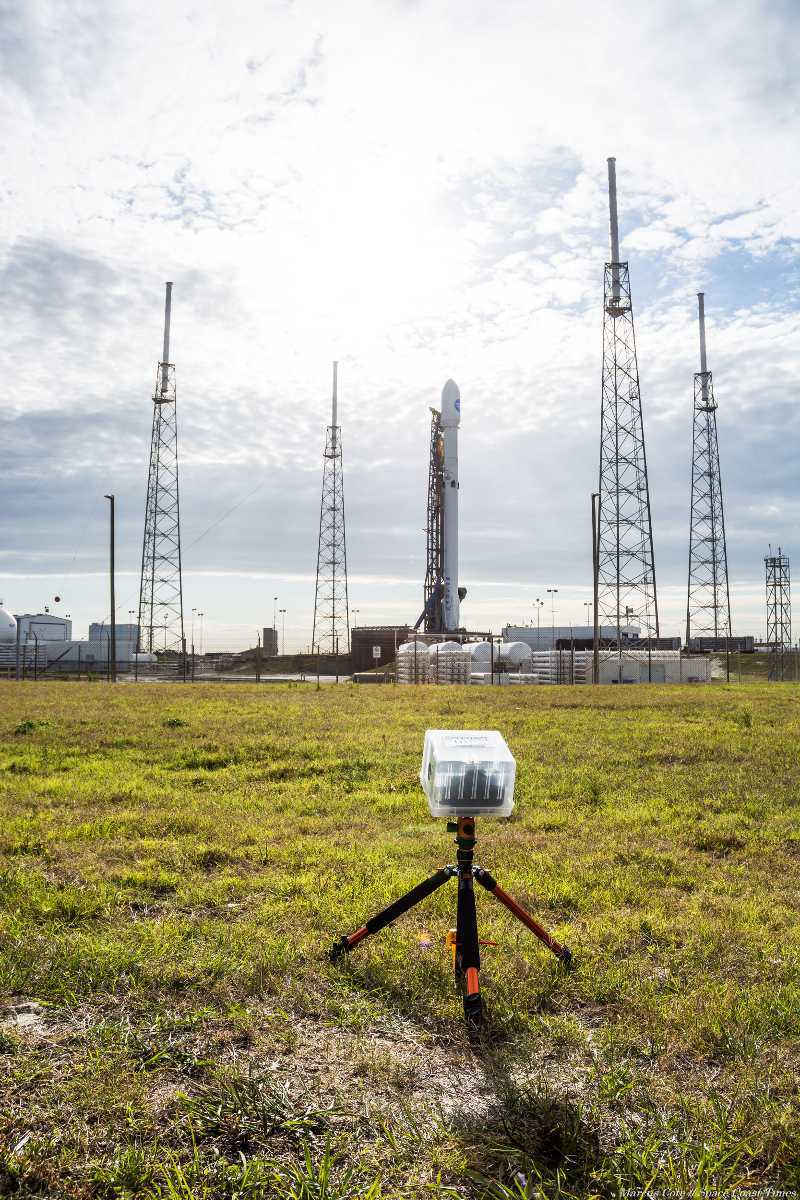
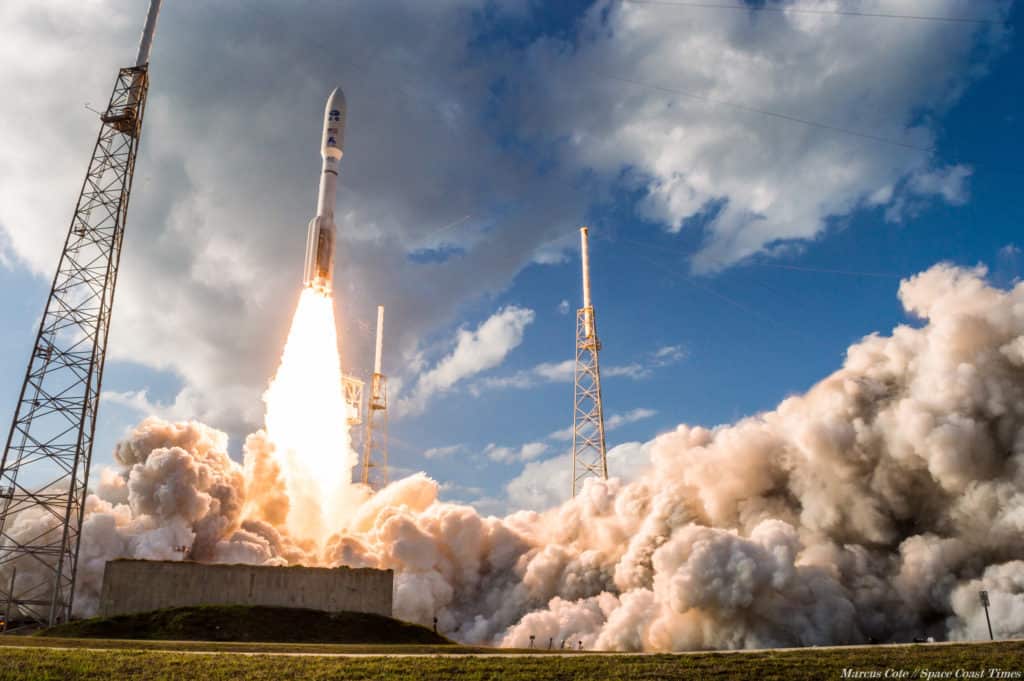
Finally, I have a Nikon D3200, 18-55mm lens, and sound trigger to shoot rocket launches. I place them a few hundred feet away from the rockets as their powerful engines lift them into the sky.
How Did You Compose Your ‘Milky Way Selfie’ Shot?
I took a few test exposures facing east towards the location of the rising Milky Way.
I manually focused the lens to infinity using the available focus scale.
To the naked eye, the Milky Way appeared as a very faint patch of haze above the horizon but the camera sensor is able to pick up much more detail with a long exposure and high ISO sensitivity.
Once I was happy with a composition, I placed the camera on an internal 10-second self timer. This gave me time to run into the center of the frame and then stand very still for the duration of the 25-second exposure (shot at 10mm, ISO 2500, f/3.5).
“There is not a set formula for anything in the art of photography. Do what you feel or what you think looks the best.”
What Post-Processing Did You Do?
For post processing I used Adobe Lightroom Classic CC. I use the classic version because I have always been familiar and comfortable with this layout.
The bulk of the edit involved basic adjustments such as brightness, contrast, blacks/whites, etc.
One major part of editing Milky Way images is finding a proper white balance.
While I have done quite a few of these shots, the white balance never seems to come out the same. This can be due to sources of light pollution, time of day, and other factors.
Finally, the last part of my work flow is sharpening and noise reduction.
Shooting long exposures at ISO 2500 creates quite a bit of noise that needs to be dealt with. I have learned all of my editing techniques through experimentation and the internet.
There is not a set formula for anything in the art of photography. Do what you feel or what you think looks the best.
Can You Recommend Any Learning Resources For Other Astrophotographers?
I always recommend to others to simply experiment and take photos around other people.
One of the best ways to learn knew tips, tricks, and ideas is to observe the processes of other photographers and ask questions.
Another way is to simply pick up a camera and play with settings/ideas until you discover what works best for you.
If these methods aren’t available, internet forums, sites, and videos are free and always at hand. These resources are applicable for Milky Way photos and any other types of photos.
About You – Marcus Cote
My surroundings are my main source of inspiration for almost all of my photography.
I take photos of rocket launches for a local news organization called Space Coast Times. This media accreditation allows me to set up sound-triggered cameras next to the launch pad as well as view the launches from nearby locations.
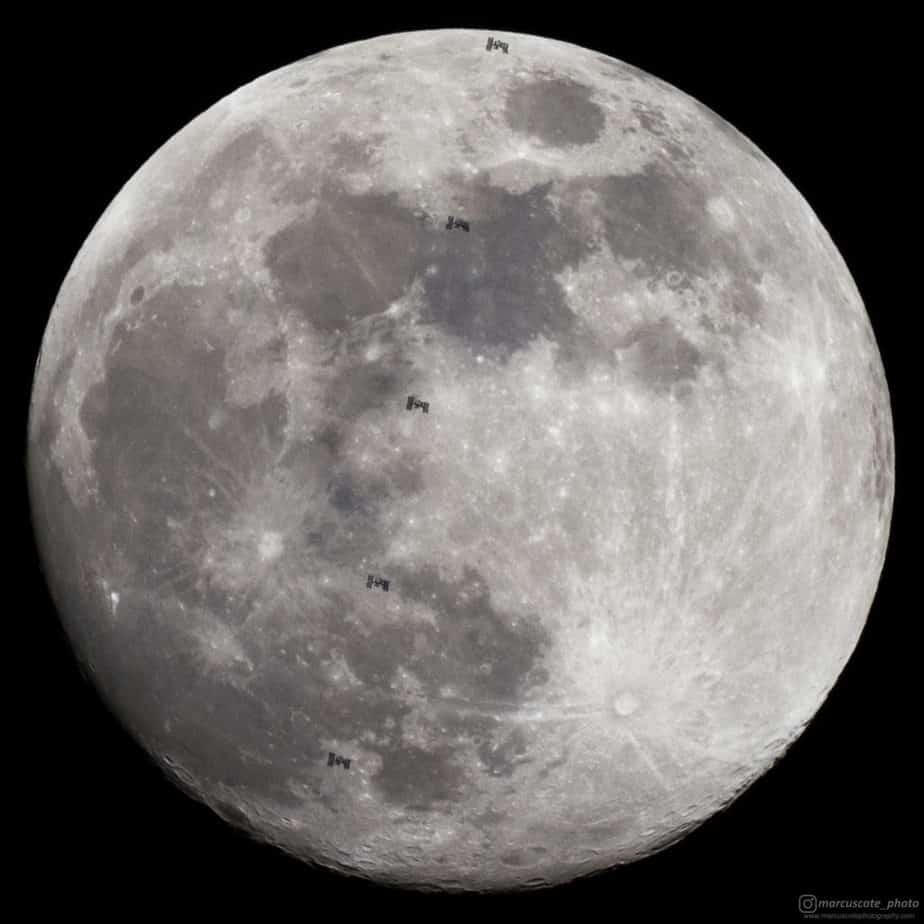
Beside rockets, I enjoy taking photos of space, surfing, sunsets, nature, and anything else that exists within the incredible place that I am lucky to call home.
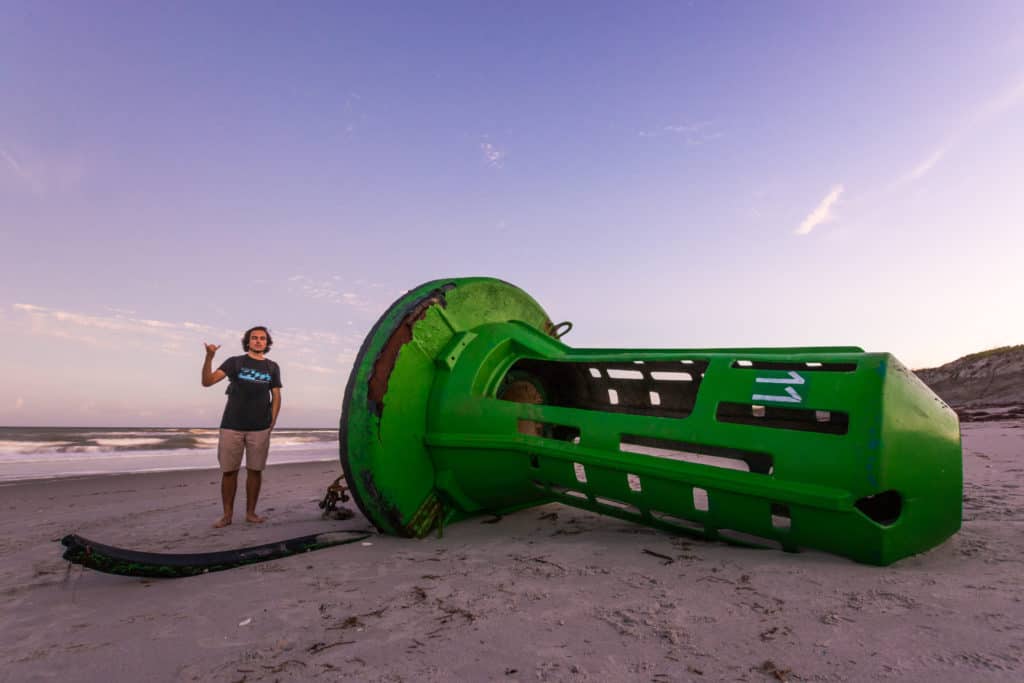
For 2017 and 2018, I have been taking and uploading an original photo every single day as part of a 365-day photo challenge. Each photo must be taken on the day it is posted. I am constantly chasing creative and unique perspectives from the land, air, and water.
I also sell prints and display more of my work on my website. Mention this article for a discount on a print of almost any of my photos! See my website here.
You can also follow me on Instagram.
(This interview was first published on March 24, 2018)


