Snapseed is free, it opens RAW files, and it runs on both iOS and Android.
For most smartphone astrophotographers it is the fastest route from a flat .dng straight off your sensor to a Milky Way image you are genuinely proud of.
It also has a trick that dedicated mobile editors often miss: Double Exposure lets you blend a separate, brighter foreground frame onto your sky shot without touching a desktop.
This guide walks through every step, mirroring the exact workflow from the Shoot the Milky Way on Your Phone course, from finding the right file through to the foreground blend.

Full Snapseed Milky Way editing walkthrough.
Download Snapseed first
Snapseed is made by Google. You can grab it from the Google Play Store or the App Store.
It is completely free and has no subscription.
Open your RAW file
Your phone almost certainly saved two versions of your shot: a processed JPEG and a RAW file ending in .dng.
You want the .dng.
Open your phone’s photo gallery and look for a file labelled “RAW.” On most phones you can switch between the two versions of the same shot and one will say RAW. If not, tap the three-dot menu (or swipe up on the photo) and check the file info. The one you want will have a filename ending in .dng.
To open it in Snapseed, tap Edit and choose Snapseed from the list of apps. Alternatively, open Snapseed directly, tap the plus to open a file, and navigate to it.
Once it loads, tap the i icon inside Snapseed and confirm the filename ends in .dng. You should also see the word “raw” in the bottom-left corner of the preview. If it says JPEG, go back and find the other file.
Develop RAW: the most important step
Tap Tools, then Develop RAW. This is where the best options live for a Milky Way image.
There is no single perfect prescription here. Every shot is different, and you will develop your own feel for this over time. That said, here is a solid starting sequence:
Exposure — Increase this first. Night shots are almost always underexposed straight out of camera.
Contrast — Bring this up to separate the stars from the sky background.
Shadows — Lifting the shadows recovers detail in the foreground without blowing out the stars.
Saturation — A little goes a long way. Push it too far and the image starts to look fake. A modest increase adds a nice blue hue to the sky.
Temperature — Pulling the temperature down gives the image a cooler, winter-sky feel. It is a stylistic choice but worth trying.
Structure — This brings out the stars and adds micro-contrast across the image. Be careful: too much structure also introduces noise. Dial it in until the stars sharpen up, then ease back a fraction.
When you are happy with each slider, tap the tick to save.
At any point you can hold your finger on the image to toggle back to the original. Lift your finger to return to your edit. It is a fast way to judge how far you have come.
Tools > Details: structure and sharpening
Go to Tools, then Details.
Here you have two sliders that work in tension with each other.
Structure brings out the stars further but also amplifies noise. Reducing it is an effective way to smooth noise, but you lose star detail at the same time. Find the balance that works for your image.
Sharpening helps define the stars and give them clean edges. Use it alongside Structure rather than instead of it.
Tools > Healing: remove distractions
If you have a streetlight, a bright satellite trail, or any other element you want to remove, go to Tools > Healing.
Tap the area you want to clean up and Snapseed will replace it with surrounding sky. It works well on small, isolated light sources.
Curves: the S-curve
Go to Tools > Curves.
Curves can look intimidating but the move here is straightforward. You want to bend the line into a gentle S-shape: drag the lower portion of the line down slightly, and pull the upper portion up slightly.
This deepens the shadows, lifts the highlights, and adds a punch to the whole image that the sliders alone cannot replicate.
Tools > Selective: edit just the foreground
The tools so far have applied changes to the entire frame. Tools > Selective lets you target a specific area.
For Milky Way images the most common use is the foreground. Place a point on a dark foreground element and adjust the brightness independently of the sky. You can add multiple control points if different areas need different treatment.
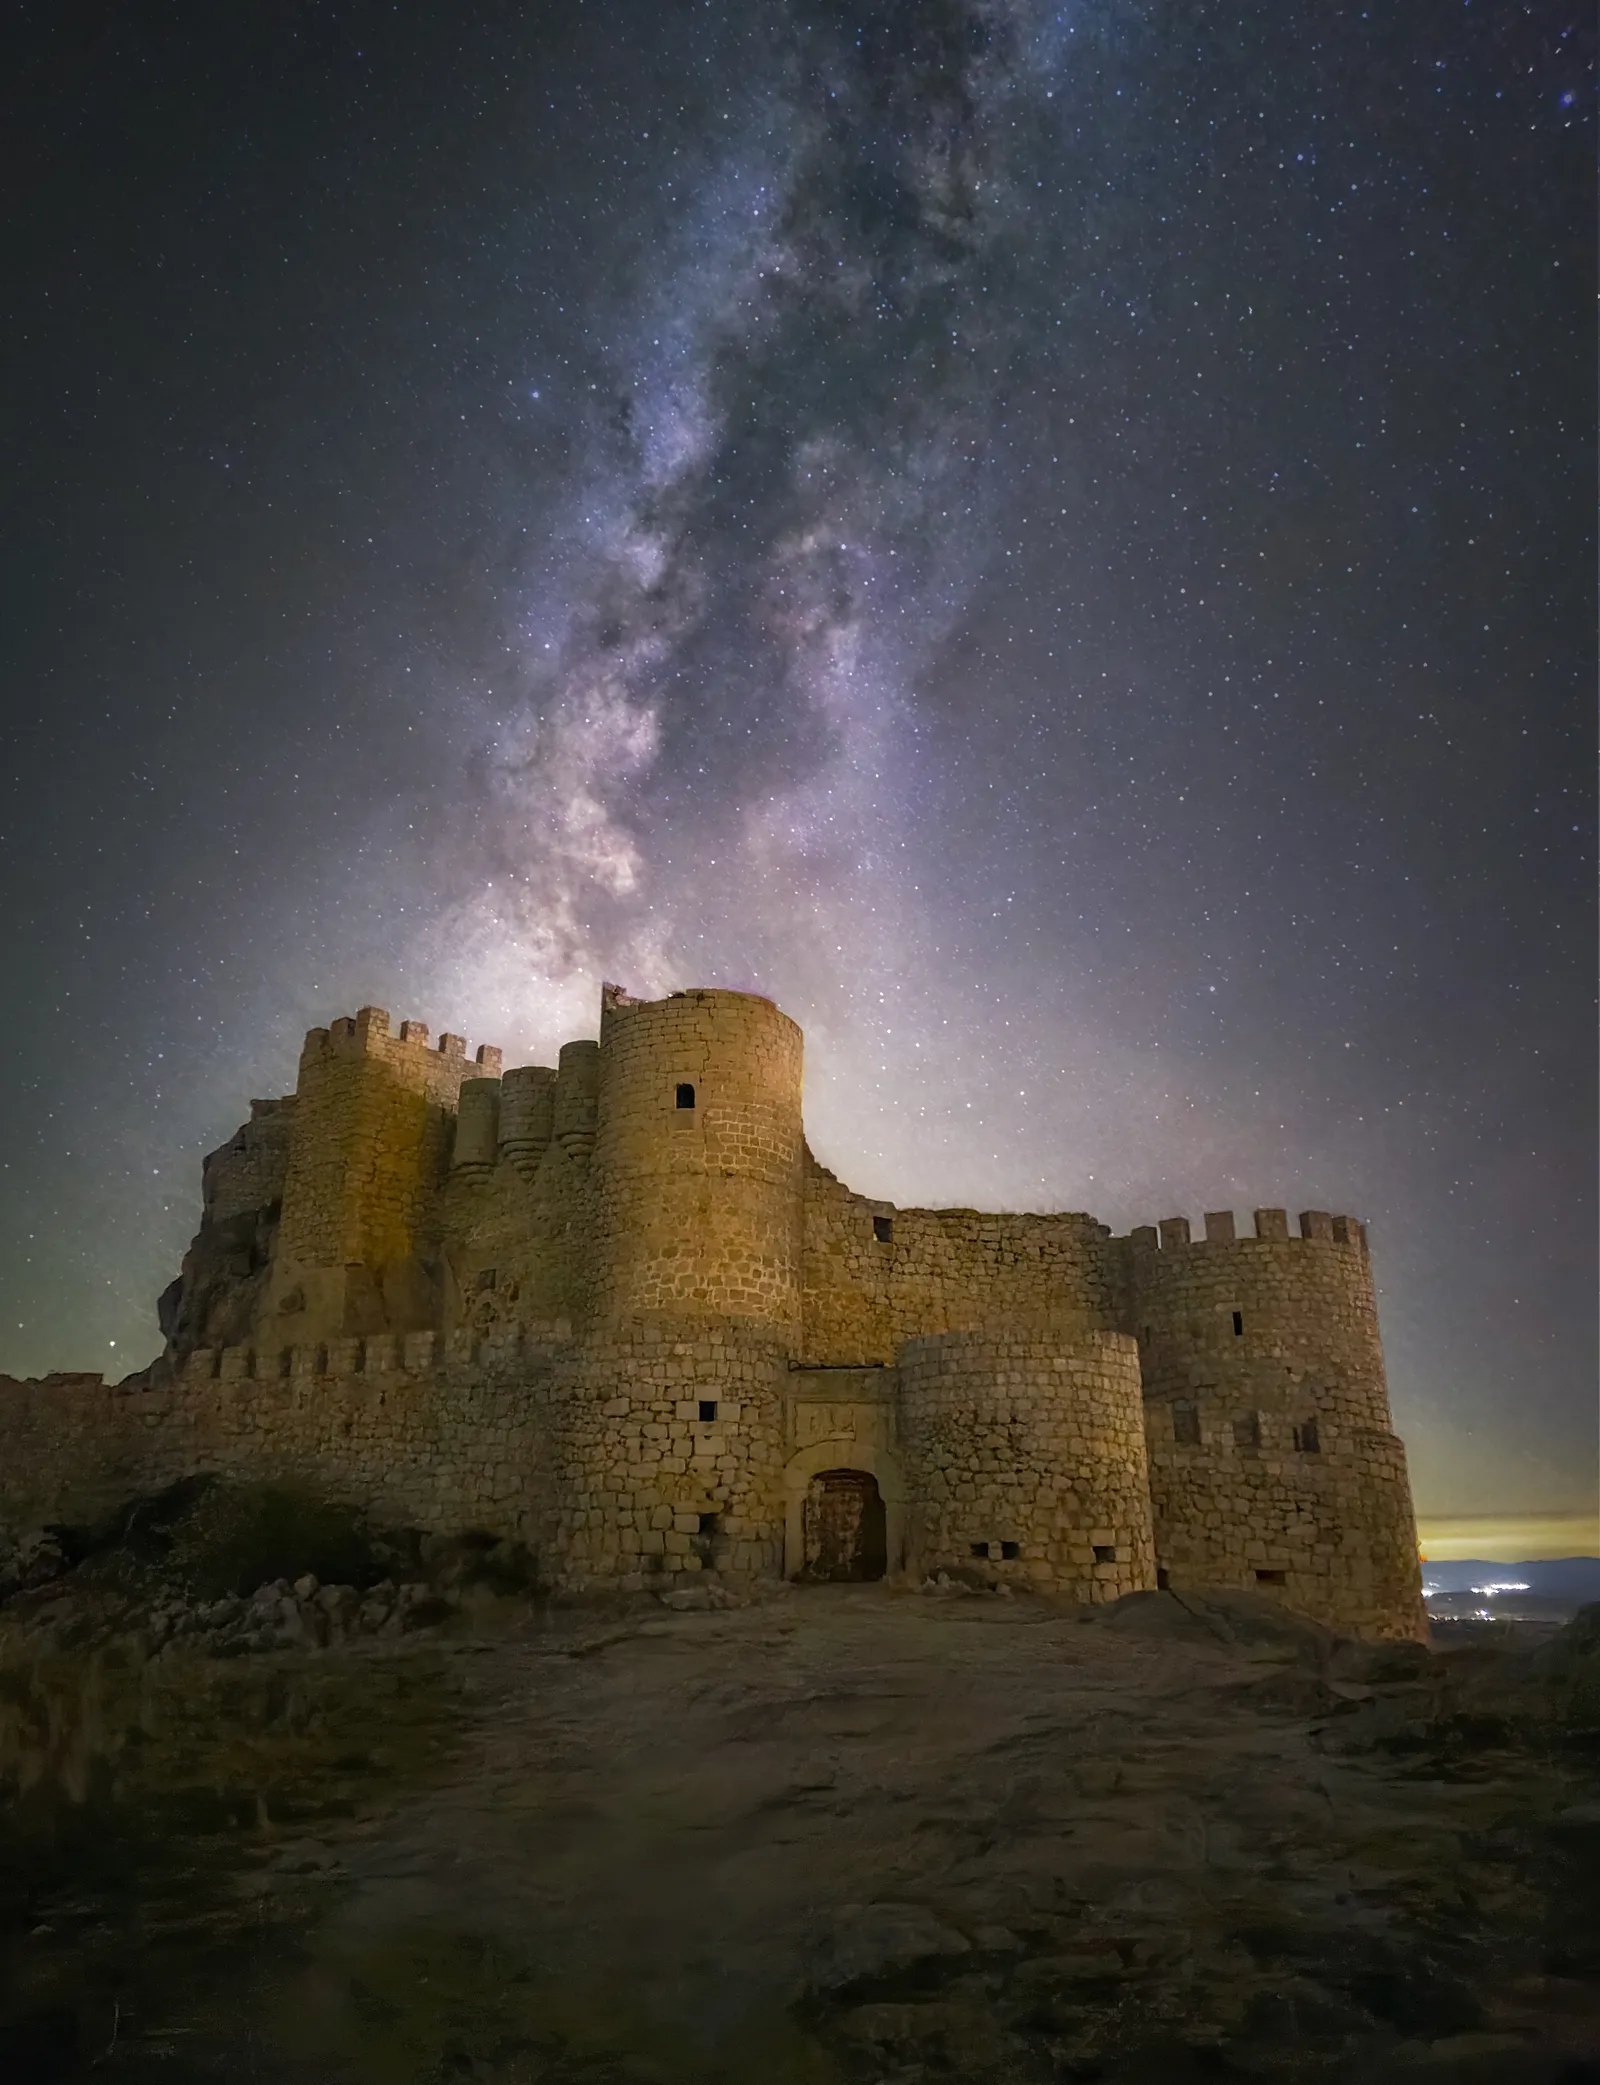
Samsung Galaxy S24 Ultra, Astrophoto mode, 3 minutes. Photo: Ivan Ferrero, Smartphone Astrophotographer of the Year.
Double Exposure: blend a separate foreground frame
This is the feature that sets Snapseed apart for Milky Way photography.
When you shoot the Milky Way you are often forced to compromise. The settings that expose the sky correctly leave the foreground too dark. The settings that bring the foreground to life overexpose the sky.
The solution is to take two shots: one optimised for the sky, one optimised for the foreground. Then blend them in Snapseed.
Ivan Ferrero’s Star Fortress image above is a good example of why this matters. The sky frame was a 3-minute exposure in Astrophoto mode on a Samsung Galaxy S23. The foreground was a separate 30-second shot taken under different settings. The castle is such a dominant element of the composition that trying to squeeze both into a single frame would have meant compromising one or the other.
Here is how to do the blend:
- Edit your sky frame first using the steps above.
- When you are happy with it, tap Tools and scroll to find Double Exposure.
- Tap the image icon at the bottom to load your foreground frame.
- Use the opacity slider to control how much of the foreground shows through.
- Tap the blending mode icon to try different blend modes. Lighten is a good starting point for foreground blending because it keeps the brighter pixels from each layer.
- Tap the tick when you are happy.
The result is a composite where the sky and foreground are each optimised separately.
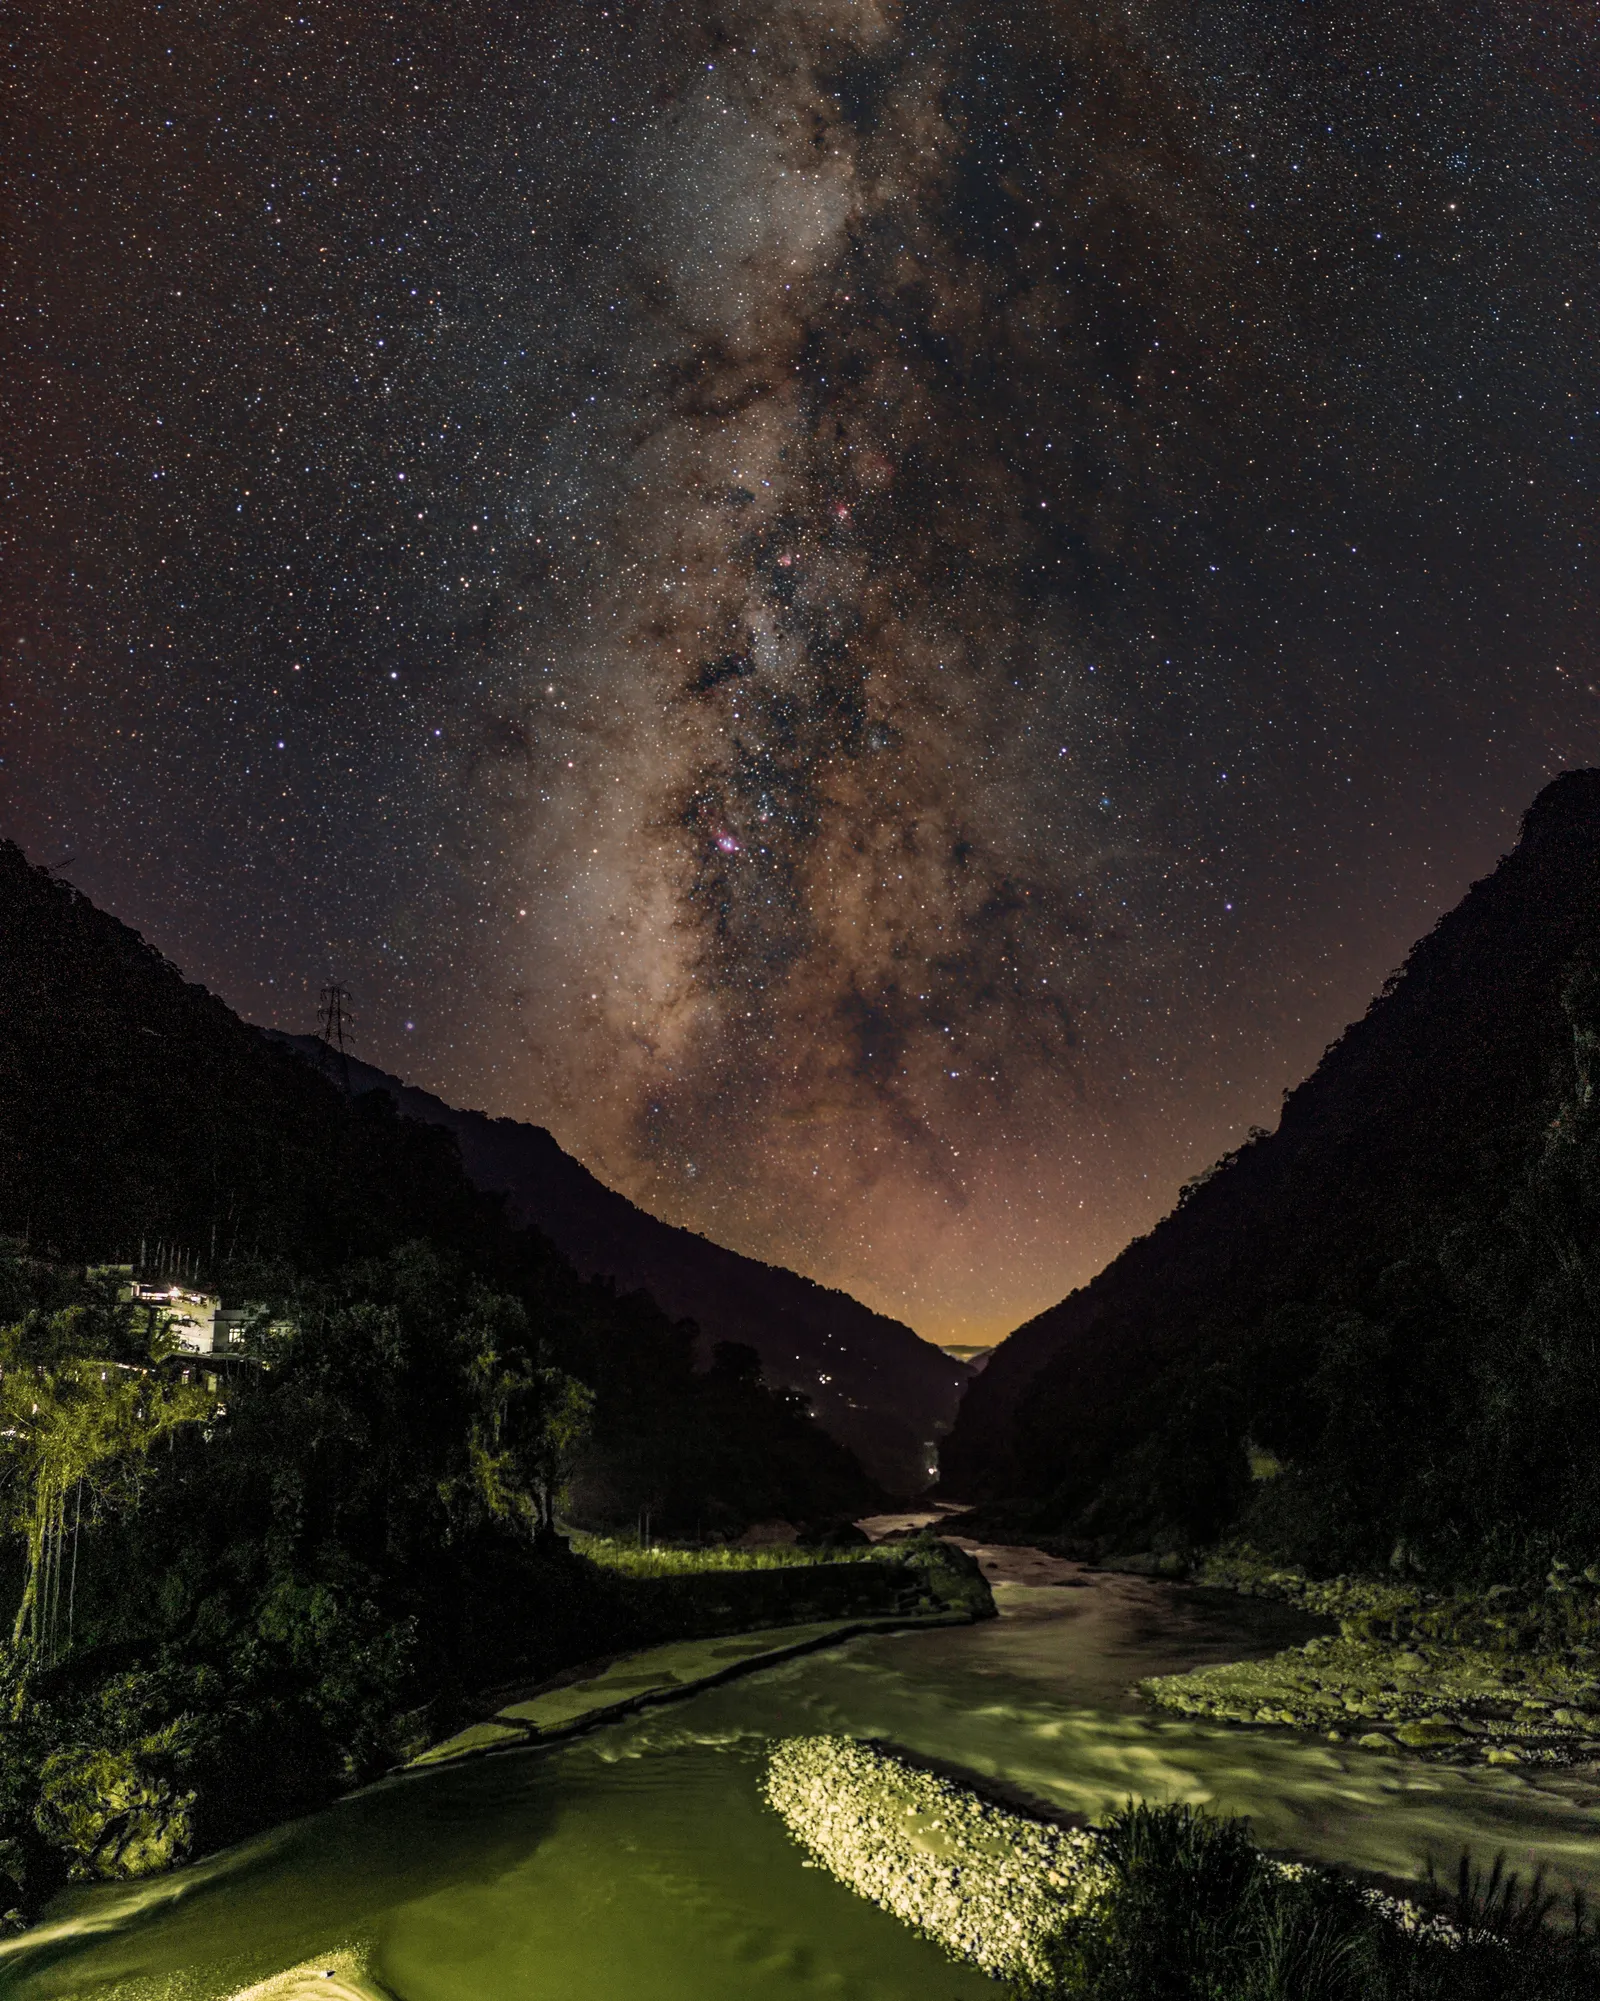
Redmi Note 13 Pro+, sky: 22 s x 150 frames at ISO 1600, foreground: 1 s x 12 frames at ISO 400. Photo: Samit Saha, Smartphone Astrophotographer of the Year.
Samit Saha’s image here is a textbook example: separate sky and foreground exposures blended to give both parts of the frame the exposure they need.
Composition reminder before you shoot
Good editing starts before you open Snapseed. When you are out shooting, think about:
Rule of thirds — Place the horizon roughly one-third from the bottom, not dead centre.
Leading lines — Roads, rivers, walls, and fences draw the eye through the frame into the sky.
Framing — Trees, rock arches, and doorways give the sky a natural border and add depth.

Samsung Galaxy S23 Ultra, Manual Mode, 20 s, ISO 1600. Photo: Evyn Hernandez, Smartphone Astrophotographer of the Year.
A strong foreground makes the editing process more worthwhile. A road leading straight to the core of the Milky Way gives Double Exposure a real subject to work with.
Snapseed vs Lightroom Mobile
Both are good. Snapseed is free and better for quick edits on your phone. Lightroom Mobile has more precise controls and syncs with your desktop, but the free tier limits RAW editing.
If you are just starting out, Snapseed gets you further faster at no cost. You can always export from Snapseed and finish in another app.
For a full comparison of editing and planning apps, see the best astrophotography apps.
FAQ
Is Snapseed free? Yes. It is made by Google and free to download on iOS and Android with no in-app purchases.
Does Snapseed open RAW files? Yes. It opens .dng files via the Develop RAW tool, which gives you far more control than editing a JPEG.
Snapseed vs Lightroom Mobile: which is better for Milky Way photos? Snapseed is easier to start with and completely free. Lightroom Mobile has more granular controls but requires a subscription for full RAW editing. Both produce excellent results.
How do I blend a foreground in Snapseed? Use Tools > Double Exposure. Load your brighter foreground frame as the second image, adjust the opacity and blend mode, and tap the tick to save.
Next steps
The full process of getting a Milky Way shot — planning, shooting, and editing — is covered in the How to Photograph the Milky Way with Your Phone guide.
For a broader look at the apps available for both planning and editing, see the best astrophotography apps.
