You pressed the shutter, walked back inside, and opened the photo. It looks flat. The stars are barely visible. The foreground is muddy. That is completely normal, and it does not mean you did anything wrong.
The shot is not finished at capture. It is raw material.
Of the 177 images entered into Smartphone Astrophotographer of the Year, 95% had some kind of processing applied. Basically every top Milky Way and nightscape image was captured in RAW and processed manually. That tells you everything you need to know about where the real work happens.
The good news: you do not need expensive software or years of experience. A handful of slider adjustments in Lightroom Mobile, all available on the free tier, can transform a dull capture into something you are genuinely proud of. I know because I did it myself with an old Google Pixel 3a shot. Unedited it looked like nothing. Two minutes in Lightroom Mobile and it was a completely different image.
This guide walks you through exactly how to do that.
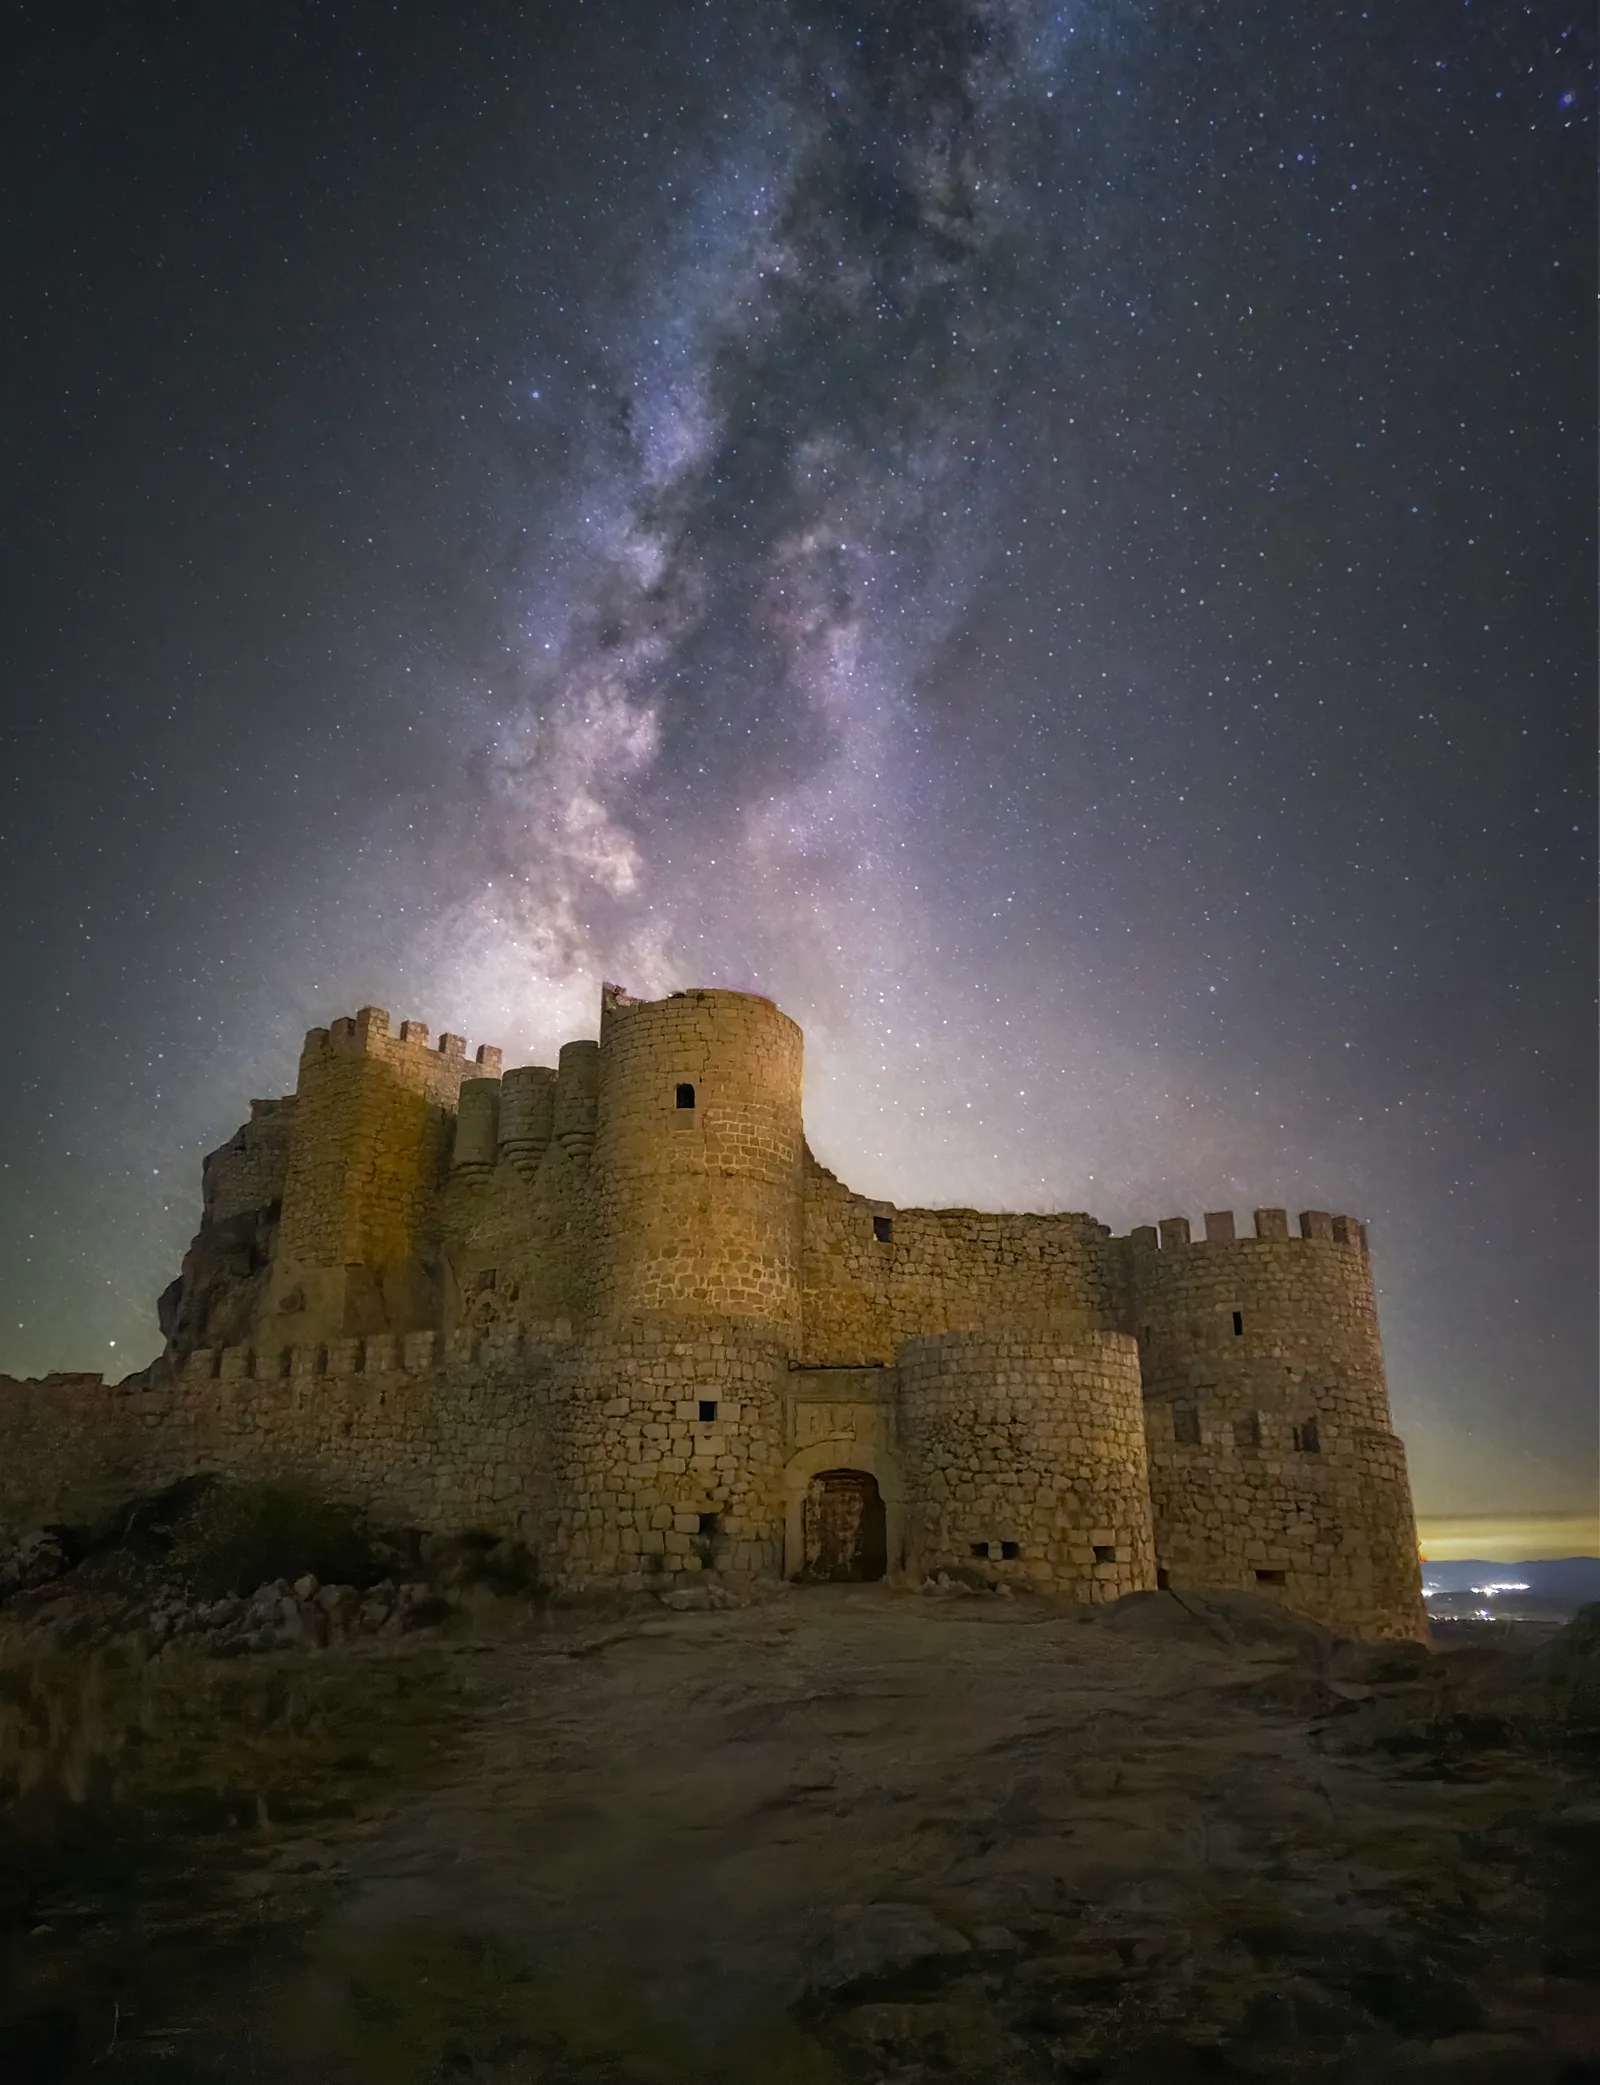 Samsung Galaxy S24 Ultra, Astrophoto mode, 3 minutes. Photo: Ivan Ferrero, Smartphone Astrophotographer of the Year.
Before You Start: Shoot in RAW
If your camera app gives you the option to save a RAW or DNG file alongside the JPEG, turn it on. The JPEG your phone produces is compressed and already processed by the phone’s AI. You have very little room to work with it.
The RAW file contains the full unprocessed sensor data. When you open it in Lightroom Mobile, you are working with far more information, which means more exposure latitude, better noise control, and richer stars.
Most Android phones with a Pro or Manual mode can save RAW. On iPhones, ProRAW is available on Pro models. If your phone only shoots JPEG, you can still follow these steps but expect more limited results.
Get Set Up: Download Lightroom Mobile (Free)
Search for Adobe Lightroom in your app store and install it. Sign in with a free Adobe account. You do not need a paid subscription for any of the steps in this guide.
When you open the app, tap the blue + button at the bottom left to add a photo from your phone’s camera roll. Navigate to your RAW or DNG file. Lightroom labels it clearly, which helps.
The Core Edit Workflow

A quick before-and-after showing what a few adjustments can do to a night sky photo.
Step 1: Actions > Auto
Once your RAW file is open, tap Actions and then Auto. Lightroom analyses the image and makes an initial adjustment across exposure, contrast, highlights, and shadows.
It will not be perfect, but it is a useful starting point and often quite a good one for night sky shots. You can always dial any slider back afterwards.
Hold your finger on the image at any point during the edit to compare your adjusted version with the original. It is one of the most useful habits to develop.
Step 2: Select Sky
Tap Select Sky. Lightroom uses AI to separate the sky from the foreground, creating a mask over just the sky area.
This is genuinely useful for Milky Way editing because the sky and foreground almost always need different treatment. The stars need more exposure and punch; the foreground often needs less.
Once the sky is selected, any adjustments you make will apply only to that area. You will see a couple of preset options appear. Most of them are locked behind the paywall, but you do not need them. The selection itself is what matters.
Tap the tick to save the selection and continue.
Step 3: Increase Exposure
With the sky still selected, increase the Exposure slider. How much depends on your specific image, but for a typical Milky Way shot you are often pushing it 1 to 2 stops.
Watch the stars as you drag the slider. You want them to start looking bright and defined without the brighter stars blowing out completely to white blobs.
Step 4: Dehaze
The Dehaze slider is the one that makes Milky Way photos come alive. Drag it to the right and watch the stars pop.
There is a trade-off though: Dehaze also increases noise. Push it too far and the image starts to look gritty and unpleasant. Find a point where the stars look defined and interesting without the noise becoming distracting. You are going to reduce the noise in the next step, so you can be slightly more aggressive here than you might think.
Step 5: White Balance
Night sky photos often come out with an orange or yellow cast from light pollution, or a very cold blue depending on conditions. A white balance of around 3500 to 4000K tends to work well for Milky Way shots.
Tap Light and then look for the Temp slider. Pull it towards the cooler end if the image looks too warm, or nudge it warmer if it looks too blue and clinical. The goal is a natural night-sky feel: dark blues and purples in the sky, with the Milky Way showing some warmth in its core.
Step 6: Noise Reduction
This is the step that ties it all together. The Dehaze and Exposure boosts will have brought up noise in the dark areas of the sky. Noise reduction smooths that out.
Tap the slider icon at the bottom, then go to Detail > Noise and increase the Noise Reduction slider. Drag it slowly. You want the grainy texture in the sky to smooth out without the stars going soft and fuzzy.
Zoom in on a star-dense area of the image (pinch to zoom) while adjusting. When the noise in the background sky looks smooth but the stars still look like points of light rather than smudges, you are in the right place.
Finishing Touches
Contrast, Whites, and Blacks
Once the main adjustments are in, go into Light and make small tweaks to Contrast, Whites, and Blacks. Lifting the whites slightly brings out the brightest stars. Pulling the blacks down deepens the sky and gives the image a more dramatic feel.
Do not overdo it. A heavy-handed edit looks worse than a subtle one every time.
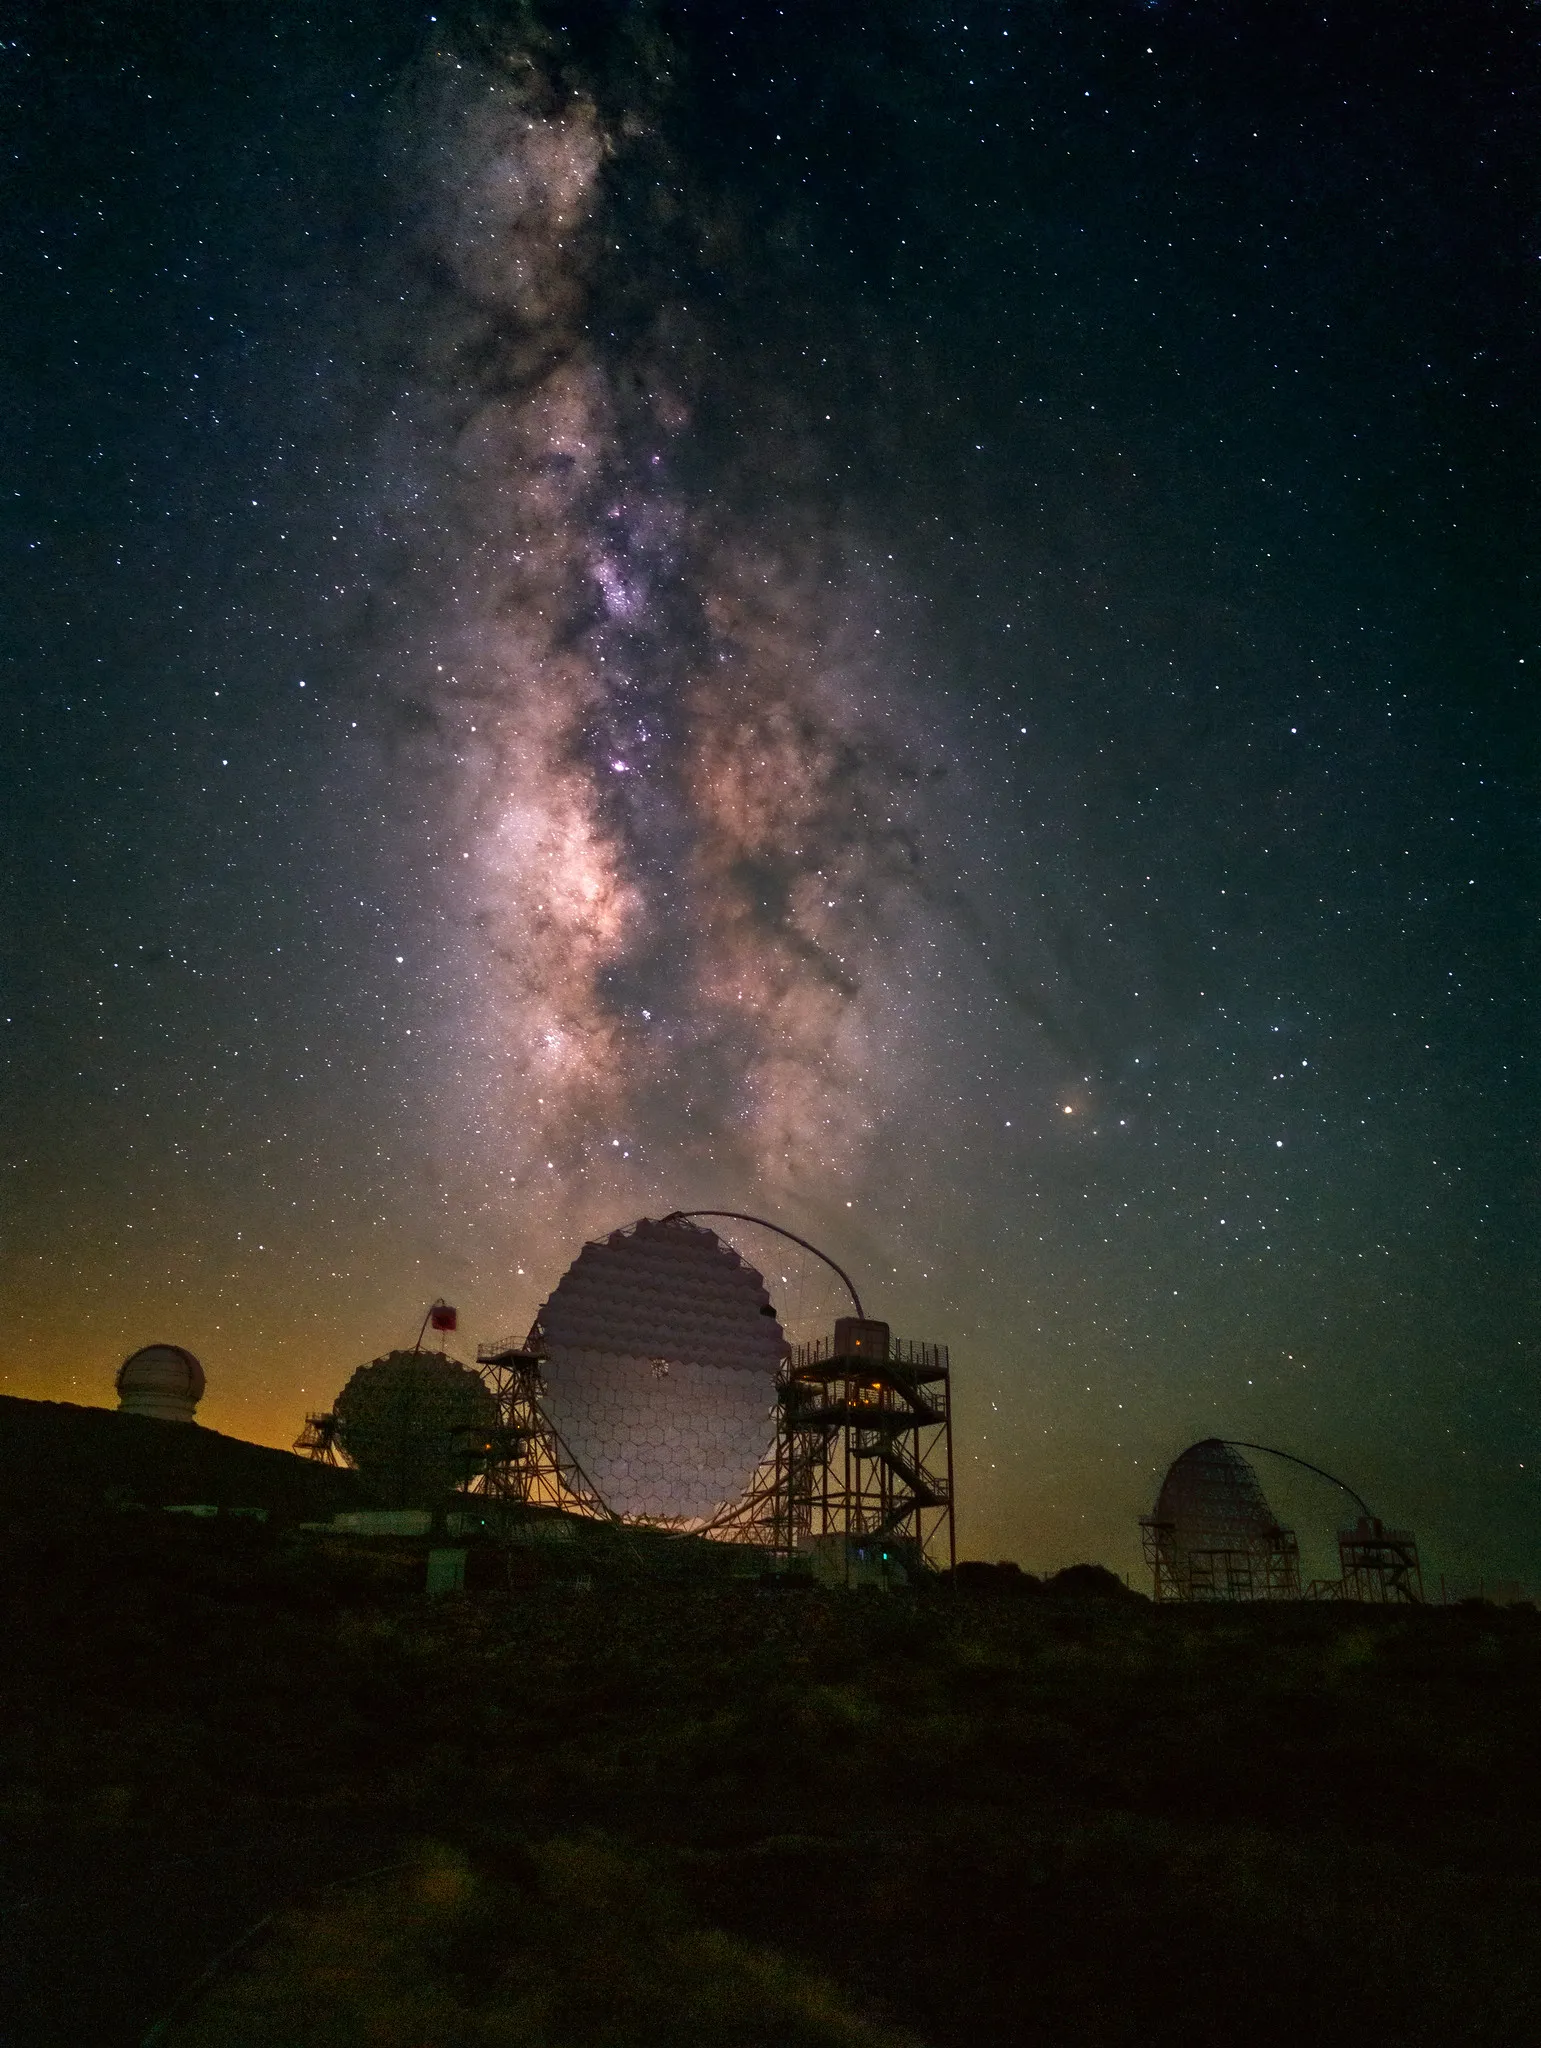 Google Pixel 8 Pro, ISO 3200, f/1.7, 16 seconds, 20-frame stack. Photo: Evgeni Tcherkasski, Smartphone Astrophotographer of the Year.
Selective Edits on the Foreground
If your foreground looks too dark compared to the sky, use Select Subject or brush a manual mask over the foreground area and increase the Exposure slightly for just that area. A small lift often makes a landscape or tree line feel more balanced and intentional.
This is one of the biggest differences between an edit that looks like a processed photograph and one that looks natural.
Removing a Streetlight or Distracting Spot
The healing or removal tool in Lightroom Mobile is locked behind the paid subscription. If you have an unwanted light source or a bright spot you want to paint out, here is the workaround: finish your edit in Lightroom Mobile, export the image to your camera roll, then open it in Snapseed and use the Healing tool there. Snapseed is free and the Healing tool works well for small, isolated distractions.
It is slightly less elegant than doing everything in one app, but it costs nothing.
Export
When you are happy with the edit, tap the share icon and choose Save to Camera Roll (or Save to Device). This exports the finished edit as a JPEG to your photos.
Your original RAW file in Lightroom is untouched. You can go back at any time, reset everything, and start again from scratch. That is one of the real advantages of working in Lightroom Mobile over destructive apps.
How Far Should You Push the Edit?
This is the question every beginner asks, and the honest answer is: less than you think.
It is very easy to crank Dehaze, saturate the colours, and pump the exposure until the image looks hyperreal. On a small phone screen it can look impressive. On a larger display, or when compared to reference photos from experienced astrophotographers, it looks immediately overdone.
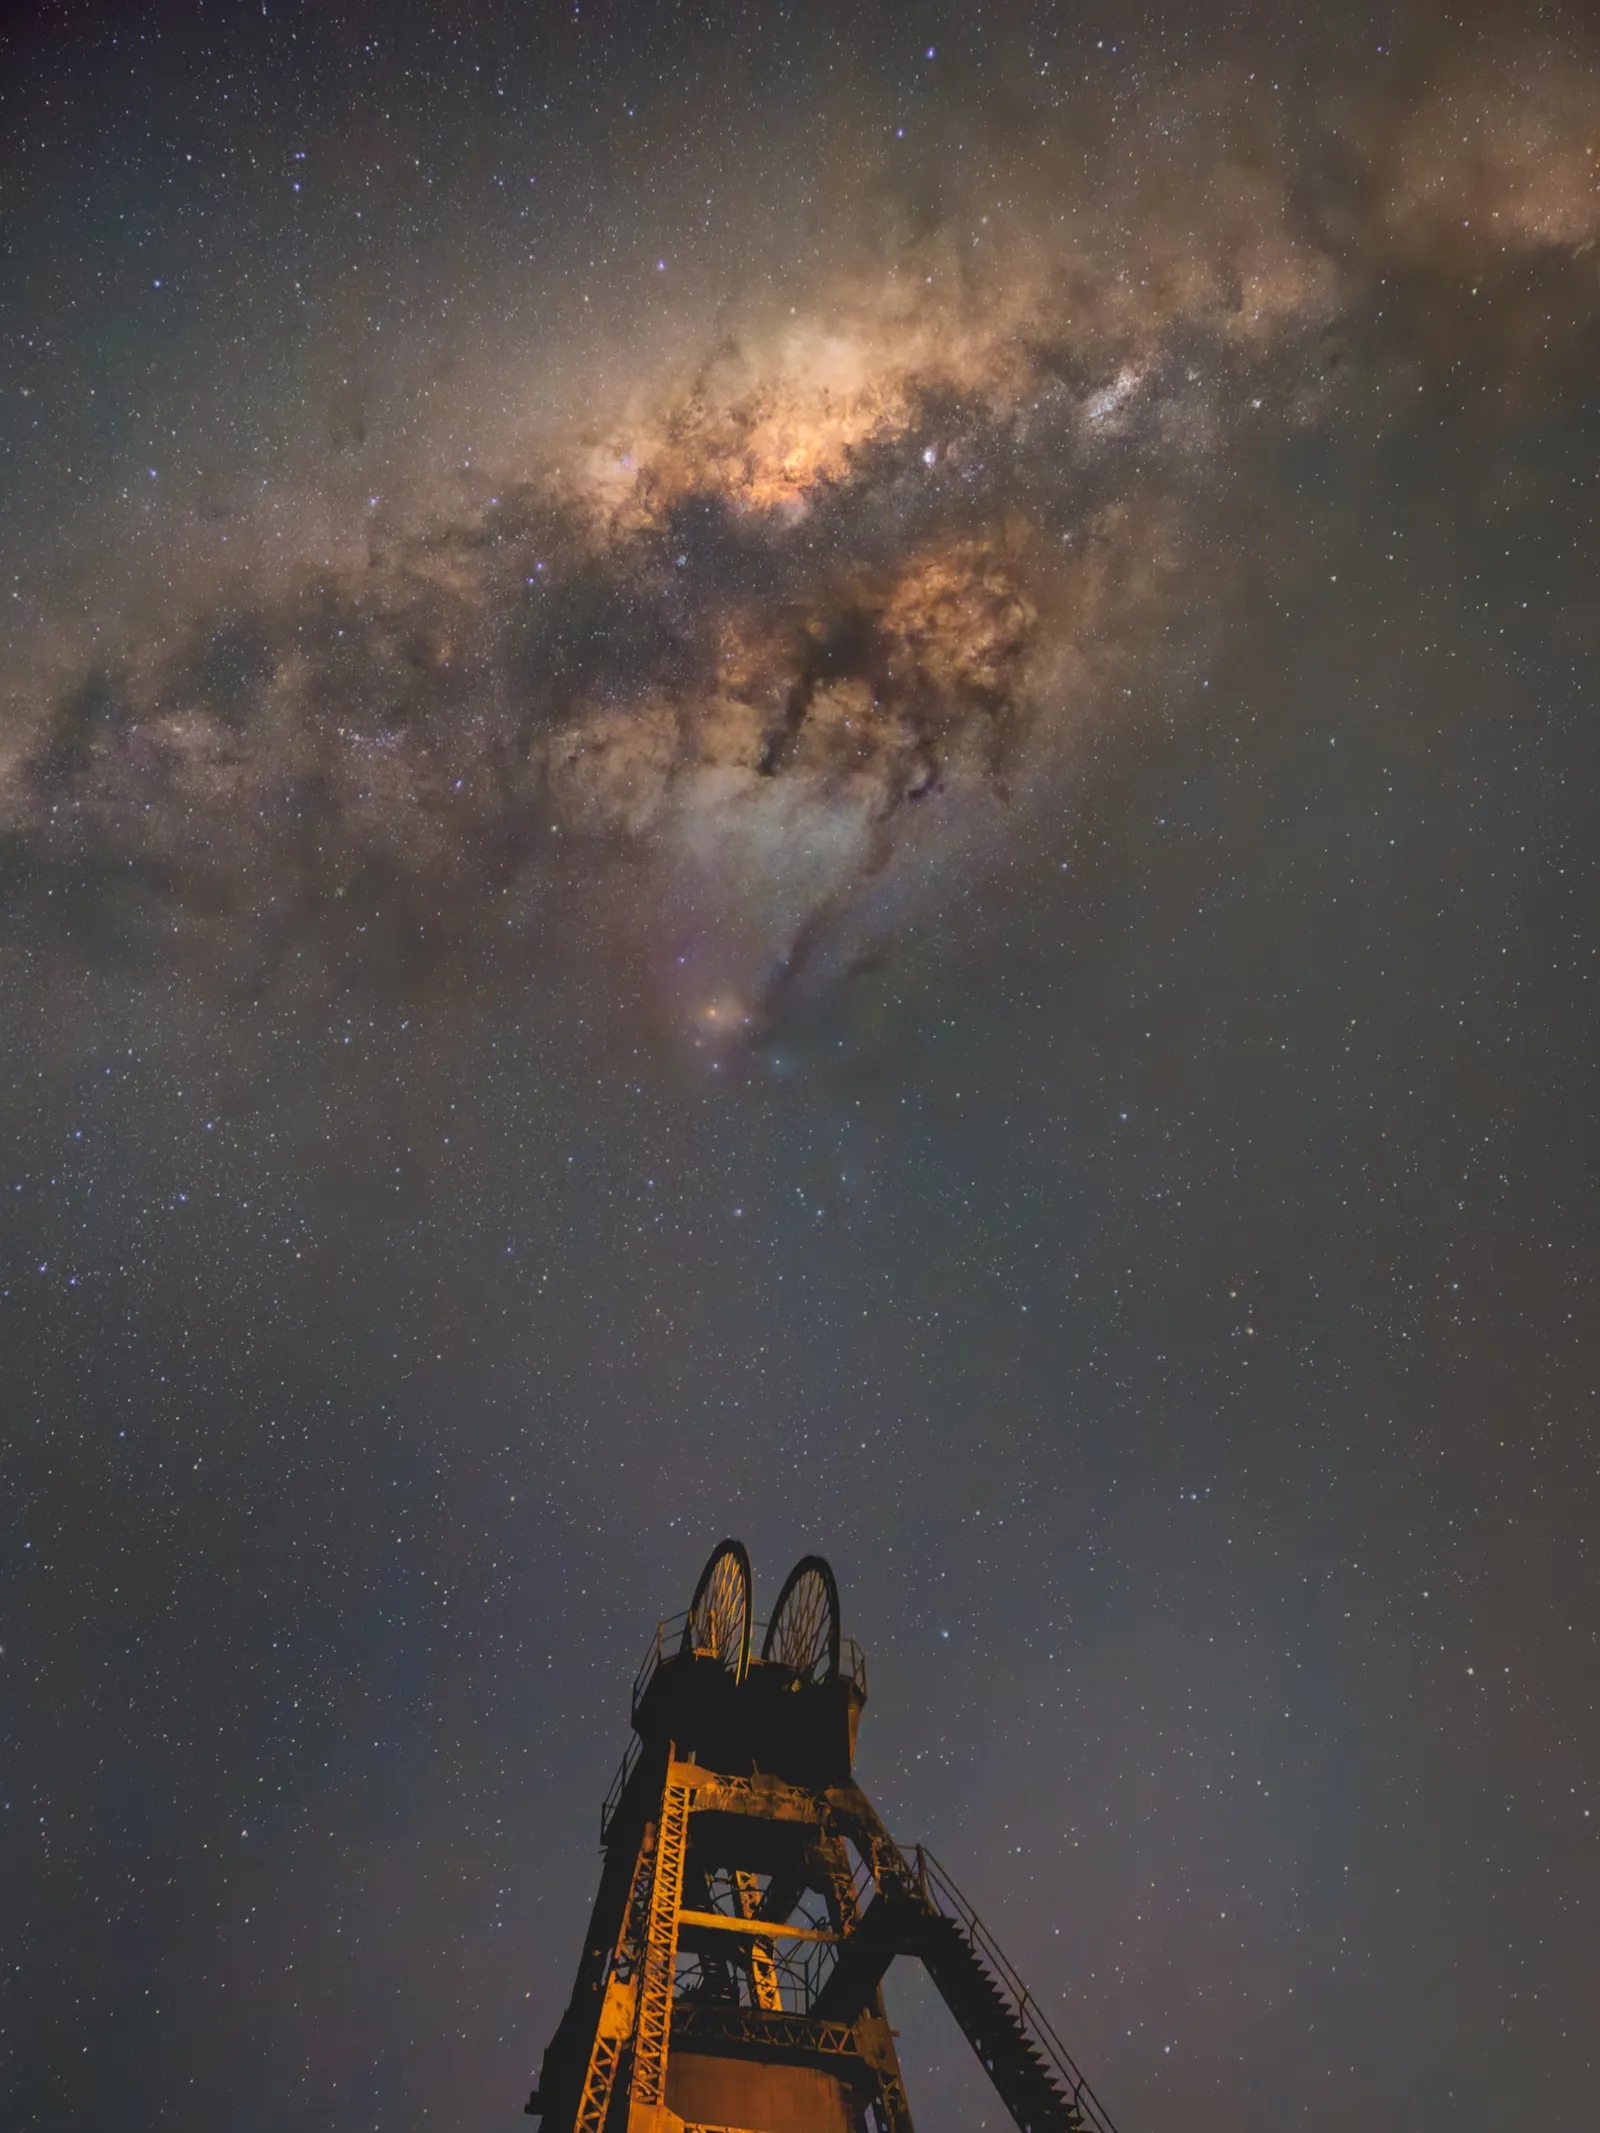 iPhone 15 Pro Max, ISO 10000, 10 seconds, 6-frame stack. Photo: Debojit Chakrabarty, Smartphone Astrophotographer of the Year.
Aim for an image that looks like you were actually there under dark skies. The Milky Way should look bright and defined, not neon. The sky should be dark, not pitch black with glowing purple gradients. The foreground should be visible but not daylight-bright.
Hold your finger on the image and compare to the original regularly. If the edit looks dramatically better at every stage, you are probably on the right track. If it looks better in a dramatic but artificial way, dial back.
Frequently Asked Questions
Is Lightroom Mobile really free?
Yes. The app is free to download and the core editing tools including all the steps in this guide are available without a subscription. Adobe does push you towards the paid plan but you can dismiss it and work entirely in the free tier.
Can Lightroom Mobile open RAW and DNG files?
Yes. It handles both natively. It labels RAW files clearly in the import screen, which is helpful when you have both RAW and JPEG versions of the same shot.
Lightroom Mobile vs Snapseed: which is better for Milky Way editing?
Both are free and capable. Lightroom Mobile gives better results for making stars pop and for noise reduction. Snapseed has the edge on healing and spot removal. The practical answer is to use Lightroom Mobile as your main editing tool and Snapseed only for the healing step if you need it.
Do I need to shoot in RAW to edit in Lightroom Mobile?
No, you can edit JPEGs too. But the results will be more limited. RAW files contain much more recoverable information in the shadows and highlights, which is exactly what you are working with in a Milky Way shot. If your phone supports RAW, it is worth enabling.
Keep Learning
If you want to go further with shooting and editing Milky Way photos on your phone, start with the full guide to how to photograph the Milky Way with a phone. For a wider look at which apps are worth having, see the guide to the best astrophotography apps.
The edit does not have to be complex. A few targeted adjustments, done with some restraint, will take a flat RAW file and turn it into something that shows what was actually in that sky.
